Fastening lining on klyymery: subtleties of installation
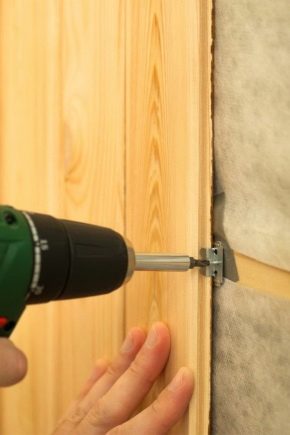
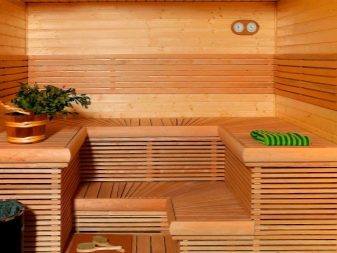
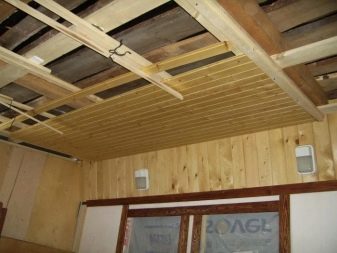
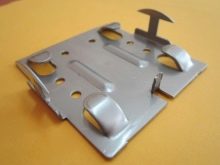
Sheathing of internal and external surfaces in the room clapboard used for a long time and does not lose its popularity. Decorative boards are used for finishing baths, saunas, terraces and terraces, gazebos and balconies, rooms in country houses, even outbuildings and garages. The invention of clamps greatly facilitated the installation of wall paneling.
What it is?
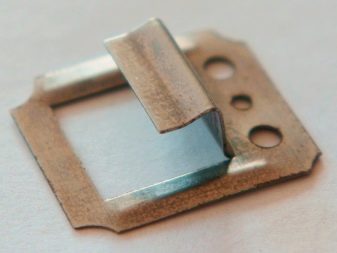
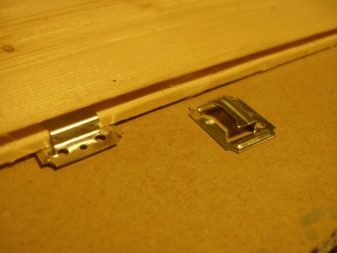
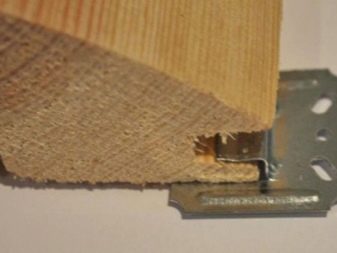
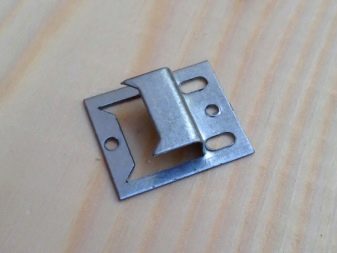
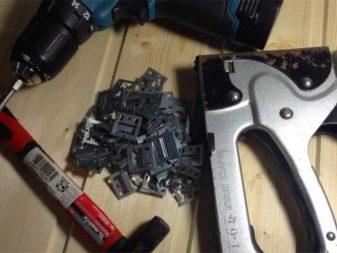
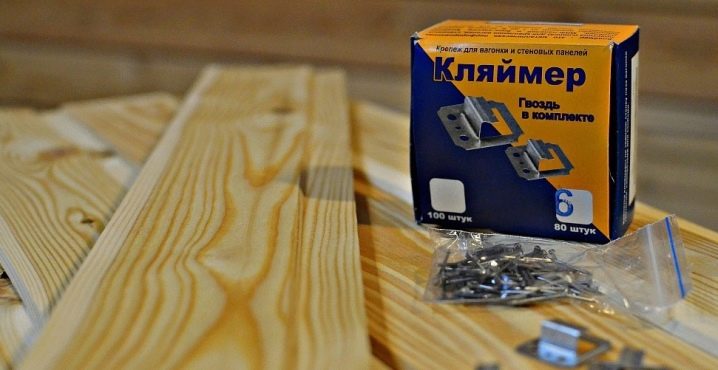
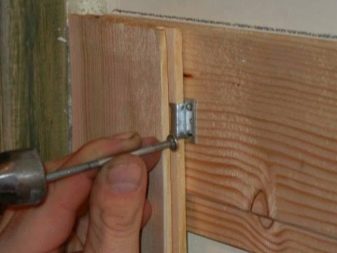
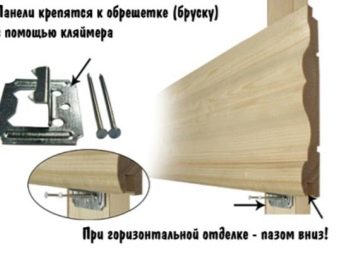
Sheathe the room quality boards for beauty, practicality and environmental friendliness. More recently, everything that was created from wood was simply nailed to the surfaces or fastened with screws. But progress does not stand still.There was a special device, similar to the bracket with a hook and holes, to improve and facilitate the installation process - Klyaymer. Nails and other hardware will also be involved, but for other functions.
Advantages and disadvantages
Application klyaymerov has a number of significant advantages over nails and screws.
- The process of covering clapboard surfaces is characterized by ease and simplicity. Even an unprepared master will be able to do it if he correctly calculates everything and marks it out. It is also possible to dismantle lining without problems.
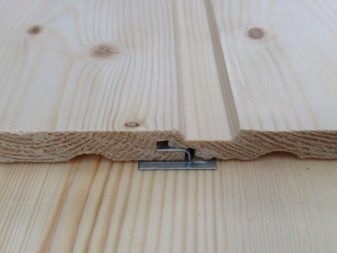
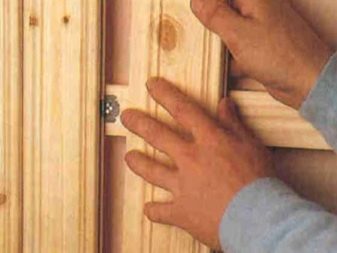
- Klyymery are mounted on the base, not on the lining, so hardware can not contribute to the formation of damage, cracks and other defects on the surface of the board. This ensures a long service life, less chance of rotting of the skin and loss of beautiful appearance.
- Visual integrity of the design. Visible elements of fasteners can spoil the unified look of the interior structure. Klyaymery are installed imperceptibly, so the boards just fit snugly to each other, without forming slots and drops.
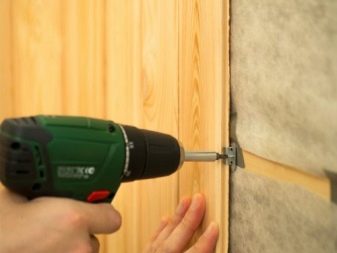
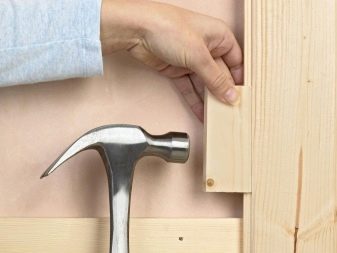
- There is no need to purchase special tools for installation.All work is done with a hammer or screwdriver.
- Klyymery provide reliability and durability of the design, including because they are made of metal.
- Additional protection against deformation.
Like any other construction method, mounting a decorative board on klyimery has some disadvantages. The most significant of these is the cost of the products. Quality braces can significantly affect the appreciation of your finishes. Although saving, it is possible to reduce the operational properties of the sheathed layer, so this defect is completely covered by all the advantages of these hardware.
Kinds
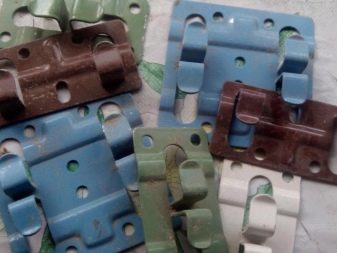
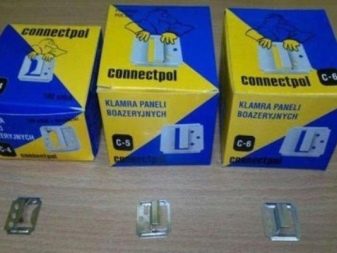
When buying klyaymerov it is necessary to take into account that there are several sizes. The differences between them consist in the purpose - various types of lining differ in thickness.
On sale most often the following varieties:
- No1 is used for vinyl wall paneling and wall panels;
- No2 allows you to conveniently fix vinyl wall paneling and MDF panels;
- No3 This type of Klaimer is suitable for mounting more dense eurolining and chipboard panels;
- No4 is presented mainly for Euromasking;
- No5 is a common fastener for a decorative board made of aspen and lime;
- No6 is suitable for mounting a block house.
Mounting technology
First of all, you need to decide on the tool and the amount of consumables.
For the implementation of the work will require:
- gon;
- building level or plummet;
- roulette;
- screwdriver or ordinary screwdriver;
- hammer.
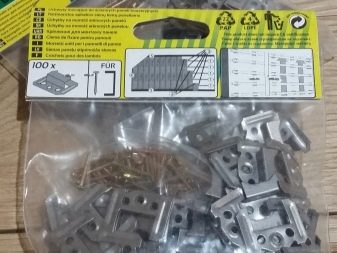
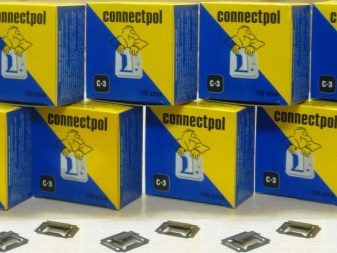
In order to calculate how many cleats you need to buy, you need to know the approximate consumption of products per 1 square meter of finish. Usually use 20 klyimernyh clips. They are packed in 100 or 200 pieces in one box.
Accordingly, if you want to sheathe a room of 40 square meters. m, the calculation will look like this: 20 × 40 = 800 products or 4 packs of two hundred pieces.
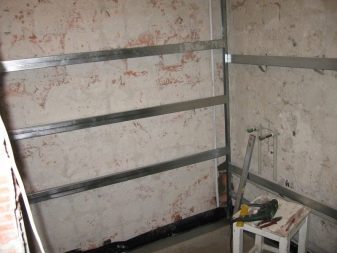
Mounting crates
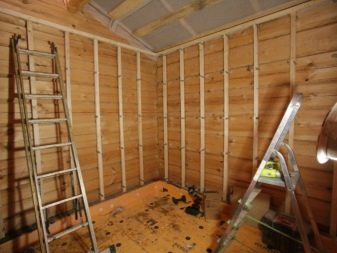
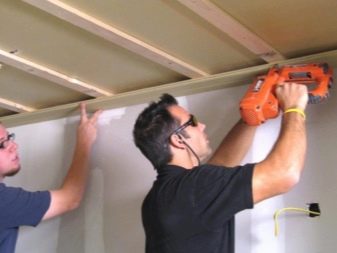
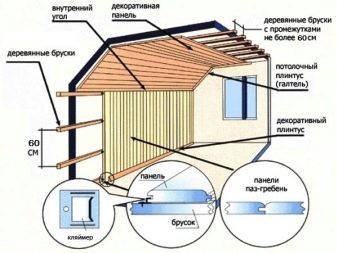
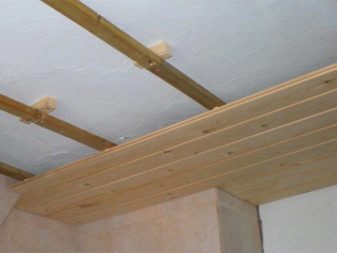
Lathing is a necessary element for interior decoration using clapboard. It solves two major problems arising in the process of any repair.
- Levels the surface of the base to improve the appearance of the wall or ceiling. Walls, especially concrete or brick, are rarely 100% flat. There are drops, curvature, various indentations and protuberances. The use of the frame allows you to level the wall without additional time spent on plaster, putty and other materials.
- Lining is attached to the frame bars. The connection is much safer and faster to perform to a wooden surface than to other types of bases.
- In the process of installing the wall paneling on the crate, there is a space between the base and decorative boards, which allows airing and not allowing formation of the effects of dampness and moisture - to various microorganisms.
When arranging the frame grid, you need to pay attention to a few points so that the repair will last a long time.
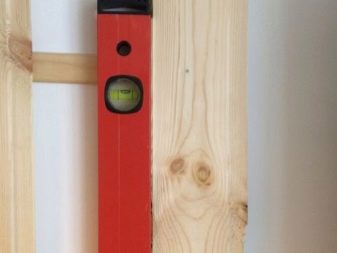
- In order for the wall paneling to be installed evenly throughout the entire perimeter of the room, it is necessary to constantly monitor the installation process with the help of a building level. Otherwise, the curvature may become visible to the eye and spoil the entire impression of the finish.
- So that the boards firmly and reliably fasten, do not bend, deform under the influence of the environment and over time, it is better to install crate bars at a distance of no more than 60 cm from each other.
- The frame is mounted on special metal profiles to the base of the walls. It is possible to use profiles for sheets GCR.
- It is necessary to pre-treat the crate with antisepticsolutions for wood. This will help avoid the formation of mold, rot and fungus on the surface of both the bars and the wall paneling. Thus, it is possible to significantly increase the service life of the skin.
- Tying connection should be carried out with the help of two or three hardware. If you use only one nail or screw, the quality of the cladding works will be questionable. And with mechanical effects there is a risk of falling out of individual boards, as well as damage to neighboring elements.
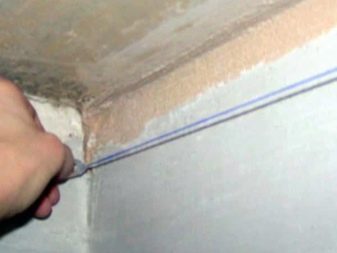
Base marking
Marking should be applied depending on the direction in which the lining will be located. Orientation can carry both decorative and practical function. For example, in baths and steam rooms it is recommended to give preference to the vertical plating method so that moisture deposited in the seams between the boards does not accumulate and is able to flow freely down.
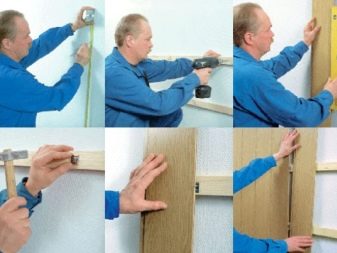
Vertical installation involves mounting klyaymernyh connections at a distance from the wall, which is equal to the size of the board and its width.
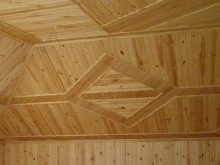
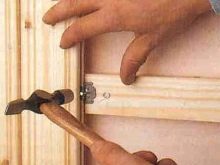
The horizontal marking should ensure that the bracket is positioned so close to the floor in order to create an access for a hammer to fix a Kleimer.To enhance the decorative effect of the finish, diagonal styling is also used, or several ways of installing the wall paneling are combined to obtain unusual patterns on the walls or ceilings. These methods are typical for residential premises. In this case, the work is difficult to perform, with no experience and training. The crate is usually installed perpendicular to the direction of the boards.
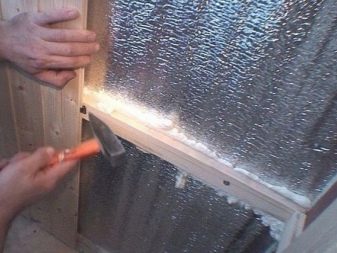
Installation of lining
For horizontal positioning it is necessary to press the board against the wall with the end face. Try to do it closely and be sure to comb. Then you can fasten the clamps with hardware.
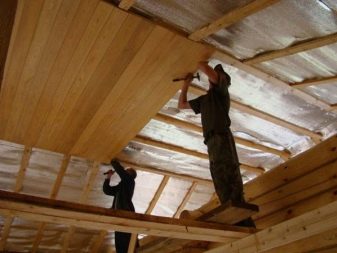
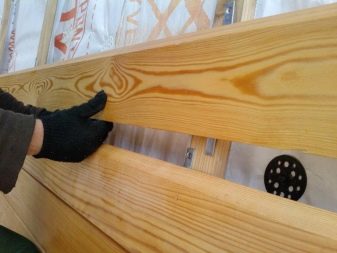
If a vertical installation is chosen, then first clamp the bracketsthen insert the groove of the board onto the hooks. After this, the boards will be inserted one after the other into the grooves by combs, and the fixation will be ensured by the clamps.
And in fact, and in another case, you must adjust the size of the boards to each other to avoid gaps.
Useful tips
Some recommendations that will help to maximize the durability, durability and decorative properties of the coating.
- If the base does not contain significant deviations in the curvature, it is still better to fix the boards to the batten with clamps.
- If lining is used for the lining of a wooden house, the walls should be pre-treated with antiseptic liquids, cleaned up all defects and rot.
- When carrying out internal work, purchased wall paneling should be kept for at least one day inside the room in order to prevent expansion or contraction of an already mounted surface when humidity and temperature change.
- It is recommended in the case of horizontal laying of boards to begin to mount from the top of the room so that the first element does not spoil the appearance. If the last board, adjacent to the floor, needs trimming, then all defects and cracks can be hidden in the floor plinth.
- Lining of plastic allows work at a temperature of at least + 10ºС to ensure the integrity of products.
- Work with wooden boards should also be carried out at above zero temperatures to minimize shrinkage.
- To prevent the ingress of moisture through the gaps between the boards on the base, you can optionally install a layer of moisture-proof film. Liquid sealant and various adhesives should not be used.
- It is necessary to carefully choose the material from which the clamps are made, especially for facades and street constructions. The metal must be rustproof to prevent corrosion from damaging the structure of the wood.
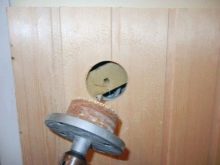
- If it is necessary to install sockets or cables, first completely clap the surface with clapboard, and then use a special saw to make a hole in the required area.
Finishing
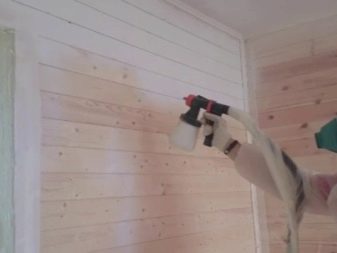
To keep the surface for a long time retaining its original appearance and beautiful natural shine, it is possible to additionally process the paneling.
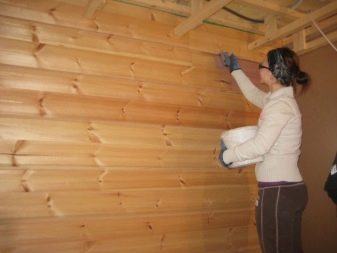
- It is necessary to clean the boards from the accumulated building dust. If there are visible spots, you can use bleach for wood or mortar.
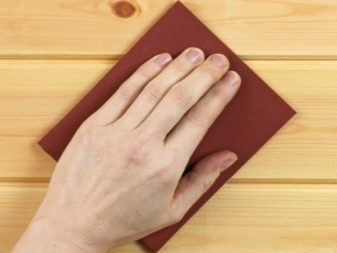
- Irregularities and grease stains can be sanded with sandpaper.
- Primer will be necessary for further processing. Outside it is necessary to go through the polystyrene composition, inside the liquid based on acrylic.
- Antiseptic will not be superfluous, especially in a wet room and for outdoor use.
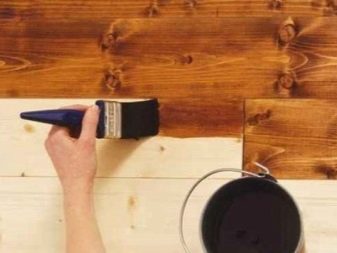
- To give a beautiful shine and shade, you can walk on the surface with varnish. The interior works are carried out with the help of alkyd or acrylic paints, polyurethane compositions useful for external finishing are more reliably opposed to environmental factors.
On how to choose the right claping for clapboard, see the following video.
