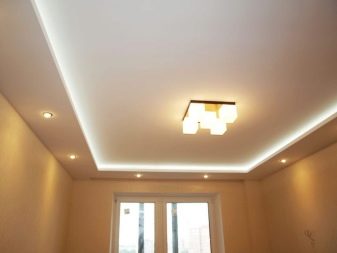
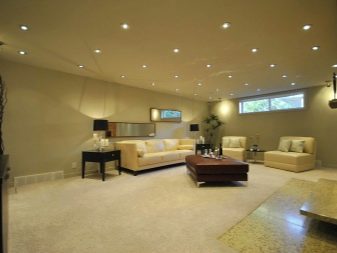
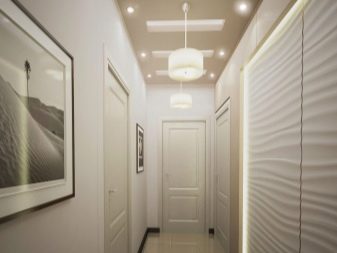
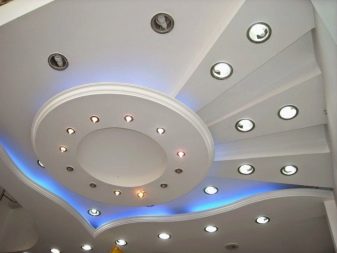
Features of installation of fixtures in drywall
When carrying out repairs and changing the interior of the house, a material such as plasterboard is used as the ceiling. In this case, the owners of the house often wish to install point and other types of fixtures on the ceiling. But because of their incompetence in this matter, they spend extra time searching for professionals, as well as money to pay for their labor.
Features and types
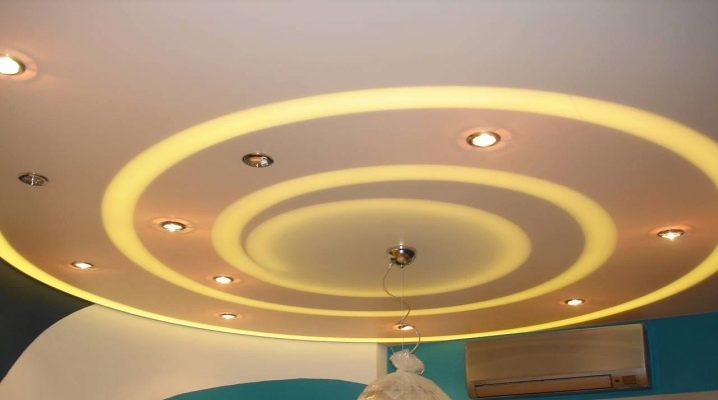
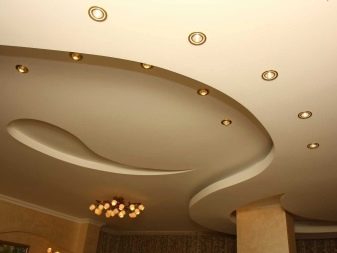
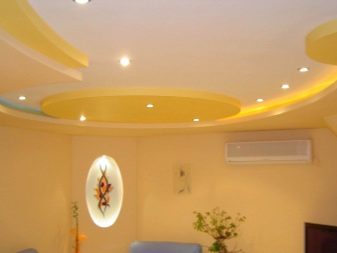
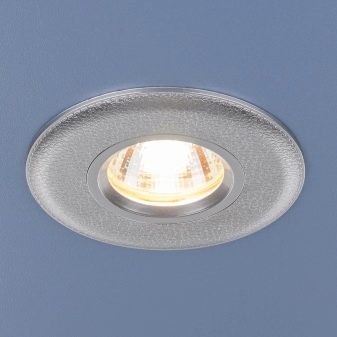
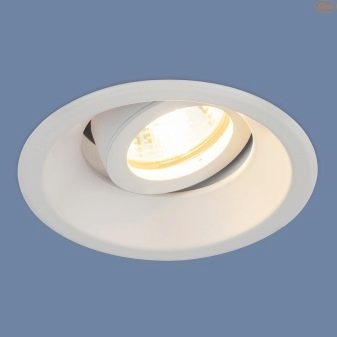
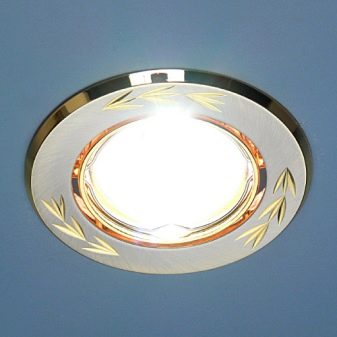
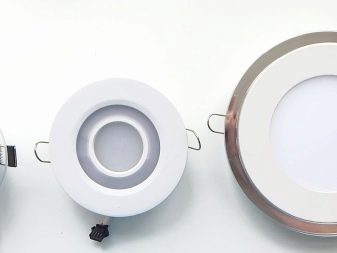
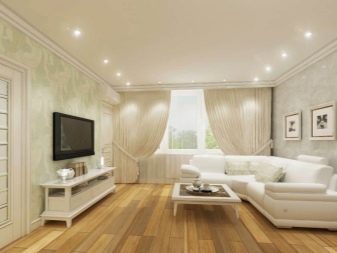
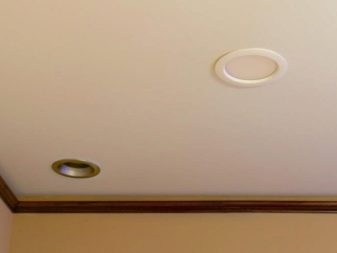
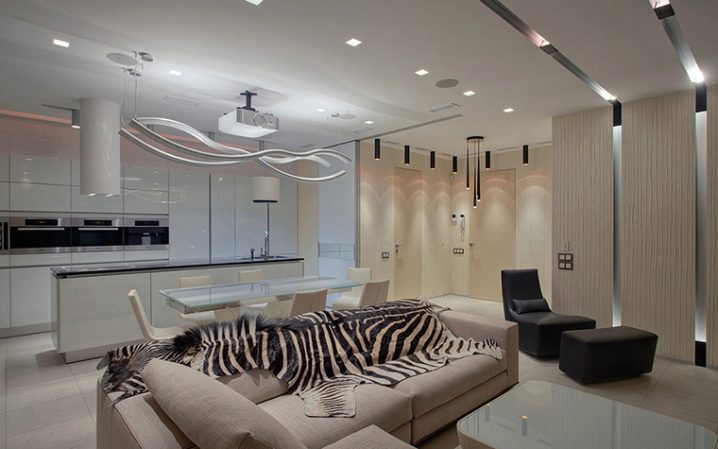
Under the spotlights imply lamps, recessed into the ceiling (or in any other furnishings), while illuminating only part of the room or absolutely the entire area of the room.
First of all, it should be said that all the lamps differ in their price category and the quality of room lighting, as well as the service life.
Types of spotlights are classified:
- by type of construction;
- by type of installation;
- by type of lamps.
Consider which types of spotlights are distinguished by their design basis:
- non-repetitive;
- repeated.
According to the type of installation there are such types of lamps:
- built-in;
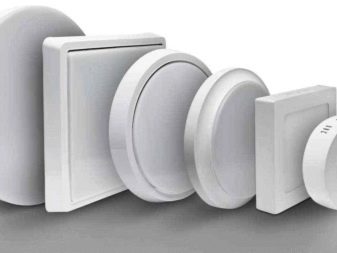
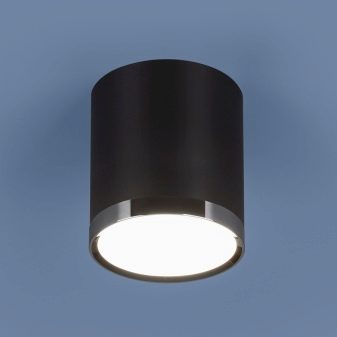
- invoices.
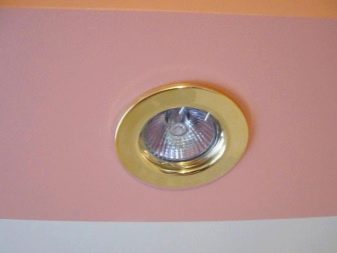
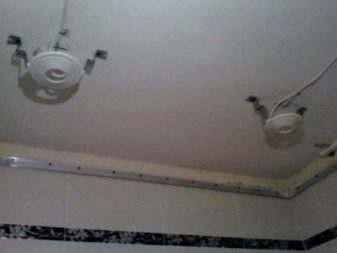
The built-in lamps are installed completely under the gypsum board part of the ceiling, with only the decorative part of the lamp remaining visible. Overhead lights completely protrude, and only the wires are hidden under the ceiling itself. That allows you to install this type of fixtures only on solid surfaces.
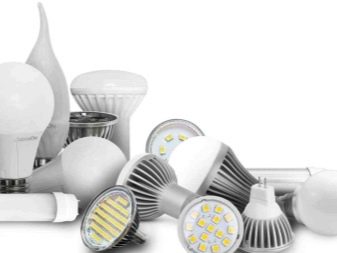
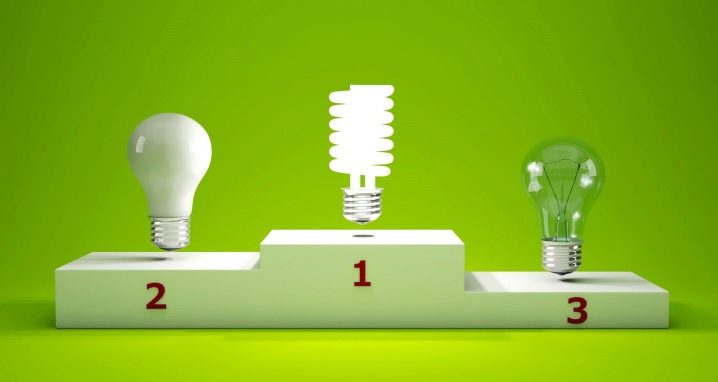
Also, lighting fixtures differ in part of the lamps used. They are as follows:
- halogen;
- LED;
- fluorescent;
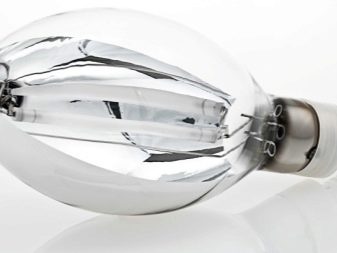
- lamps with a mirror image, the so-called incandescent.
From the presented types of lamps One of the most expensive are LED lampshowever, they are also considered the most effective. What type of lamps to choose you, decide for yourself, based on your economic condition.
But before you decide which lamp to buy, you should know that better to stay on LED lampsthat are acquired from firms that have earned our trust (that is, famous firms) with their high-quality goods, although the price is high, but it easily pays for itself. Since their product is durable, and emits the least amount of heat. While incandescent bulbs are the most inefficient in their category, they have a high energy consumption, but at the same time their price category is much smaller.
Layout
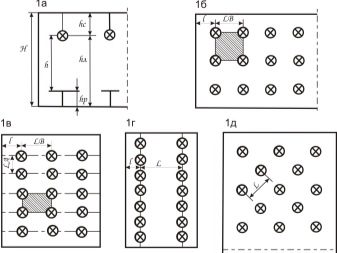
Consider the possible layout of lamps. The location of these types of lighting devices have several schemes:
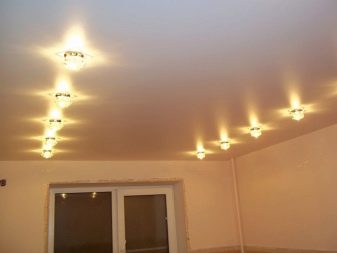
- lighting devices are installed in a rowhaving a direct location. At the same time, a distance of about 60 centimeters recedes from the wall, having at the same time a step of eighty - one hundred centimeters;
- if you want to achieve the best lighting throughout the area of the room is recommended to use chessboard assembly;
- the last option is peripheral luminaire layout. As a rule, such lighting is used as an additional if there is a central lighting in the room.A distance of about 40 centimeters is measured from the walls, and about eighty centimeters between the lamps themselves.
Also the possibility of combining these schemes with each other is not excluded, while finding a compromise, and achieving the best coverage of your home. When choosing a location option, the length and location of the wires, the number of terminals involved, installed before the gypsum ceiling is also taken into account.
Works before installation
Before you begin the process of installing turned lighting fixtures, you install the framework for drywall.
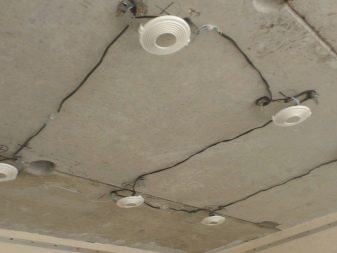
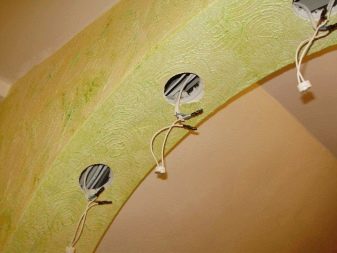
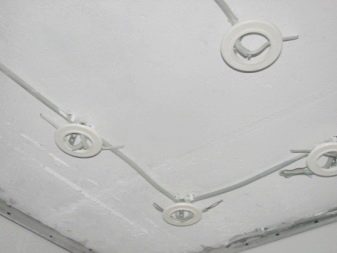
Before starting all the work necessary to make a scheme, which will be an arrangement of lamps on the ceiling. Next is the wiring. These types of work are performed directly on the ceiling (for the convenience of the process), and are also fixed with clips for this purpose.
Since there is a need to hold the cable in the tensioned state, for which the clips are used.
The luminaires, in turn, are connected through the terminal contacts, and the wires from the cable should be lowered to the luminaires.If there are special openings in the profiles, then the wiring also takes place through them. But it is not recommended to make these holes on your own.. This can compromise the integrity of the entire structure (that is, our entire ceiling).
Recommendations
We will discuss several recommendations during the work:
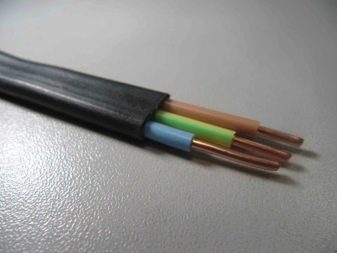
- the cable is laid with three conductors and the size of one and a half to two millimeters, the cable is used flexible. This allows you to achieve the most comfortable working conditions;
- in general, high-power luminaires are not used anywhere, and the choice falls on more economical financial models of luminaires having an incandescent power of thirty-five to forty watts;
- If you want to change the lamp to a more powerful one or different in color temperature and the angle of dispersion, it is easy to get rid of the old lamp.
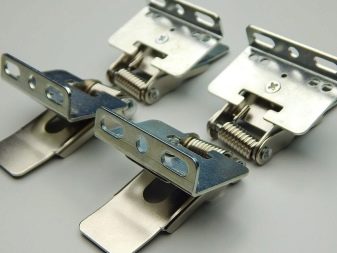
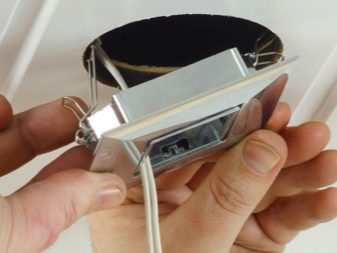
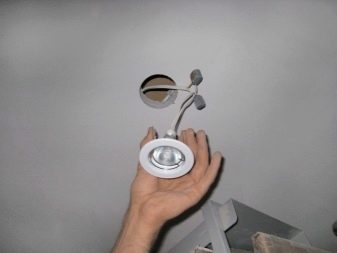
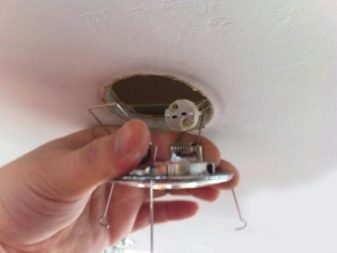
But if you still have difficulty installing luminaires, then there is a small trick to which you can resort. The antennae of our mount come together, after which they should be connected using a small piece of wire.
To reduce the likelihood of a short circuit to a minimum, it is recommended to use a hard wire for insulation. Next, our prepared mount is placed in the hole, and the wire is cut with nippers.
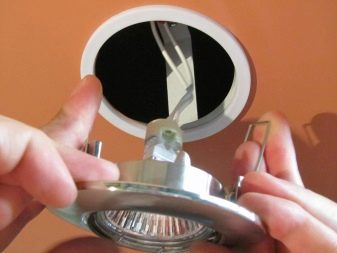
The body is put in place, with an acting spring, which contributes to the straightening of the mount.
Wire routing process
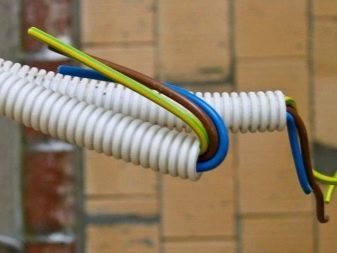
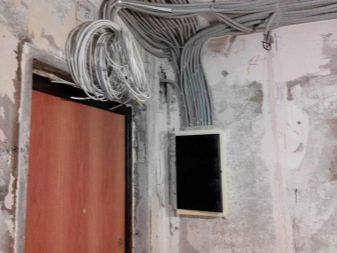
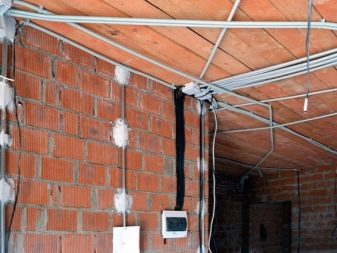
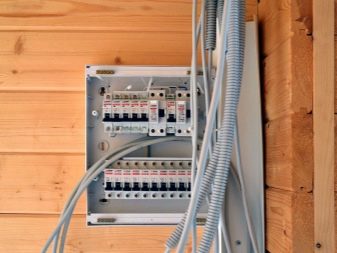
Laying wiring for lamps produced in the corrugated pipe. There is also a backup cable, which is located in a separate corrugated pipe.
The very same the junction box is mostly located in a visible and easily accessible place for the possibility of good access when the need arises to check the health of the wiring or its replacement.
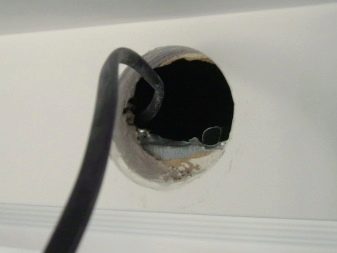
It will be possible to lay any of the necessary wires to any of the lighting fixtures, since holes will be made in the gypsum plasterboard at the places of installation of the fixtures. It is possible to replace a corrugation, having applied a fire-resistant cable. But completely replace the corrugation fire-resistant cable will not work. At the beginning of the interceiling space, its installation is necessary.
Corrugated pipe is best to have, starting from the junction box itself,This allows you to easily replace the necessary wires.
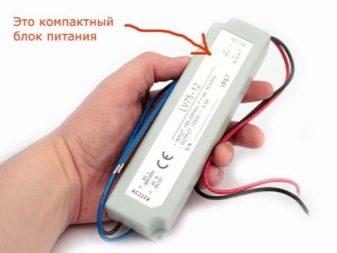
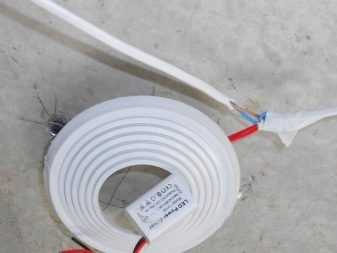
There is also an installation power supply. It is installed when using lamps with low voltagefrom twelve volts to twenty four volts. To facilitate maintenance, it is often installed in easily accessible places. For example, below or on the ceiling (a niche is equipped for this).
Hole making process
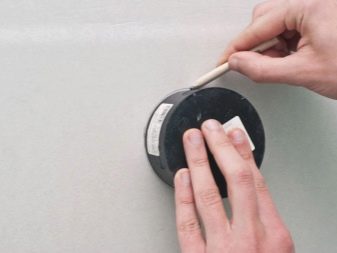
The first is the markup on sheets of drywall. This part of the work is carried out before mounting it to the frame. Next is the adjustment of the location of the lamps for their uniform location on the ceiling. To do this, wiring should be run with a small margin, in order to avoid misunderstandings.
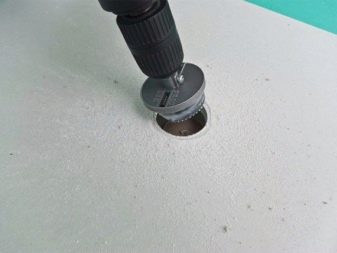
To cut holes for fixtures, it is possible to use a stationery knife or a drill, after which the edges have to be treated with a primer.
Installation process
The installation process is quite painstaking in order to avoid damage to the fully applied coating.
Installation is performed in the following order:
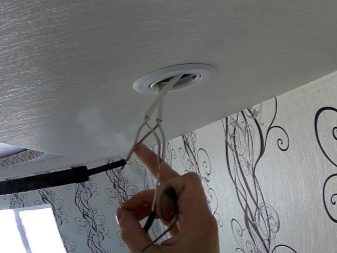
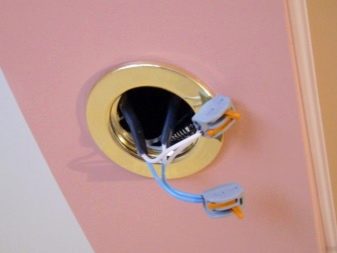
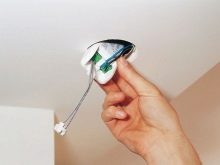
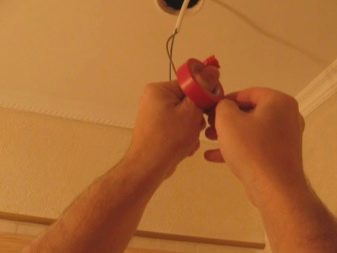
- the wiring must be de-energized, then the ends of the wires are connected to the terminals or terminals of the luminaires by pulling them through the holes made in the drywall;
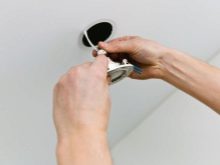
- antennae, called spring-loaded, are brought together, after which they are connected to lamps and installed in holes in drywall;
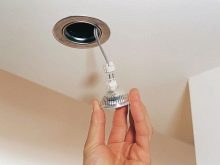
- through the hole in the lamp is connected to the cartridge;
- then attached with a retaining ring;
- the last step is to check the integrity of the structure and is finalized.
To facilitate the installation process, you should study the instructions attached to the luminaire kit. Due to the fact that the methods of installation may have differences.
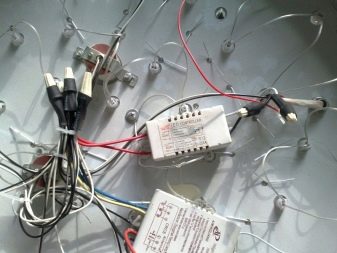
The process is as follows. We take the lamp, designed for drywall, after which we fix the wires in the terminal block. From the network, which we previously laid under the ceiling, make the connection wires. Luminaires also have markings that must be observed.
It looks like this:
- grounding is designated PE;
- the phase is labeled with L;
- zero got name N.
Next is the installation of the case in the hole, which we made at the beginning of our work. This process usually does not cause difficulties, since the hole is made under our LED lamps.
How to make installation of spotlights, see the following video.
Tips
The most popular tips:
- If you wish to achieve a “warmer” and less “harsh” lighting of the room, it is recommended to tilt your choice in the direction of a lamp with a mirror coating. This type of lamp will be less heated.
- Before starting work on the installation and connection, you must check the absence of a network connection. And during installation and electrical work must comply with safety.
- When carrying out work on the connection of lighting - it is made in parallel, which will allow to easily detect and replace a burned-out light bulb. Also with this connection, the violation of the work of one light bulb stops the process of work of all the lamps.
- Connection of absolutely all lamps is made in parallel with a train. In this case, the incision of the so-called main wire is not necessary.This allows you to leave a supply of power cable to be able to connect in the future. You can easily remove the lighting fixture if necessary.
You can independently understand the many existing types of LED lamps and correctly determine their diameter if necessary. Choose the best quality and financially suitable option.
Also, without much effort to do their own installation, saving at the same time on hiring professionals and gaining useful skills. Having carefully studied the material, you will definitely achieve the desired result.
