Plasterboard cabinets
Not always the area of the apartment satisfies the people living in it. This problem is particularly relevant in large families. Purchased furniture does not always meet the needs of consumers for financial reasons, so it is often easier to do it yourself.
Pros and cons of plasterboard products
This material is quite cheap, it is quite practical and comfortable. In skillful hands, it turns out a unique, beautiful product. Environmental damage, harm to health (release of toxins into the air, radioactivity) is completely excluded. Drywall retains heat well, allows you to install lighting fixtures; if desired, it can be painted or even covered with plaster.
The large dimensions of the sheets make it possible to make the most of the blocks from a single finished element.Because cutting and joints do not too reduce the stability of the cabinet and its mechanical properties. The positive sides of this material are also excellent sound insulation, resistance to damage by mold and other microscopic fungi.
If in the house (apartment) live suffering from allergies, then products from GCR are much more correct to use than chipboard.
To talk about the shortcomings is not entirely appropriate, because these are just the objective properties of the drywall sheet.
They should be considered in advance or refuse to use it at all:
- the cabinet will have to be built in and not moved;
- the place should be chosen immediately. The blanks are formed and cut to size without errors, otherwise you just have to throw them away;
- since not all walls are at right angles, it will not be possible to prepare components in advance;
- it is undesirable to store heavy, sharp and cutting objects in the cabinet (since it is not very strong).
The simplicity of cutting drywall makes it a very interesting structural material and allows you to create parts of almost unlimited complexity. By varying the thickness of the sheet, it is possible to reduce or increase the safety margin of the structure.So, even with the doors there should be no problems, and the furniture will calmly withstand the load created by them.
In the kitchen, it is advisable to choose the workpiece with refractory impregnation.
Species
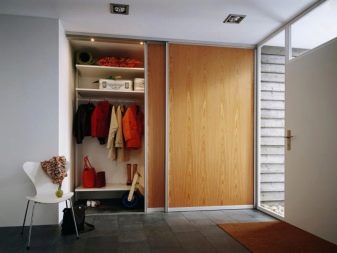
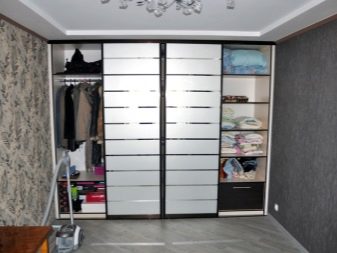
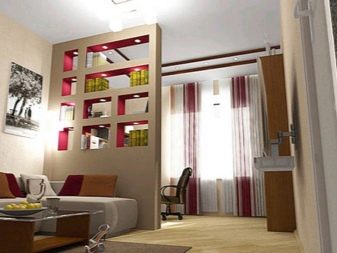
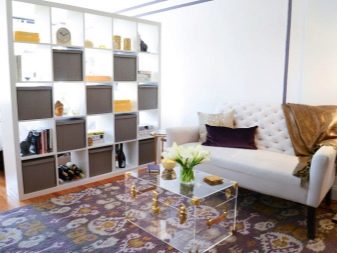
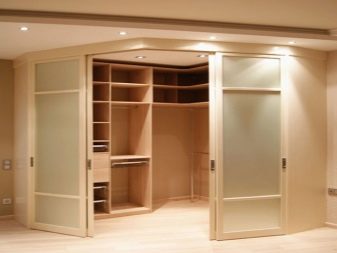
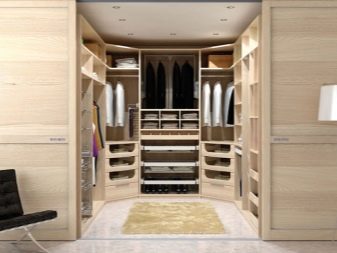
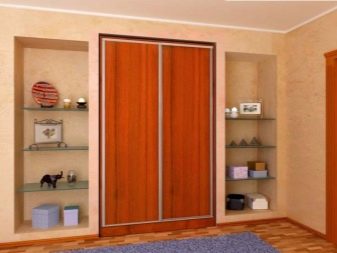
A partition-wardrobe for drywall clothes is good, which is not the case with furniture for storing heavier items. Hinged or sliding doors must be made of glass, wood or on the basis of MDF. Himself drywall for this function is not suitable. The wall-wardrobe is attractive from the fact that its sound-proofing characteristics are higher than those of ordinary walls.
By placing the entire wall of storage of things, you can:
- disclaim care of its decoration;
- place inside everything you need;
- as much as possible to free up other space.
Given the presence of drywall and frame, the dividing wall can be made extremely thin. The height of the rods and shelves is chosen so that all the clothes can safely hang or lie folded, and also to place them inside or remove, if necessary, pass easily and freely.
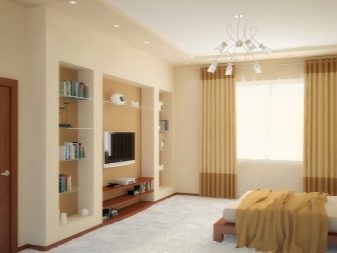
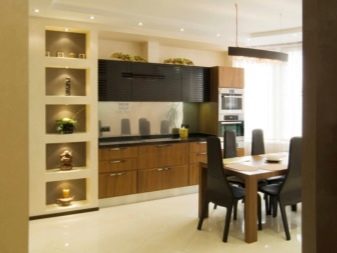
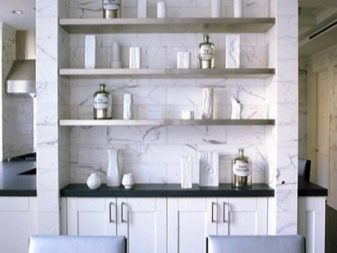
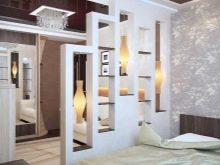
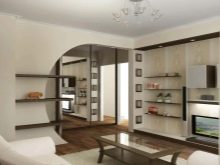
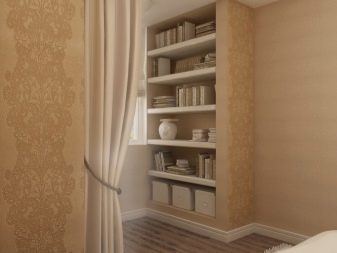
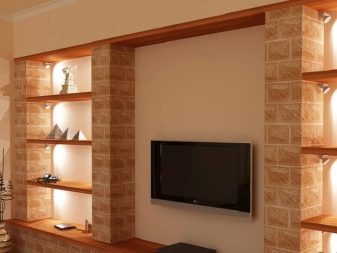
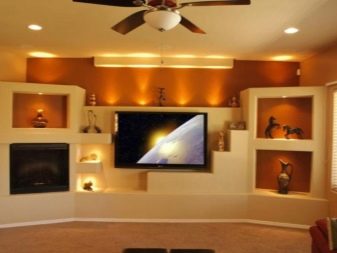
It is easy to form not only partitions out of plasterboard sheets, but also a variety of open shelving, wardrobes and even full wardrobes.In the niche is convenient to put the TV and a variety of decorative items. Supplementing it with spotlights would also be a good idea.
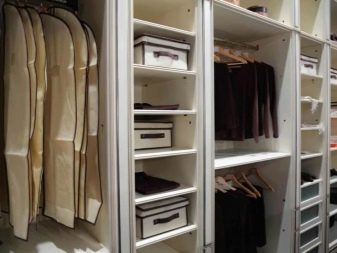
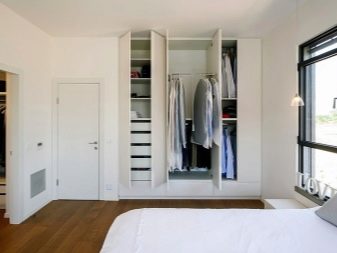
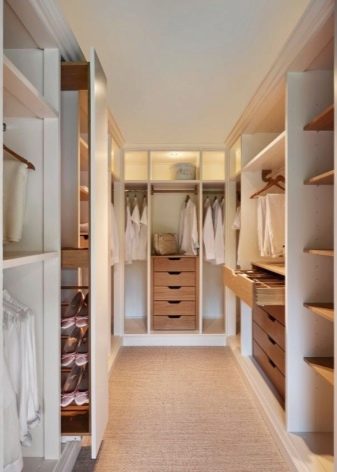
Gypsum wardrobe closet can be fully equipped with traditional parts (the same as those used in solid wood or MDF):
- shelves;
- drawers;
- shoe sections;
- pantographs;
- barbells;
- elements for the rational storage of pants or ties.
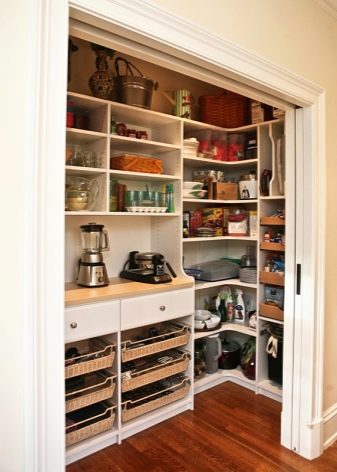
Often a wardrobe made of plasterboard is designed to store household supplies. Then inside it is useful to provide a holder for an iron or ironing board, containers for household chemicals, as well as sections for various small items and dry food.
Bookcases from this material can also be made, but the shelves will need to be strengthened to the maximum, because they will have to endure serious loads.
Where relevant?
Drywall can be used almost everywhere, and the main limit is the imagination. It is easy for him to give any form and embody the most courageous design ideas. Quite often you can find a wardrobe with a niche, which allows both to achieve elegance and increase the functionality of the product.Fire-resistant or waterproof varieties of the material allow it to be used everywhere, including bathrooms and kitchens, without fear of emergency situations.
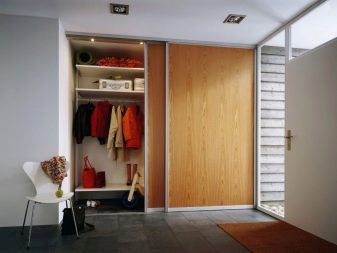
Is there no finished niche in the hallway, and there is no storage room in the hallway? The case is fixable, cabinets on the basis of GCR can be placed anywhere. The best place for them is the angle, since relying on the supporting wall increases the reliability of the furniture. In kitchens, a wardrobe partition, delimiting functional areas, sometimes appears on one side of the bar counter. Such a decision can not be considered quite interesting.
If the cabinet comes up in the bathroom, the problem of hiding the washing machine disappears, and at the same time you can install several shelves (by inserting wooden bars into the frame).
How to do it yourself?
Project development
Development of the project is absolutely necessary thing. Without it, it is very easy to make a lot of mistakes, the correction of which will be extremely difficult. Be sure to draw up a drawing and mark on it the required dimensions, taking into account where the furniture will be delivered initially (since you cannot move it).
When counting the dimensions, pay attention to the size of any compartment, the height of the shelves and the space for the drawers, as well as the points where suspended structures are provided.
Self-preparation of the sketch or the choice of a complete scheme is your own business.
The location of the created structure is marked by plumb lines, building levels, painting cords, and so on. The maximum accuracy of measurements provides the laser level. He will show what the geometry of the base and a separate angle. Want to make auxiliary lighting? It is desirable to do the wires before working with the frame.
It is important to remember that the individual parts indicated on the drawings and in the diagrams as single ones actually turn out to be paired. Consider this when you calculate the need for materials and waste.
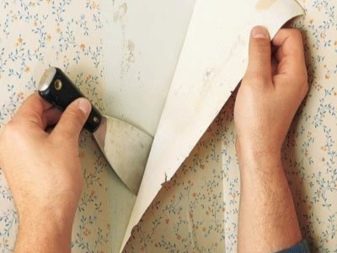
Before starting the main work, remove the wallpaper (or other coating) from the walls and thoroughly clean them, align them to perfect smoothness.
Materials and tools
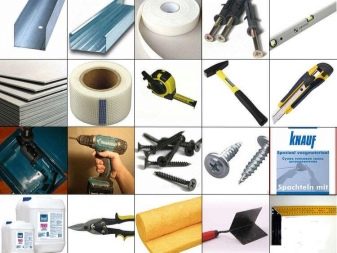
Fixtures for plasterboard cabinets can be of five types:
- dowel-nails;
- anchor screws;
- butterflies;
- snails;
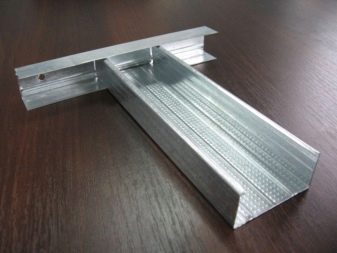
From the very beginning, decide whether a regular gypsum board is required or its moisture resistant variety. When choosing a metal profile, you should also figure out what kind of profile you need - UD or CD.Sheet protection corners can be either plastic or metal. Profiles are attached to the sheets on the screws.
In addition to the listed materials, you will still need:
- painting grid;
- composition for finishing putty;
- primer;
- decorative plaster, enamel or paint;
- accessories;
- lighting devices, switches, cables.
Choosing the roller door option, buy the kit assembly, rather than individual rollers. So it will be easier and much safer.
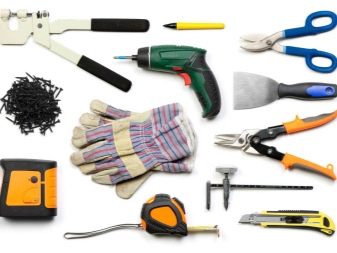
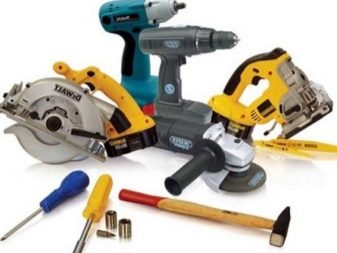
From the tools for assembling a drywall cabinet you will need:
- punch (can be replaced with a drill);
- screwdriver;
- LBM;
- containers for the preparation of solutions;
- knife for painting and measuring level;
- set of spatulas;
- edge trimmer;
- rulers and squares (to make small measurements).
Grinding of individual surfaces is done with sandpaper. Try to keep it ready. Responsible installers are sure to add to this list even the level and plumb needed for more effective control of verticals and planes.
Frame assembly
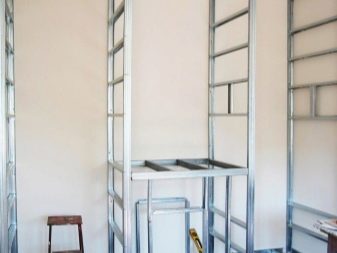
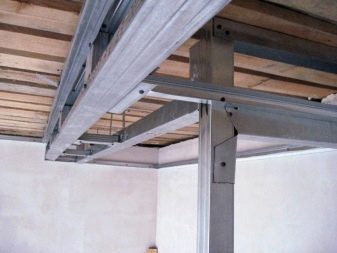
The assembly of the frame begins with the formation of its skeleton.As a rule, metal is used, but where the cabinet is subjected to intense mechanical stress, it is worth choosing a wooden beam. The steel version is more appropriate to use, because it is much more convenient and practical for inexperienced builders.
Pay particular attention to its quality and degree of drying. If it is insufficient, immediately after the final drying will begin the destruction of the cabinet. The marking will allow you to mount guide profiles with dowel-nails. Do not forget that all parts attached to the base, you need to glue the rubber insulation. Otherwise, the furniture will react to shrinkage or change its dimensions when the temperature drops. It is undesirable to move away from the project, as this may lead to insufficient rigidity of the product.
Frame assembly sequence:
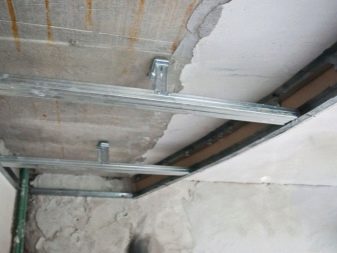
- transfer of the conceived construction from the drawing to the walls (at this stage, pay maximum attention to avoid mistakes - they will prevent the gypsum boards from being properly mounted);
- the use of shock-absorbing tapes (vibration damping, preventing them from entering the cabinet structural elements);
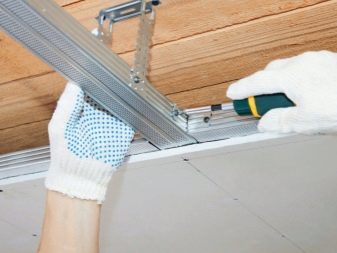
- installation of guide profiles type UD.The best thing is to cut them to the desired length with scissors for metal, and faster (but recommend only to experienced ones) with a grinder;
- installation of rack fragments of profiles. They must enter the guides;
- interconnecting profiles.
The distance between the fasteners depends on the size of the product - the larger it is, the closer the profiles should be to each other, otherwise strength can be forgotten.
Frame casing
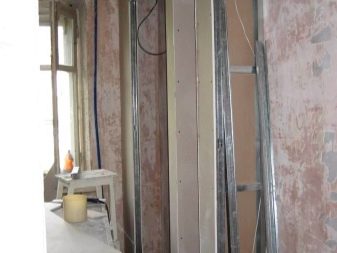
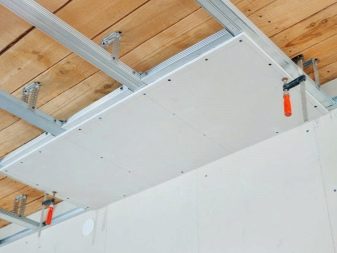
The casing of the frames does not differ from similar work in the process of installing partitions. However, the areas that need to be strengthened are sheathed with a double layer (in a checkerboard pattern). Deciding to place a closet in the bathroom, be sure to use green drywall (it is moisture resistant).
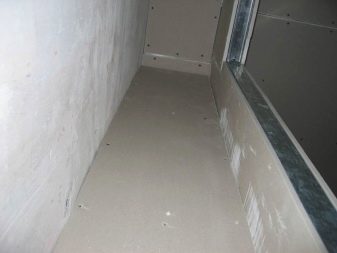
Upon completion of plating, it is worthwhile to engage in sizing joints and seams, gluing perforated corners and filling the surface. On this draft manipulations with the future cabinet can be considered finished.
Most often, the frame is sheathed with plasterboard both inside and outside, but for a small cabinet there will be only one exterior finish. If you already had to veneer plasterboard walls or ceilings, then there should be no problems at work.
The basic principles are:
- self-tapping screws for screwing into a metal with a diameter of 25 mm;
- maximum gap between attachment points - 20 cm;
- only after the block is attached around the perimeter, does it make sense to attach it in other places;
- it is undesirable to press the screws more than a millimeter in order not to break the cardboard;
- if the limiter does not work, the self-tapping screw must be removed and tightened again at least half a centimeter from the problem area (which is subject to enhanced filling);
- it is possible to simplify the processing and alignment of the seam if there is a gap of 0.2-0.3 cm between the sheets.
Finishing
Finishing is like people, of course, more than other types of work. It is in the course of such work that the final result can be seen live. The interior of the furniture is usually painted in the same color as the walls in order to visually move apart the room.
It is recommended to glue the shelves with wallpaper or vinyl film, but before that the surface must be primed. Doors can be made of laminated chipboard, tempered glass or a special mirror (the turnover of which is glued with a special coating). Pictures of nature, scenes from cartoons and so on are often applied to the doors.
The choice of a particular image is just your own business.
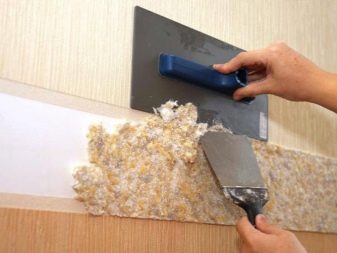
When creating a plasterboard cabinet, it is necessary to putty any hole where the screws were screwed in, as well as the joints of the sheets (the masking grid is glued to them to do everything as accurately as possible). The dried primary layer is sanded and primed, and then it is examined whether it is necessary to additionally fill it (sanding and priming must be repeated with repetition). Only then can we say that the preparation for the finishing is complete.
If the cabinet will be used in the bathroom, the shelves and walls should be covered with ceramic tiles or mosaic. Do not forget throughout the work (even when “final touches” are made) to regularly check the evenness of the structure and the observance of vertical, horizontal lines in it.
Beautiful models in interior design
There may be a question about the meaning of all these manipulations, because drywall is not traditionally perceived as a good and good construction material. This opinion is fundamentally erroneous, since in fact it is quite possible to make from it not just solid and reliable, but also very attractive externally furniture.
Many models of beautiful drywall cabinets are equipped with LED spotlights, and hidden tapes with the same LEDs are used unreasonably little, although they allow you to create very nice aesthetic effects. Designers recommend choosing multicolored ribbons. Thus, the result will be even more interesting. Please note that tiling will not be possible if you do not foresee the use of the most durable types of drywall and strong profiles at the very beginning (when designing).
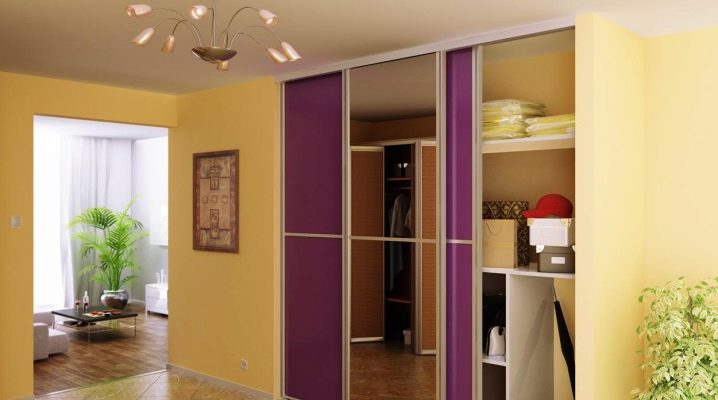
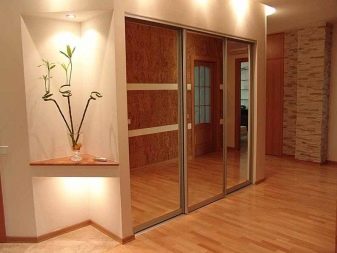
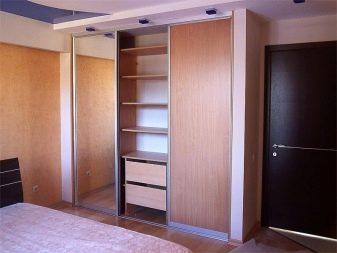
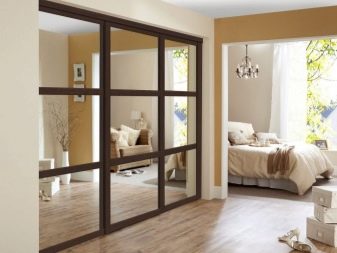
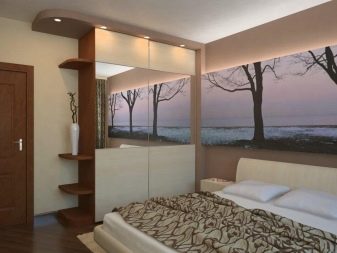
Combine the aesthetic and practical advantages of the door with mirror inserts. They will allow you to beat almost any room design, visually expand it and help save money on the purchase of individual mirrors.
As for the configuration, then making the plasterboard cabinet straight or angular is a personal matter. When there is no full confidence in their abilities, it is most likely to use the option with open shelves. Such furniture will allow you to store dishes and other utensils, bulk materials and all sorts of powders, jars and bags, so frequent in modern life.An interesting solution in many cases is the pasting of the surface with a film with an imitation of the look of natural wood and even its texture: it is inexpensive and elegant at the same time.
As we see, it is quite simple to build a cabinet on the basis of a plasterboard., it will allow saving money, and not to be limited to ready-made store solutions, and to get quite a comfortable piece of furniture. If you still doubt the aesthetic advantages of such a choice - know that it is drywall that is used by leading designers of Russia and the world.
How to make shelves of plasterboard in the bathroom - the following video.
