How to build a shed with a lean-to roof with your own hands?
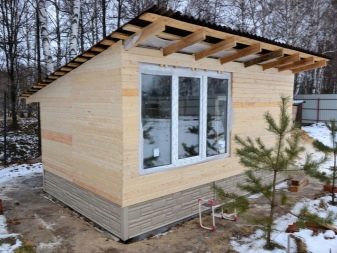
In the country can not do without a barn in which you can remove all gardening equipment, hammock and light furniture. Winter supplies in it, too, there is a place. At the same time, it is not necessary to build an overall design: everything you need will fit in a small shed with a lean-to roof.
Special features
A shed with a lean-to roof is characterized by simplicity and speed of construction. It can either be built from scrap materials, or you can purchase everything you need in a hardware store, paying an acceptable price for it. This small building reliably protects household belongings from the vagaries of the weather, and even a non-professional can mount it.
Such a barn has a number of drawbacks, if we compare it with a building with a gable roof. So, a lean gable roof can carry a strong gust of wind, so erect the structure behind the house or attach it to your summer house for greater safety.
A single-pitch roof will not allow the attic to be built, and the building itself often does not look very attractive. To fix the case will help modern finishing materials, with which you can fit the building into the overall design of your site.
Project
First of all, find a place for future construction: it should be located either on the edge of the suburban area, or close to the house, and for it you should choose the areas that are least suitable for agricultural work.
This can be either a remote area or a very shaded place. It is important that it is located near the main front of work: this will allow you to quickly get and remove the necessary equipment. If possible, place the building on a hill that will provide additional protection against water and extend its life.
A shed with a shed roof is to fit organically into the existing or designed complex of summer houses.The future utility room should not interfere with the passage of transport and your movements around the site. For the construction of the barn does not require special agreements, but the building must comply with sanitary and fire safety standards.
According to the SNiP, the distance from your building to the house on the adjacent site is at least three meters. If you plan to place any living creatures in the extension, keep the barn at a distance of four meters from the neighbors. The shed should be located a meter from the nearest farm building and shrub plants, two from medium growth and four from tall trees.
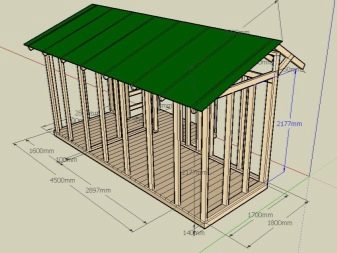
When you decide on a place, make a drawing on paper or a 3D project on a computer in order to best imagine the dimensions of the future construction, to divide it into several functional rooms, to determine the structure of electrical networks. The optimal size of the structure is considered to be 3x6 parameters - even such a modest area will allow not only an economic unit to be located inside the barn, but also a summer shower or a summer kitchen.
If the plot area allows, build a larger barn - 4x6 or 4x2. The spacious design will be a great solution if you want to settle animals or poultry in it. If the breeding of living creatures is not provided, the building will house the summer inventory, and any functional room like a shower or a kitchen, and the pickles will be free to take place on the shelves.
Materials
At the design stage, determine what materials you will need for construction. After all, the cost of future construction depends on them. The budget option is considered to be wooden or metal frame construction.
In the first case, the frame is made of timber, which requires treatment with special antiseptic agents. In the second - from more durable steel shaped pipes that need anti-corrosion treatment after installation.
Regardless of your preferences, you will need boards, siding, or professional sheets for building construction. The indisputable advantage of the frame structure is not only quick installation and long service life, but also the ability to transform the shed by replacing the skin without touching the frame.
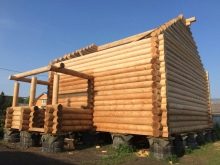
The most popular buildings are made of such scrap materials as boards and wooden beams.From a bar construct the framework sheathed by boards. The result is a light, but non-durable structure, the service life of which is on the strength of five to six years. The building should be constantly updated and monitor its condition.
If you need a reliable, durable and fireproof construction, give preference to the fundamental brick buildings. Creating such a caravans will cost a pretty penny, but it will serve more than one generation.
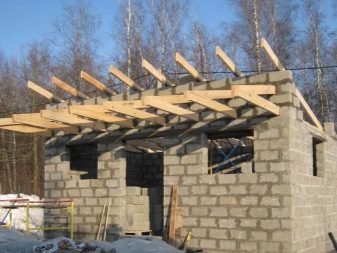
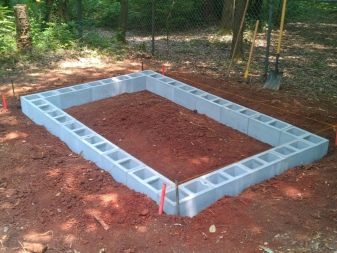
Instead of expensive brick, it is also acceptable to build from more budgetary foam and cinder blocks. Compared to brick buildings, they weigh less, have greater strength and heat capacity. The walls of the blocks "breathe" no worse than wood, and they are also safe and non-toxic.
The only drawback of a block shed is an unsightly appearance that will only be fixed by decorative materials like brick, siding, plaster, and also natural or artificial stone.
After you decide on the material for the walls of the shed, proceed to the choice of roofing building material, which determines the angle of the slope of the roof.Thus, the angle of inclination for a soft roof is 5 degrees, corrugated - 8, metal tiles and roofing material - 25 and slate - 20-35 degrees. The angle of inclination below the specified values do not do, otherwise it will lead to leakage of the roof and damage to the property stored in the building.
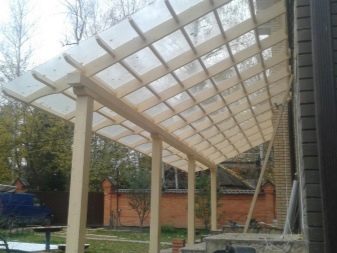
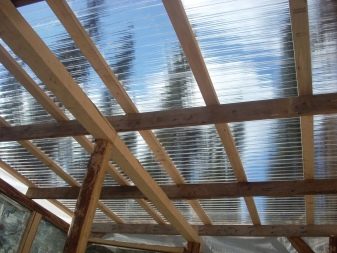
For the arrangement of the roof it is permissible to use sheets of monolithic polycarbonate with such properties as high impact resistance, transparency and resistance to any vagaries of weather.
UV protective coating will prolong the life of this material, and its main disadvantage is thermal expansion. This phenomenon occurs on hot summer days when the sun burns through the roof. To avoid material deformation, leave a small gap when tightening each fastener.
Rolled roofing felt is considered the cheapest option for roofing. It is easy to install and is designed for roofing of any complexity. But it does not look aesthetically pleasing, and it should be laid in several layers. For example, when the slope of the roof slope to 15 degrees will need four layers of roofing material.If the angle of inclination is up to 45 degrees, the roofing material is laid in three layers. In the end, "layering" affects the cost of building materials.
Building
The necessary calculations are carried out, the materials are selected. It's time to start the construction work directly, because it is quite possible to build such an extension as a lean-to barn with your own hands. To understand how best to do this, consider the construction process in stages.
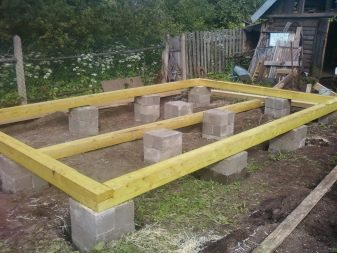
Let's start with the foundation. The columnar foundation is designed for lightweight construction (most often it is equipped for frame structures). For his device, it is necessary to mark the ground with a rope and pegs. On the perimeter and in the corners they dig holes with a depth of at least 50 centimeters. A layer of sand and gravel is poured at the bottom of each hole. Then install one of the types of pillars of brick, concrete, asbestos pipes from 150 mm in diameter, PVC pipes and even railway sleepers. Pillars made of pipes should be poured with concrete, and brick and block supports with a porous surface should be treated with mastic or any other water repellent.
For the device of the strip foundation around the perimeter of the future construction, a trench is dug 25-40 cm wide and 40-60 deep (taking into account the depth of soil freezing during the cold season).Then, sand, crushed stone and gravel are poured at the bottom of the trench, which should be carefully tamped, set up a timber formwork, fix the reinforcement and pour concrete. After that, the foundation is left alone for two or three weeks, waiting until it hardens, and then proceed to the next stage of construction work.
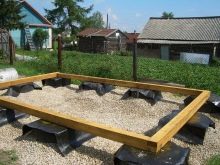
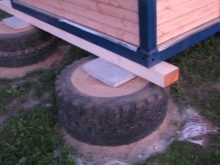
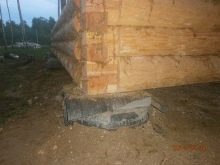
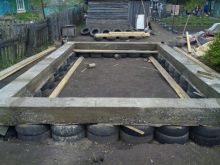
In addition to the well-known types of foundations, the arrangement of the foundation of automobile tires is acceptable. In addition to sheds, it is also possible to build gazebos, baths, garages and even summer kitchens on tires. At the same time, constructed structures should be light and small-sized, since the construction of large objects on such a foundation can lead to unpredictable consequences.
In general, tires are budget and affordable material, easy to install. It does not let moisture in, protects the building from the appearance of cracks, and also dampens soil vibrations, which makes it indispensable in any seismically unstable region.
The foundation of tires can be columnar or monolithic.
The first is set as follows:
- Garbage is removed from the construction site and the fertile soil layer is removed.
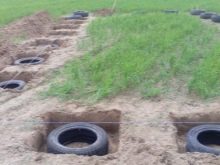
- If a submerged base is to be installed, wells are dug for tires.
- The pegs are driven in along the perimeter of the future building, and then they are checked to be installed in the same plane by measuring the diagonals.
- Install the bars, and then they put on tires (or put them in the pits).
- The outer surfaces of the tires are aligned so that they are at the same level.
- Inside, tires are filled with rubble, gravel and any other dense material. Similarly, fill the distance between the tires.
- The next step is to pour a concrete solution inside the tire. Cement should be moistened periodically and covered with polyethylene.
- After that, you should cover the tires with roofing paper, mount a sanding formwork with a height of 100-150 millimeters, install rebar inside and pour concrete.
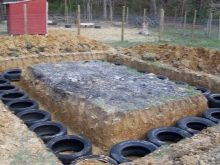
The submerged or elevated monolithic foundation of tires is ideal for areas with high groundwater levels.
Arrange it like this:
- Remove the layer of soil with a depth of 20-30 cm and align the construction site horizontally with the help of a leveling tool.
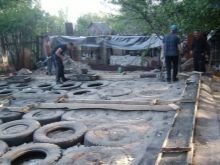
- On the area of the marked area closely laid one or two layers of tires.The height and diameter of the tires has a positive effect on the damping and waterproofing properties of the material.
- The inner parts of the tires and the intervals between them are filled with rubble and gravel (any dense building material will also work), tamped carefully and poured with cement.
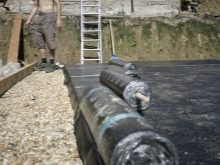
- The ruberoid is spread over the entire area of the laid tires and reserves are left on all four sides of the future foundation.
- A formwork with a height of 100-150 millimeters is mounted along the perimeter of the future structure, taking into account its partitions. Metal reinforcement is installed in it and poured with concrete.
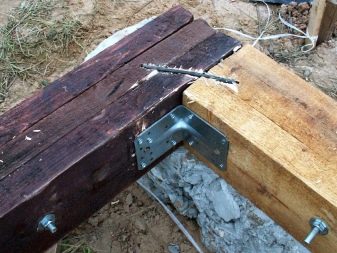
After the construction of the foundation proceed to the creation of the bottom trim, performed from a timber section of 100 to 100 or 150 to 150 millimeters. To do this, the ends of the timber should be chopped off by the “half-wood” method and connected with metal clips.
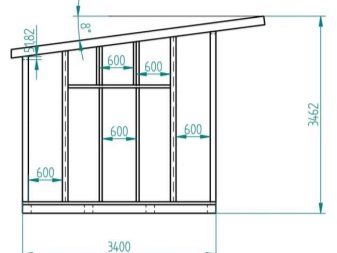
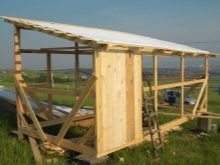
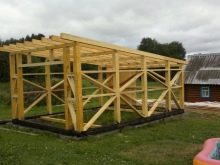
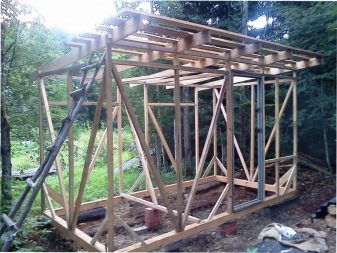
The next stage of work is the assembly of the frame: To make it, install vertical racks and align them with a building level. Installation of the front wall is performed so that the desired angle of inclination of the roof is obtained. Racks should be strengthened with the help of temporary slopes and at the same time outline the location of future windows and doors, so as not to suffer with their sawing.
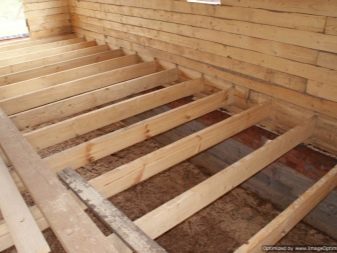
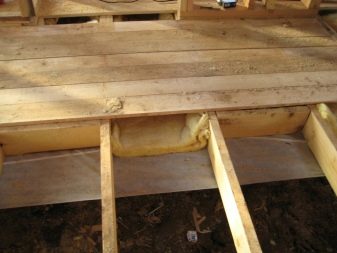
Then on the frame should be mounted sex lags, attaching them with an interval of 60-120 centimeters. The floor is laid using trimmed or specially grooved boards.
After that, beams are installed on the supports (the so-called top trim or Mauerlat) and begin to mount the roof:
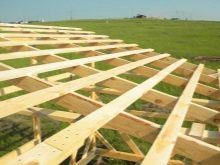
- Calculate the length of the rafter by adding two-sided overhangs to the spacing between the walls. Often this parameter does not exceed 400-500 centimeters.
- Proceed to the manufacture of the control truss legs: take the board, cut it to the desired length, try on and outline the place for mounting.
- According to the model make the required number of rafters.
- Perform installation of the front and rear truss legs, and then tightly tighten the thread between them.
- On the thread set the remaining elements with a step of 600-800 centimeters, fixed by nails and steel corners.
- Waterproofing materials such as film or roofing felt are attached to the rafters with an overlap by means of a construction stapler.
- The rafters are laid on rafters, the pitch of which is determined by the characteristics of the roofing material.
- The final stage of work is the laying and fixing of roofing materials in accordance with the instruction manual.
Construction completed.It remains to install doors and windows, as well as to process the shed with protective agents and sheathe it with any finishing material in order to give the building an aesthetic look.
Successful examples and options
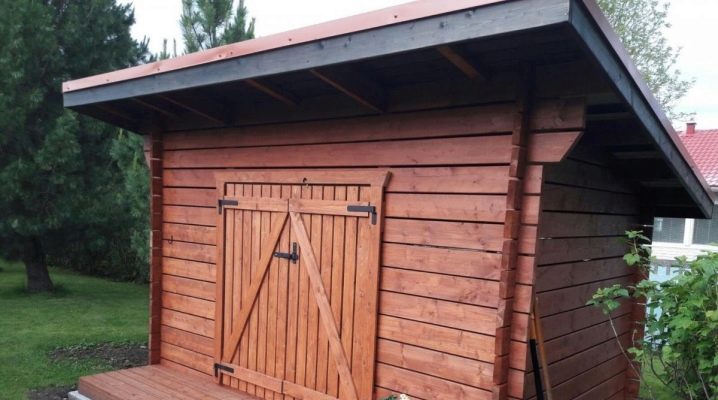
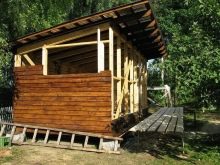
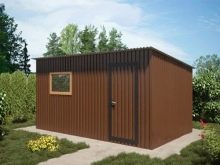
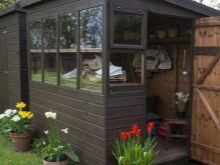
The dark plating of a small building contrasts with bright greens and potted flowers. The optimal solution not only for storage of country stock, but also a worthy addition to the design of the suburban area.
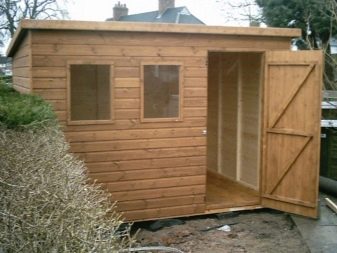
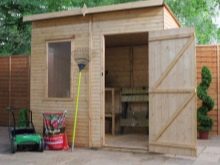
Compact building does not have an unusual design, but it is convenient to place everything you need for a garden. A great option for owners of medium and small plots.
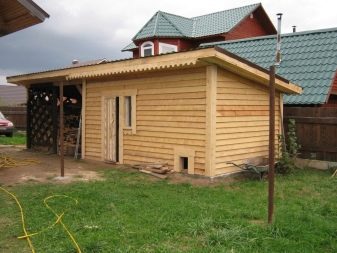
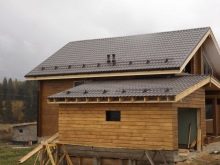
Attached to the house design will shorten the way from the kitchen to food supplies and from the garden to the necessary equipment. Skillfully organized space will allow you to arrange all the attributes of a summer holiday so that at the right moment they will immediately be at hand. And under the roof of a barn arranged according to all the rules, they will remain in proper form.
How to build a shed with a shed roof, see the following video.
