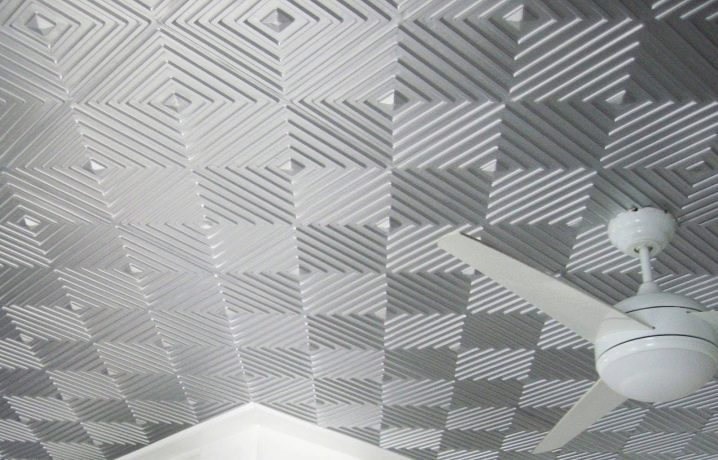
Foam ceiling tiles: general information and variations
If there is a desire to make repairs in the apartment, but there is not a lot of money for materials, then you should pay attention to the ceiling tile of foam plastic. A wide selection of textures and colors allows you to find the best option for every taste. Convenience in installation will allow to make gluing tiles independently.
Special features
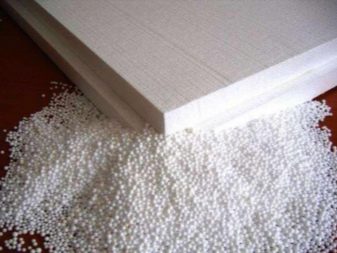
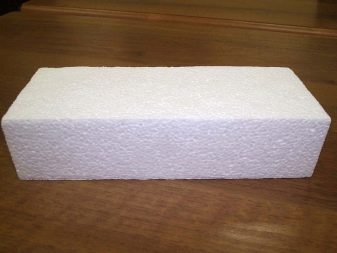
Everyone since childhood is familiar with foam plastic, the full name of which is extruded polystyrene foam or styrofoam. It is very popular in the construction industry. Today, various construction materials are made of foam plastic due to its unique structure. It consists of a huge number of small air cells.
Polyfoam is characterized by ease of construction, ease of processing, and also features the ability to create any shape of the product.Another important feature of this building material is that it perfectly retains heat. The universality of the foam is manifested in the fact that it is used to create many building materials.
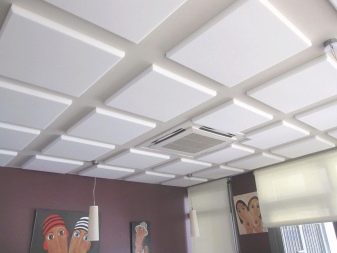
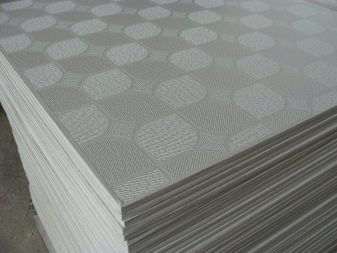
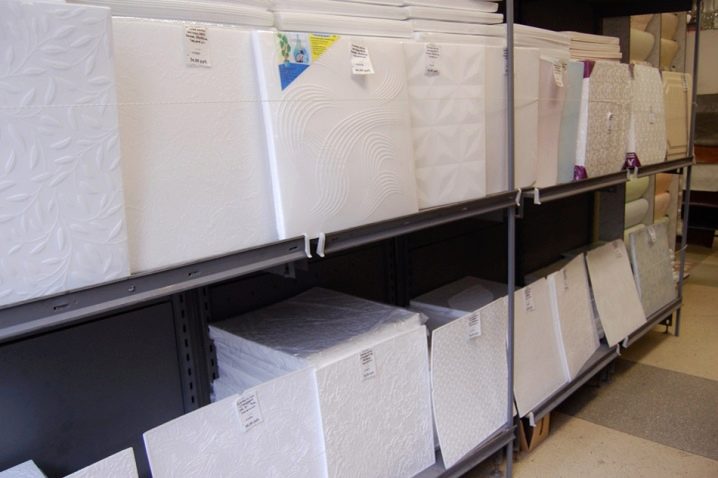
Mostly foam tiles for the ceiling are represented by a square shape. Standard sizes are 250x250, 300x300 and 500x500 mm. On sale you can find rectangular options, which are called panels. This option is used for finishing ceilings in public spaces that are not intended for living. The standard size is 1000x165 mm.
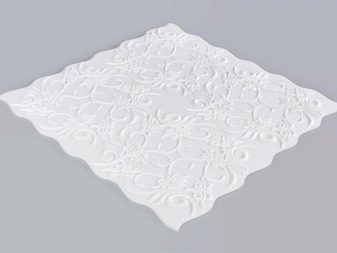
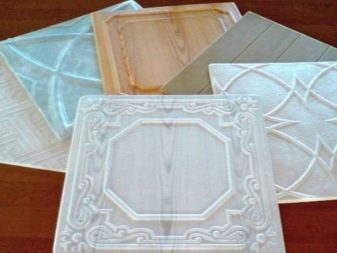
Modern manufacturers of ceiling foam tiles offer this material in other forms, sometimes you can even come across irregularly shaped options. Such a variety allows you to create amazing compositions on various subjects.
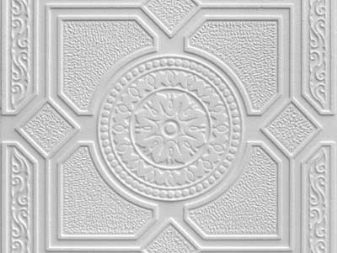
Polyfoam is presented in white color and is added with an ornament on the face. This tile is usually used to finish the ceiling for painting using a water-based composition. To ensure excellent absorption of paint, this material has a matte surface. This option is very little, so it is often used for subsequent painting.
The foam plate has a thickness of up to 14 mm, but standard sizes vary from 2.5 to 8 mm. The ease of the material belongs to its main advantages.
So, to cover the ceiling of 20 m², it will take about 4 kg of foam tiles.
When calculating the required number of tiles with a size of 500x500 mm, the ceiling area should be rounded to a larger figure, which is divided into five. Since the last row of the tile will have to cut. If diagonal laying is applied, then another 15% should be added to the total number of tiles.
Advantages and disadvantages
Extruded polystyrene foam, like other materials, has advantages and disadvantages.
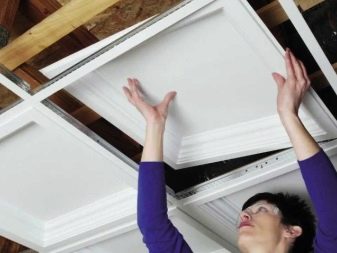
The main advantage of foam ceiling tiles is that it can be easily glued to any surface. The low weight of the material, as well as the convenience of trimming, make installation quick and easy.
This material is characterized by excellent heat and sound insulation properties. It can even be used for the arrangement of children's rooms, because it is safe, because it does not contain harmful substances.
Many prefer this finishing material, because it is inexpensive, and also adhesive for installation has an affordable price.If you choose the right finishing material for the ceiling, then it will last for many years. When using large tiles, ceiling cladding can be made very quickly. Since the foam tile has a small thickness, the height of the ceiling after its installation practically does not change.
The tile from polyfoam gives in to coloring. White material can get any shade. The tile can be painted up to seven times.
Easy installation allows you to do everything yourself without special skills and abilities.
But apart from the merits, the foam tile has some drawbacks, which you should become familiar with before deciding to work with this material.
The main disadvantage of foam plastic is its fragility, so you need to be very careful with it. A significant disadvantage is vapor tightness. The ceiling can no longer absorb excess moisture. It is difficult to mask the seams between the tiles. You should not get a very cheap foam, because it tends to yellow quickly.
Kinds
Modern manufacturers offer three types of foam plates, which differ in properties and method of manufacture.
Stamped
It is made from polystyrene blocks due to the application of the stamping method. Its main characteristics are low weight, low density, as well as the presence of embossed print. Its thickness varies from 6 to 8 mm.
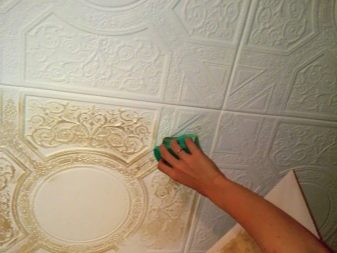
This tile is the cheapest, so its properties are much lower than those of other types of foam tiles. It does not have a protective coating, is afraid of exposure to water and is characterized by fragility. This ceiling should not be washed, so you can use only the dry option for cleaning or wipe the surface using a wet sponge.
This kind of tile can not boast of a clear form, so during installation may appear gaps of different sizes.
Extruded
It is made of polystyrene mass due to the use of the pressing method. It has a high density. Its thickness is generally only 3 mm. It has a protective coating, so it can be washed even with water. Since extruded tiles have a smooth surface, they can imitate wood-like surfaces, marble or other materials.
The main advantages are in long service life, beautiful appearance and excellent strength. If we talk about the shortcomings, it is worth highlighting the fact that the tile is not susceptible to staining, has an uneven surface from the inside, and during installation, noticeable connecting seams are formed.
Injection
It is the highest quality. It is made using the method of roasting polystyrene in molds. Its thickness is 14 mm. The peculiarity of this type is the increased strength and clarity of the geometry of the embossed print. The joints of the tiles during installation are of high quality, which guarantees the creation of a holistic surface.
The injection tile is fireproof because it does not burn. It can be washed with various detergents. If desired, it can be painted.
This option is even suitable for finishing the bathroom.
How to choose?
To make the ceiling look beautiful and smooth, you need to follow the advice of experts when choosing it:
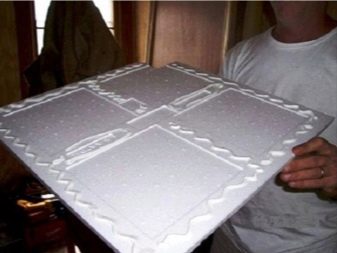
- The tile must have smooth edges., then its installation will not take much time, and there will be no large gaps between the tiles. If it is different curved or deformed edges,then you should not buy it at all.
- It is necessary to check the strength of the material. Just push the edge of the tile a little. If it crumbles, then such poor quality material should not be bought.
- It is necessary to pay attention to the uniformity of the structure and density of the foam. It should not be waves or dents.
- An important criterion is the quality of the print. The picture should be clear and readable.
- Before buying a tile should be checked for quality. It is necessary to lift it for one edge and slightly shake. If the edge is not broken off and not deformed, then it can be used to finish the ceiling.
- If you want to create a single canvas with no joints, then you should use a seamless version. It has a smooth edge without edging. But here you need to correctly approach the process of sticking, each tile must be exactly fitted to the next.
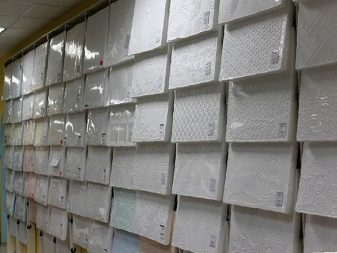
- Do not purchase foam tiles online, because not always the material in the picture and in reality is the same. It is better to look at the samples in order to understand what the material looks like, what it feels like.
- Many buyers leave positive feedback on foam tile. Therefore, remember that even among inexpensive materials you can find a decent option for the implementation of the repair.
Surface preparation
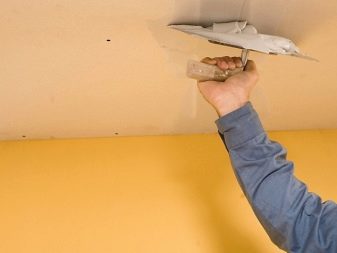
First you need to pay attention to the condition of the surface of the ceiling, which will later be glued foam tiles.
It is necessary to make preparatory work:
- If the ceiling has level drops of more than one centimeter, then it is worth starting with the alignment of the ceiling.
- If wallpaper has been stuck on the surface, it is necessary to dismantle them, and also carefully treat the ceiling with a primer.
- To eliminate whitewash from the surface, it must first be washed off and then primed.
- If the ceiling was painted with oil paint, then it should be thoroughly washed with soapy water, then remove all the swollen paint.
- The ceiling painted with water-based paint should be wetted abundantly, then dried using a heater or a draft, and after 30 minutes the paint can be removed from the surface with a spatula.
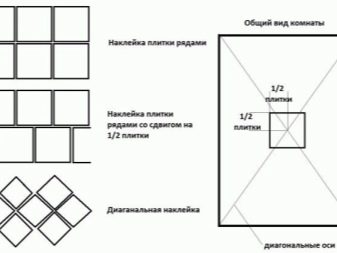
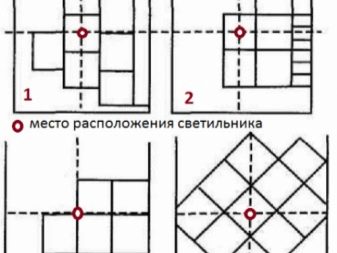
For gluing tiles to the ceiling, you can use one of the methods: parallel, diagonal, with an offset (like brickwork) and combined (done through the use of tiles of different colors).
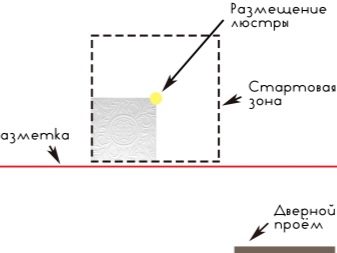
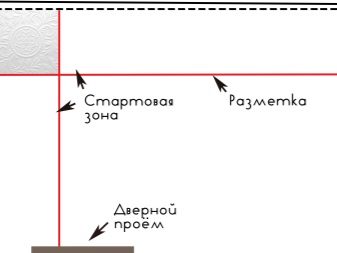
In order for the elements to be arranged exactly and in a certain order, first we should mark the ceiling:
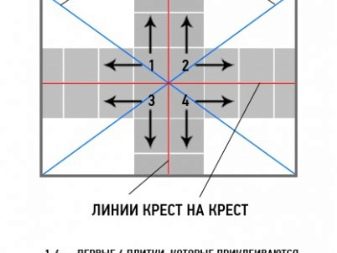
- It is necessary to stretch two perpendicular lines using a paint cord. It should be pulled like a string. Each line will divide the surface into two equal parts. The geometric center will be located at the point where they intersect.
- To make laying in a parallel way, it is enough to create a marking of two lines. To be sure, you can still draw parallel lines at a distance equal to the width of the tile.
- To use the diagonal method, additional markup should be made. From the geometric center you need to draw lines to the perpendicular lines of the first marking, while maintaining an angle of 45 degrees.
- The first tile should be glued in the center of the ceiling. There are cases when work can be started from the most conspicuous corner of the room.
Adhesion technology
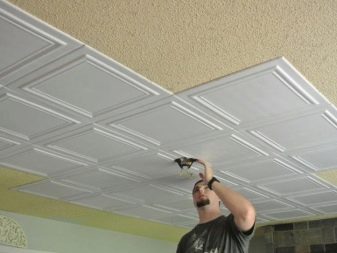
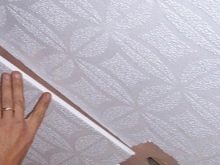
The process of gluing polystyrene tile to the ceiling is quite easy and simple:
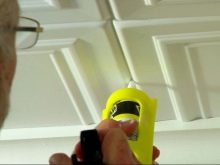
- On the tile you need to apply glue, namely: in the center and along the edges. If desired, glue can be spread on the entire surface.
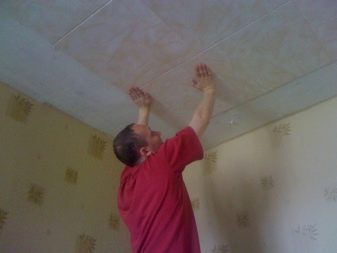
- Tile should be pressed tightly to the surface of the ceiling and wait for about 30 seconds.
- Smoothly need to remove your hands. If the tile is held on the ceiling, then you can move on to the next.
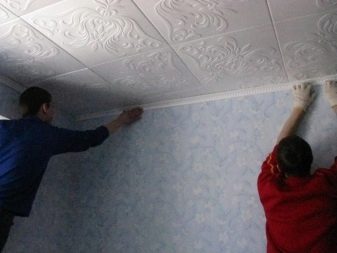
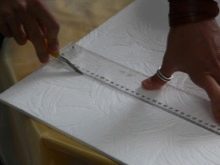
- The last row of tiles most often has a smaller size than its standard height, so it is necessary to cut it with a sharp knife to create the required size.
- When the entire ceiling is pokleen, it is worth moving to work with slots. To eliminate them, you can use acrylic sealant or putty. If the gluing of the tile is made on a putty, then the sealing of the seams can be carried out immediately in the process of gluing.
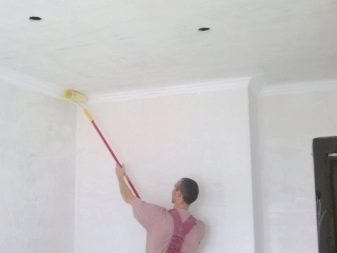
- After all the work is completed, it is necessary to allow the tile to dry completely, so the ceiling should not be touched for a day. After drying, if desired, you can start painting the tiles.
How can I wash?
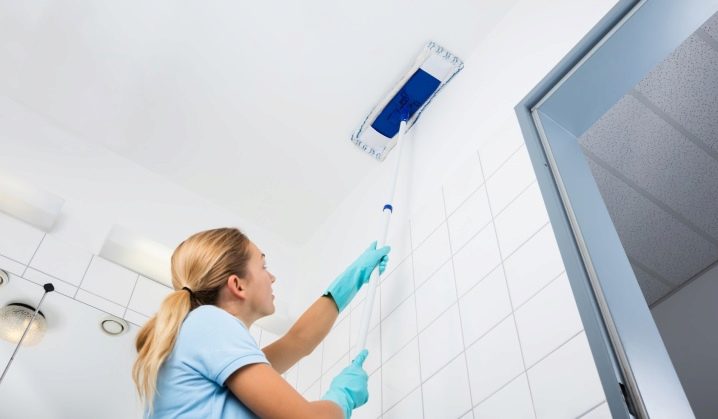
Ceiling tiles can be cleaned of dust using a vacuum cleaner or a soft fleecy brush. But sometimes you just need to wash it.
For cleaning foam tiles, you can use those detergents that are on hand, but it is better to give preference to liquid products.It can be a liquid detergent or dishwashing detergent.
The powder usually incorporates abrasive particles that will not damage the tile surface, but may leave stains after washing.
It should be very neat with stamped tiles, because it has a low density, so it can be washed only as a last resort. Injection and extruded tiles are not afraid of contact with water, as well as mechanical effects that occur during washing.
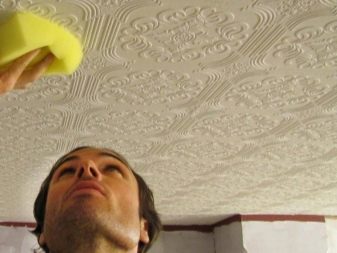
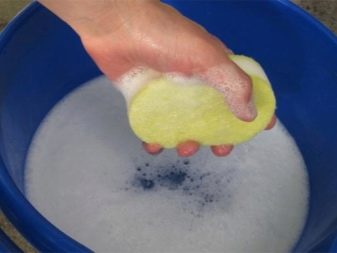
The tile from polyfoam is washed the same as the stretch ceiling. You need to take a soft cloth or sponge, pre-moisten in a soap solution, which consists of detergent and water. The solution must be distributed between the relief grooves. To wash the foam, you can use a wet sponge or flannelkoy.
If it is impossible to remove moisture from the relief depressions using a sponge or cloth, then you can use toilet paper or paper towels.
If the moisture is not removed, then after drying on the tile will surely appear a dirty mark.
How to paint?
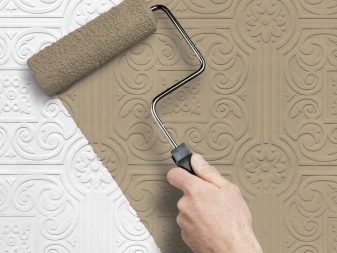
To refresh the foam tile, do not whiten it.The ceiling foam coating can be painted, but only some types. For example, the laminated surface can not be painted.
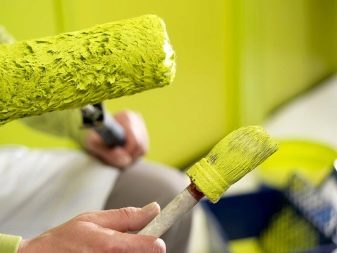
If the foam tile can be painted, then you should give preference to water-based or acrylic paint.
To tile foam look attractive and stylish after painting, you should follow several recommendations of experts:
- The quality of tile coating is of great importance when choosing paint.
- It is worth paying attention to the paint consumption, the degree of haze and composition, sometimes it includes protective elements or special additives with antiseptic properties.
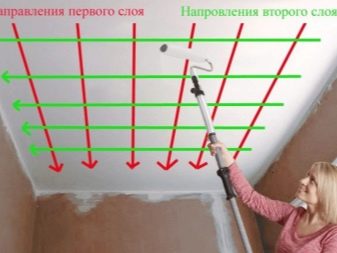
- Painting the ceiling should definitely start from the window.
- The movements should be smooth, as this will directly affect the quality of the painting.
Examples in the interior
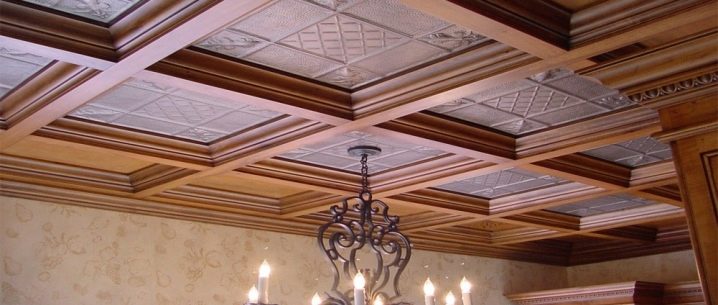
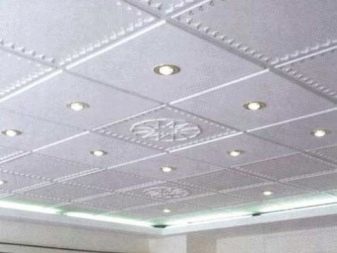
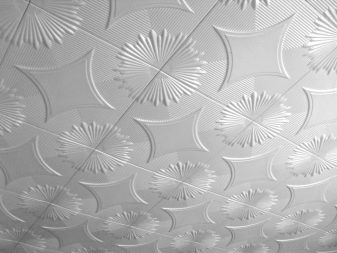
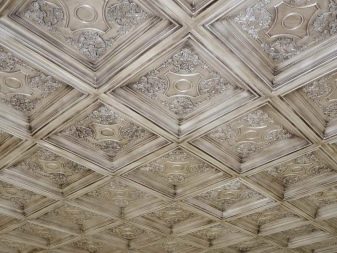
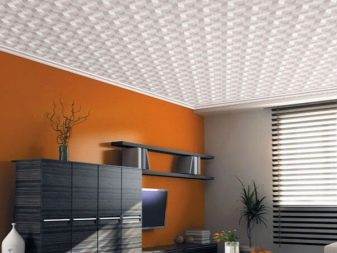
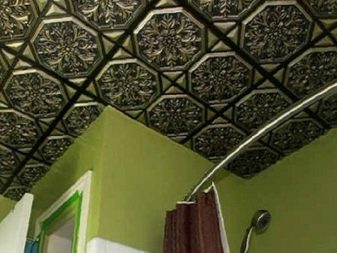
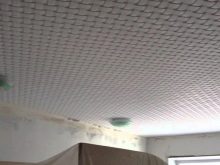
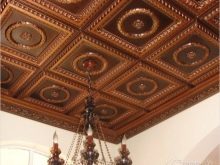
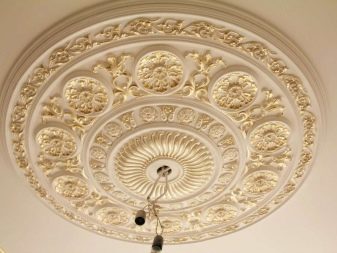
The ceiling tile from polyfoam is applied to finishing of all surface. Decorative tiles are in great demand: it attracts attention with an original pattern that allows you to create an unusual print on the entire ceiling area.
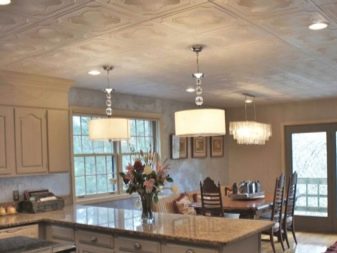
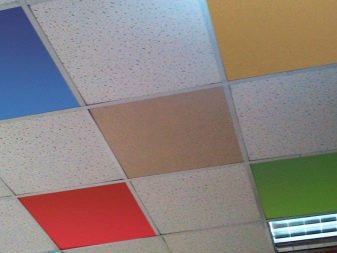
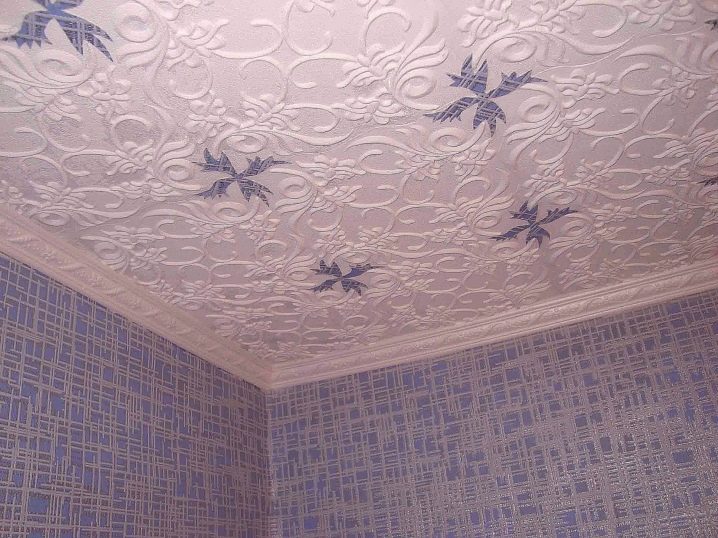
Seamless tile on the ceiling looks great. One gets the impression of the integrity of the canvas.At first glance, it’s not even possible to assume that ordinary foam tiles were used to create such a surprisingly stylish ceiling. The small blue inserts on the ceiling tile are in perfect harmony with the color palette of the wallpaper.
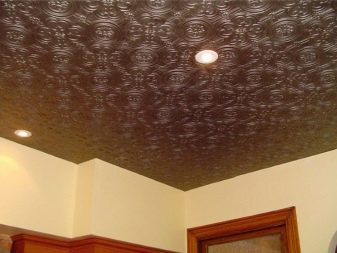
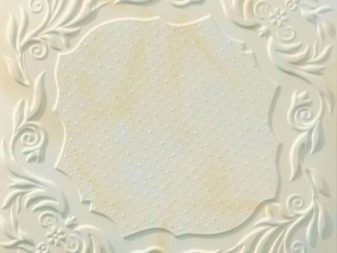
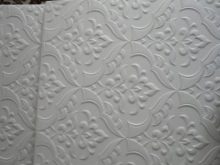
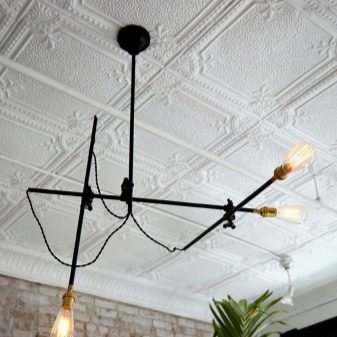
The tile from polyfoam with the relief invoice allows to create various patterns on a ceiling. She gives coverage voluminosity and luxury. White color is universal, so it can be used for kitchen decoration, and it will look beautiful in various public places.
How to glue a ceiling tile from polyfoam, look in the following video.
