How to perform a replacement bead on a plastic window?

Owners of plastic windows sometimes have to deal with the need to remove the glass in order to wash or replace it. The first thing to do with this is to remove the bead from the plastic window.
What it is?
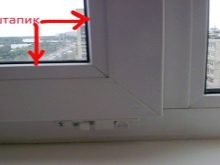
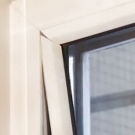
Shtapik is an integral part of a window (not only plastic, but also glass, an old sample), which the owner of the window often does not even suspect. You can’t see it from the outside, as it is fixed from the inside to avoid undesirable penetration into the apartment through the window (by removing the glazing, you can easily remove the glazing itself). But indoors, it merges with the plastic frame and is not particularly noticeable. Because of this, it gives the window a look of completeness, integrity and aesthetics.
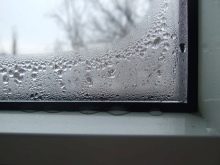
And yet the main function of this inconspicuous part is to fix the glass in the frame. Thanks to the glazing bead, the tightness of the glass unit is achieved. In case of poor-quality installation of the glazing bead, the windows lose their sound and heat-insulating qualities, fog and lose their attractive appearance.
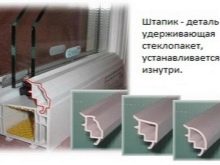
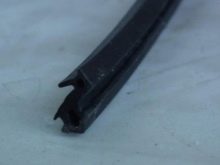
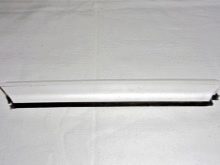
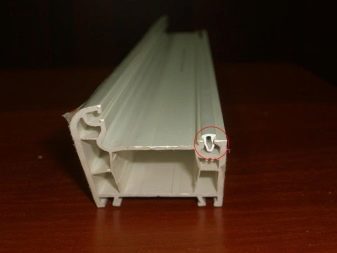
Bead is an elongated wide or narrow rail made of foamed polyvinyl chloride (PVC), reinforced with a rubber gasket. Recently, glass compositum beadings have been used - plastic material from fiberglass and polyester resins as a binder. On the strength of such a material can be compared with steel.
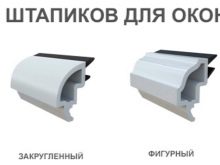
Beadings are distinguished by their shape:
- rounded;
- square;
- curly.
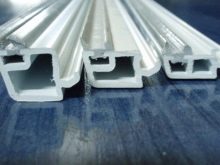
Figured have a somewhat complex shape and cost more than the usual square. The sizes they also differ. There are narrow and wide beadings. The wide ones are placed in the windows with single-chamber packages, the narrow ones in the windows with three-chambers, for the four-chamber window there is a reinforced bead.
How to remove?
In most cases, removing the bead is required to replace it. Like any part, it has its own life, it loses its hermetic quality.And sometimes it is necessary just to wash the window - the owner of an apartment on the 5th floor and above it is problematic and dangerous to do outside.
To dismantle the bead does not need to have any special knowledge and skills, experience or tools. Important desire, patience, accuracy and some free time. You can, of course, call a professional for dismantling, but:
- this service, like any other, costs money, often unnecessarily large;
- A specialist may simply refuse to come to do such a simple job.
Therefore, to save money and with minimal knowledge and a certain skill, you can do it all yourself. Even a housewife can cope with such an operation, and she will do it no worse than a professional brigade.
The master on all dismantling works takes no more than 30 minutes. Of course, it will take more time for a nonprofessional to do this, but this is the case when you don’t need to hurry.
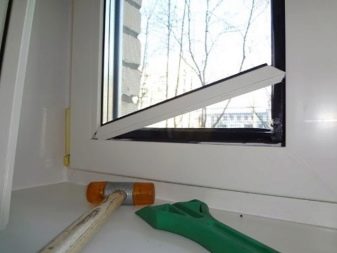
First you need to prepare the tools. From tools useful trowel, chisel or knife with a wide blade. Still need a hammer, better rubber, if available. Sharp corners must be rounded off before performing work.grinder, and the blade a little blunt, as there is a risk of damage and bead, and the glass. And you can injure yourself. It is better to work with gloves, cloth or rubber to protect yourself from injury - you can easily get hurt about the sharp corners of the slats or the tool.
Therefore, no hurry! And yet, the window is heavy in its weight; it will not be easy for one person to pull it out, therefore it is advisable to take an assistant. It is better to start work in the warm season or in warm weather, since at low temperatures the plastic will become harder and therefore more fragile.
Before dismantling, you need to prepare a workspace:
- remove all unnecessary and disturbing things;
- the place where the glazed unit, if necessary, will lie, cover it with cardboard or other dense material in order to protect the flooring from sharp edges and corners of the glass unit;
- if necessary, cover the furniture with a cloth or film so as not to stain it.
The process of dismantling the bead can be done using the recommendations of experts.
Mark items with a washable marker, a felt-tip pen or a pencil, so as not to confuse them during assembly.The fact is that in the manufacture of these elements, measurements are made so that the bead exactly fits a certain glass unit. If you put the item is not in size, the window may simply fly due to poor attachment.
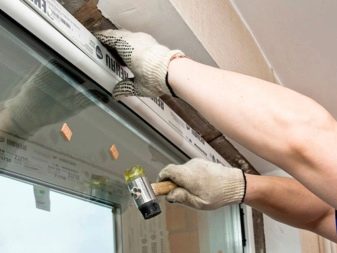
It is important to remember the main point: the sequence of dismantling. The standard window has only four strips - two vertical and two horizontal. Vertical shot first. Then the horizontal lower bead is removed, and the last horizontal bead is removed. Vertical side longer, respectively, more flexible strips. They can be slightly bent, carrying dismantling. The fact is that the window is better kept on the upper bead, and if you remove it first, the window will most likely fall out.
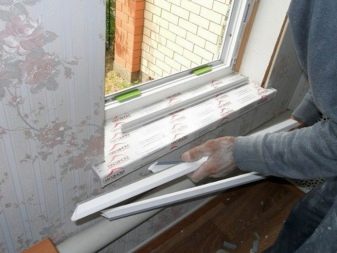
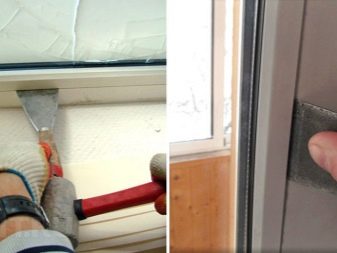
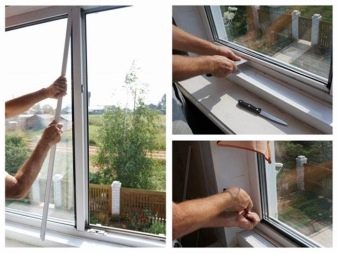
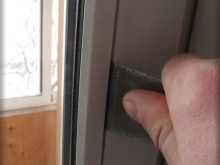
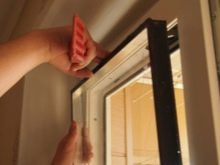
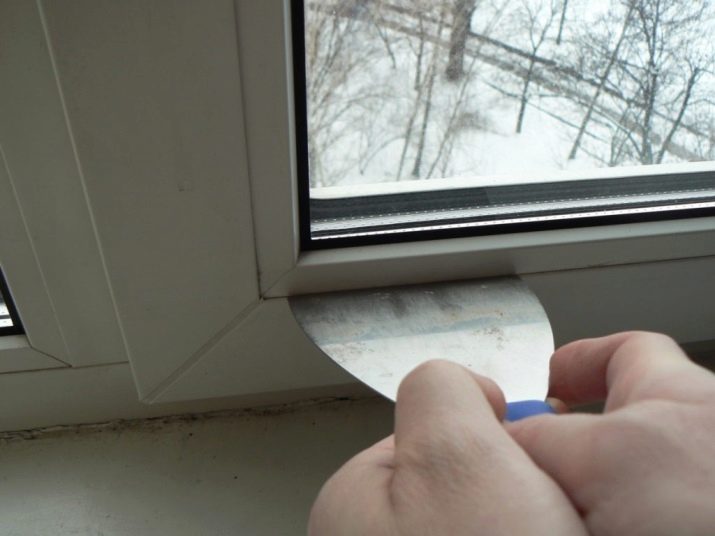
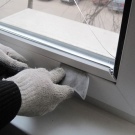
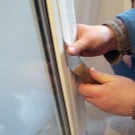
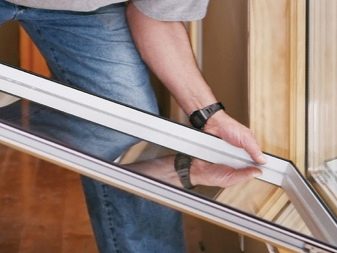
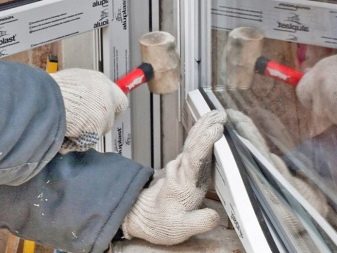
Consider in more detail the process directly removing bead. Carefully inspect the window - if you see a gap between the bead and the frame, or if the seal is lagging behind, start from here. Insert a knife, spatula or other tool slightly at an angle to the glass in this gap, as if bending back the bar. The bottom line is to widen the gap. If necessary, you can gently and gently with a hammer or a hand so as not to damage the window,hit the spatula. Then gently bend the bead towards the window. Bend down better from the center to the edges. At the same time characteristic clicks should be heard. No need to be afraid of the fact that the item is broken - it opens the retaining latch. You need to act carefully, as sharply bending the rail, you can break it. It is enough to bend the part, then it can be removed by hand.
As already stated first remove the vertical bead, then — lower. Upper - last. To do this, just need an assistant. It will hold the window while you take off the top bar.
The removed glass unit must be placed on the prepared surface. And it is better not to put an edge, and put it flat, again, so as not to damage it or the floor.
Then you can carry out all the necessary work: pRepair, wash the window or replace the glass. Here the question arises: whether it is possible to manufacture this part yourself or better to buy. The production of glass is a laborious process with many features. In addition, it is made specifically for a specific window. Therefore, to make the bead itself is unreal. It can be ordered in a specialty store or from a company engaged in the production and installation of plastic windows.By the way, if you need to replace this part, you can take the stripped bar with you as a sample in order to choose a new one from another manufacturer, for which you will find a suitable replacement. So you can be sure of the accuracy of the sizes.
You can remove the bead yourself in different ways. Sometimes you can just pull it out, but in some cases, in order to get it, you have to cut the product, especially if it blows from it.
Installation
Install in the reverse order of removal. The process is simple.
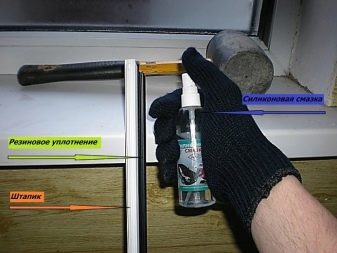
- Before installation, grease the bead of the bead and the rubber seal with Vaseline or silicone-based lubricant. This increases the durability of the part and makes installation more convenient.
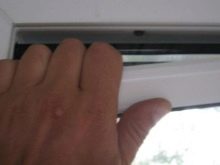
- Installing the glazing bead is even easier; you just need to remember: the upper horizontal bead is installed first. Us parts inserted into the grooves of the frame along the entire length, but you need to start the procedure from the corners. Slightly press the bead or lightly tap, and with a characteristic click it will snap into place.
- The assistant holds the window glass with his hand so that it does not fall out. The master tightly inserts the part smoothly around the edges, pushing it all the way around, and pushes it all the way into the groove.If you cannot fully insert it, you can hammer it by lightly tapping it with a hammer.
- Then the lower bead is inserted.
- The last side bars are installed. Installation is complete.
Installing bead is much easier than removing it.
The plastic bead has many advantages.
- They are durable - with careful operation they can serve for many decades.
- They are elastic thanks to the material from which they are made. So, not as fragile as wood.
- They are moisture resistant - PVC does not absorb moisture.
- They look very aesthetic. There is a mass of curly beadings that are in harmony with the general view of the window.
Tips and tricks
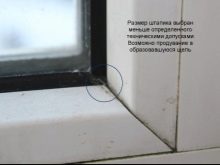
So, the bead is a very important part in a plastic window. It protects the room from the penetration of dust, noise and wind into the window, keeps the heat inside. All slats are selected after careful measurements. Indeed, due to the wrong size, a gap can form.
Replacing parts is necessary in some cases.
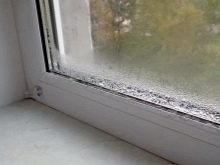
- The window allows dust, moisture and air. If you find water inside the window frame, dirt, if the window is fogging up, it means that the part functions incorrectly.
- Glass makes a sound in strong winds.This means that the part is loose or does not fit tightly enough.
- Reika lost aesthetic appearance.
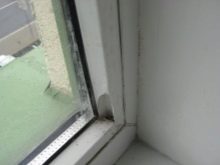
Plastic windows are beautiful and reliable. But there is one small, but tangible nuance. Because of climatic conditions or unfair installation of windows, dirt sometimes gets into the groove of the glazing bead. The window looks very unaesthetic. Of course, the housewives came up with a lot of ways to clean the groove of dirt and dust: a vacuum cleaner, a cloth wound around something narrow and sharp, cotton swabs, and so on.
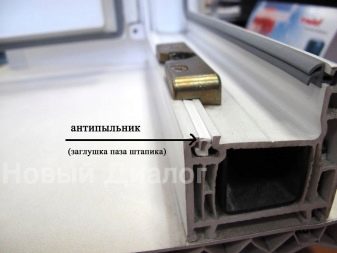
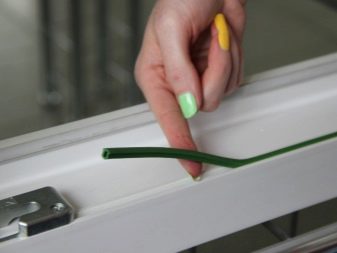
But there is a much simpler and more efficient way - to put a special cap. The cap for the groove of the bead is a detail in the form of a strip. It is made of polymer. It is resistant to ultraviolet radiation, does not deteriorate from dust, dirt and water. It does not lose its qualities during the operation, is easy to install and is quite affordable for the price.
The only caveat - the installation of the plug is not made with the standard installation of windows, so this service will have to be ordered separately.
But also the stub is not the basic detail of the window, so if you want such a detail to be on your windows, you need to inform about it even at checkout. The cap is suitable for any type of PVC windows.It can be installed around the perimeter of the window frame or only on the lower groove (dirt and small debris accumulate here most of all).
For how to replace the bead, see the video below.
