How to put a brick under the jointing?
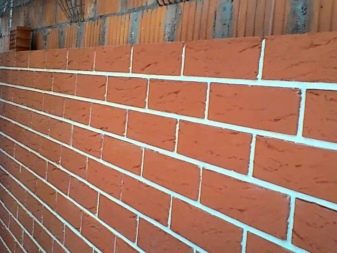
Well laid out brick wall looks just great. The key phrase here is precisely “well laid out”. Even the most amazing material in violation of the technology of applying a solid result will not give exactly.
Features of work
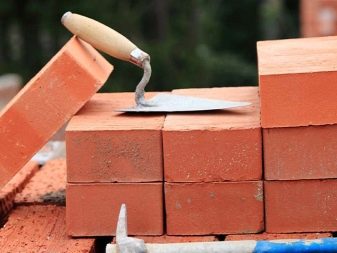
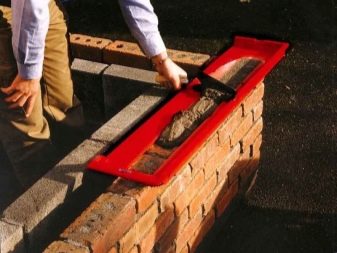
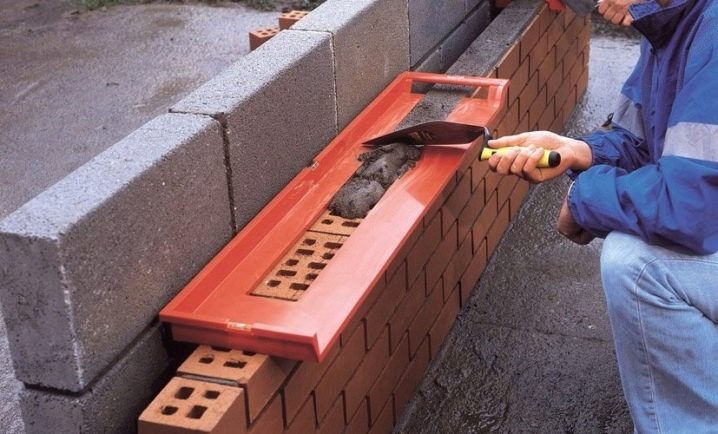
Masonry bricks are made using a variety of patterns that help shape the mortar properly. The difference between the patterns is mainly in their geometric shape. The laying in a similar way looks not how laid out without use of additional tools. To do all the work yourself, you will need:
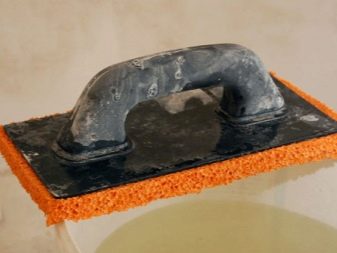
- sponge with a metal brush;
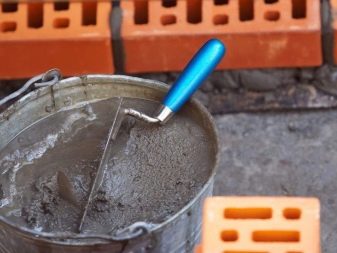
- a solution in which a plasticizer is added;
- trowel;
- brick;
- template elements defining the masonry features.
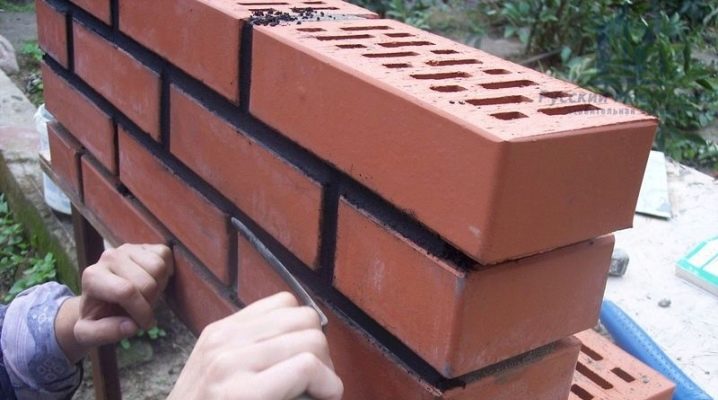
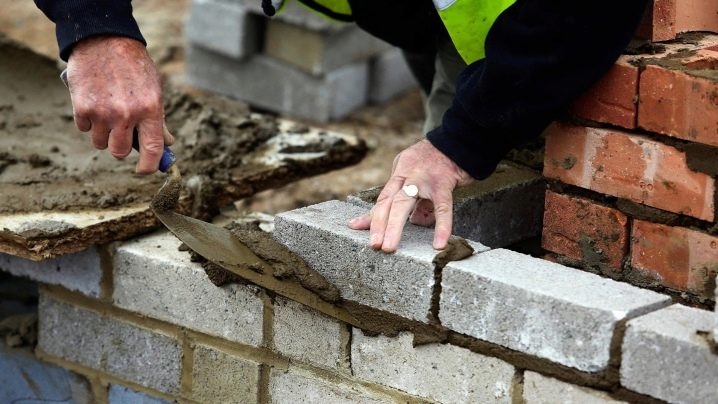
The trowel is used to remove the solution remaining in the seams. The composition is placed strictly at the level that coincides with the outer line of the clutch. The order is simple: first, with the templates in their hands, they create the required configuration, and only then they use the trowel. If you do not remove excess masonry mortar, you can face serious problems. With the help of such a device as a jointing, it is possible to push the solution back by about 0.3 cm.
After that, the composition is carefully compacted. This algorithm will help to improve the quality of not one laying, but the entire wall as a whole. It is very important to take into account the time during which the jointing should be completed. For its definition pay attention to the moments:
- the original consistency of the solution;
- its plastic properties;
- ambient humidity;
- temperature (outdoors or indoors);
- available for the masters of the speed of work.
How to properly prepare for the job and make it?
It is reasonable to lay a brick under the jointing is easy, but also not easy. The first step is always thorough cleaning of the surface. There should not be even small traces of dirt on it.Further, it is important to prepare, as should be masonry mix, which should be as plastic as possible. Often, the addition of special substances that increase the plastic quality is practiced.
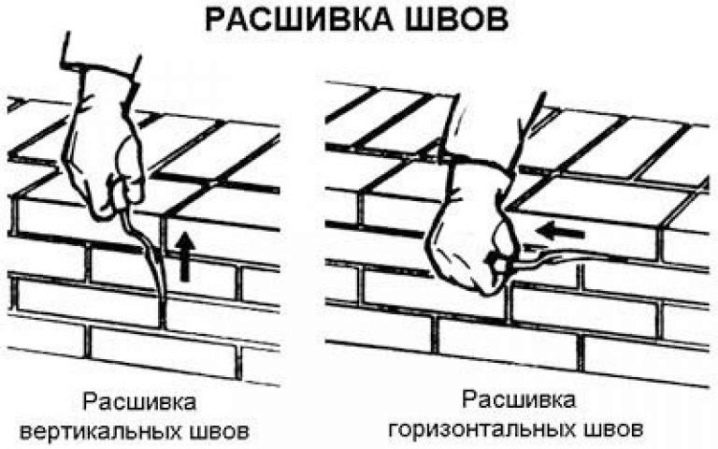
First, sew vertical seams, only then it comes to the horizontal plane. Some try to do the work without the use of auxiliary additives, however, such a decision threatens to rupture the composition in certain places. It is allowed to use dry mixtures that acquire plasticity after dilution with water. The advantage of this option is to save the configuration after the completion of the jointing.
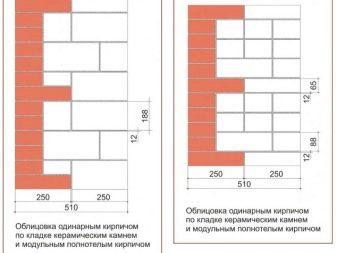
You can lay out the front wall of various designs, including with a bar, with bricks of any geometric shape. The selection of templates is made according to the profile of the masonry. This requirement will ensure the same thickness of the fill. Selecting the composition, it is necessary to find out - whether it will provoke a clogging of the surface? If it occurs, the amount of material spent increases substantially, especially on surfaces with a torn texture.
We must be prepared that the work will be very time consuming.It will take a lot of time, so you need to carefully plan your schedule. The slightest attempt to accelerate the jointing will result in a deterioration of the appearance of the surface. As for the tool, you can both buy it and make it yourself. In any case, you need to make sure that the form allows you to complete the task.
Required additional tools
Auxiliary devices will be needed if you want to create a seam of an atypical shape. To make such a line with the help of some joints will not work. The exact set of tools is determined by the technical condition of the brick wall, but the most massive set will consist of such assistants:
- hammer;
- concrete mixer;
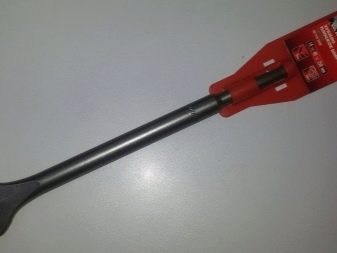
- chisel;
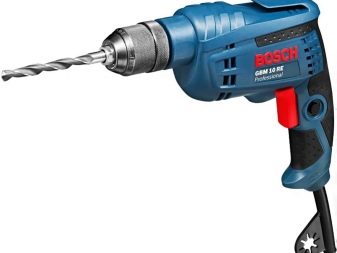
- electric drill;
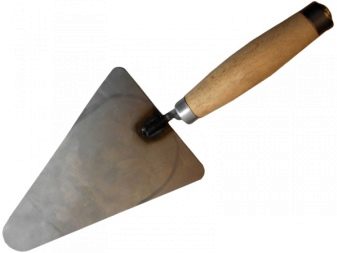
- triangular trowel;
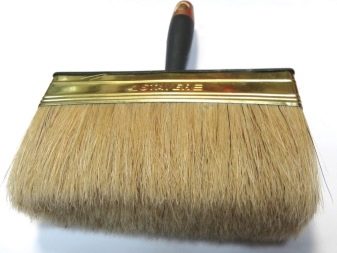
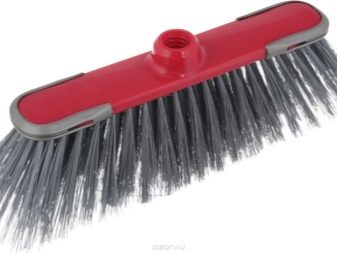
- paint brush with a soft bristle (or roller);
- kratsovka;
- brush with a hard steel pile.
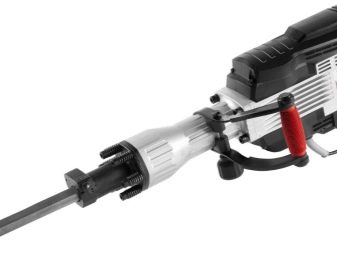
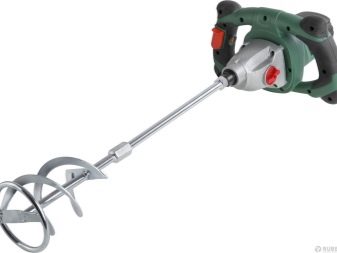
A chisel, which is gently hit with a hammer, will help to clean the old solution from the seams. If there is no such tool, you can replace it with a perforator. Making the grout often requires a drill and a mixing nozzle. This component allows you to facilitate the mixing of the solution.
Concrete mixer is not particularly needed if the scope of work is small. The trowel helps both when removing excess mixture and when applying it. Walls are cleaned when the jointing and grouting is completed. To moisten the strips, often use a brush brush. As a backwater tool used wooden rod with a length of 1 meter. The tank, where the grout is prepared, must be greater in depth than in width - otherwise the mortar will set on very quickly.
Important! The edge of the chisel should be sharpened properly.
More about the method of work
You can maximally simplify the cleaning of joints by blowing them with compressors. This technique facilitates the removal of even the smallest dirt. When the excess solution is removed, the seams in a small area are moistened. It is necessary to wet only the part that will be processed in the next 60 minutes. The life of the solution varies from 1.5 to 2 hours, so it is prepared in a small amount.
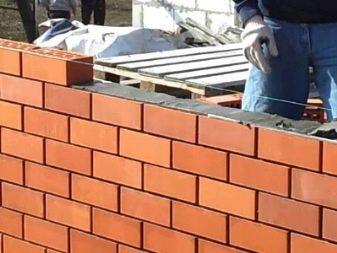
Masonry bricks for jointing are presented in the video below.
