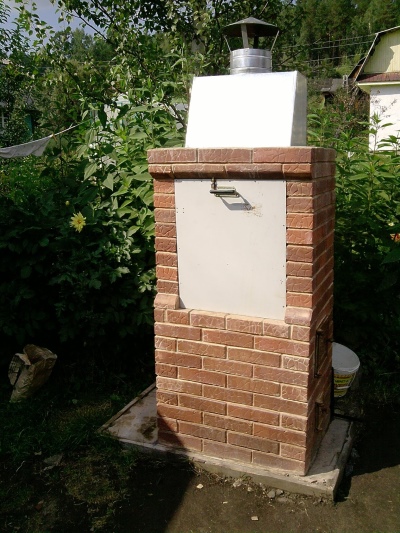
DIY brick smoker
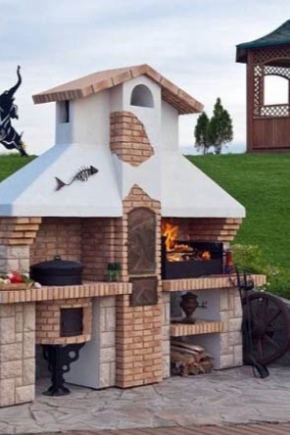
Many of us simply adore all sorts of smoked products - meat, fish, even vegetables. However, sometimes it is not only the prices in the stores that scare you, but also the quality. It has long been proven that quite often in the shops they do not sell smoked products, but imitations of such products. Special mixes allow you to give the same smoked fish flavor and taste. Alas, the quality leaves much to be desired.
So why not make your own smokehouse? Finding really good products for smoking is not difficult, and the cooking process itself is nothing complicated. But you will be sure that your smoked meat or favorite mackerel for beer will be natural and safe.But the most important thing is incredibly tasty.
But first you need to build this very smokehouse. This is what we will talk with today.
What you need to consider before construction
Consider the following points:
- Location It is necessary to find the optimal place where you can place a smokehouse. It should not bring discomfort to you or your neighbors. The smell of smoked meat is, of course, pleasant, but not everyone wants to feel it 24 hours a day.
- Material. Now the smokehouse can be made from anything, up to the old refrigerator. However, the best option is a brick. Consider only brick exclusively fireproof.
- Type of smoking. There are two of them - cold and hot. The type of device itself depends on the type chosen. Because think in advance what exactly you want to get as a result.
- Products. You probably already thought you were going to smoke. Different products have their own requirements for this. The construction of the smokehouse largely depends on this. For some products you need to adapt the device. Keep this in mind.
Types of smoking
Smoking is a very ancient way of cooking.It allows you to effectively use the capabilities of the tree. When a certain temperature is reached, the wood slowly smolders, emits the necessary smoke, due to which saping occurs.
Smoking itself is of two types:
- hotter;
- cold
Cold is a more expensive method, but the cooked dish itself is stored longer.
Hot smoking does not allow so long to store the dish after cooking, but the products are fragrant and tastier.
The main difference between them lies in the design. So, if hot smokehouses have a center of ignition directly under the chamber, then cold means placing the hearth to the side, and a special device is brought to the chamber where smoking takes place - smoke supply.
Location selection
Brick smokehouse is stationary. Therefore, it cannot be moved from place to place. This suggests that the place should be chosen with special care.
To begin, choose a convenient area located at a certain distance from the house. You will be dealing with a lot of smoke, and it is undesirable to fall into the living space.In addition, this smoke can harm trees, your plantations. Therefore, finding the right place will not be so easy.
It all depends on each house individually. But you already know the main points of choosing a place.
Design
As we have already noted, smokehouse in our time is made of almost everything that will be at hand. But brick devices may have different schemes, depending on the size, type of smoking, and so on.
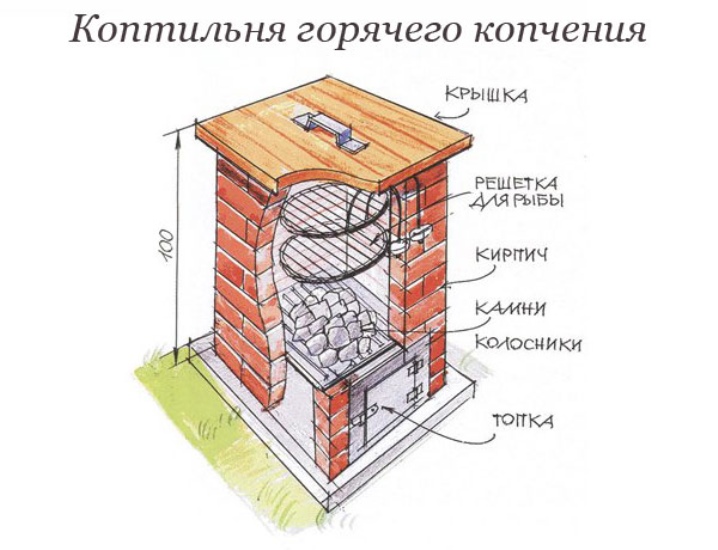
Anyway, the main structural elements remain unchanged:
- Fireplace;
- Grate;
- Firebox;
- Lattice or holders (on which products are smoked);
- Cap;
- The bricks.
If we are talking about cold smoking, a smoke supply is necessarily added to the structure, and the fire chamber itself is not located under the gratings, but at the side, in order to avoid the direct influence of the glowing wood on the products located above.
Stages of construction
Deciding to make your own smokehouse, you must clearly distribute the planned work, breaking them into stages in the correct sequence. It is better to prepare thoroughly, rather than act instinctively from step to step. So you can miss the important points and make serious mistakes.
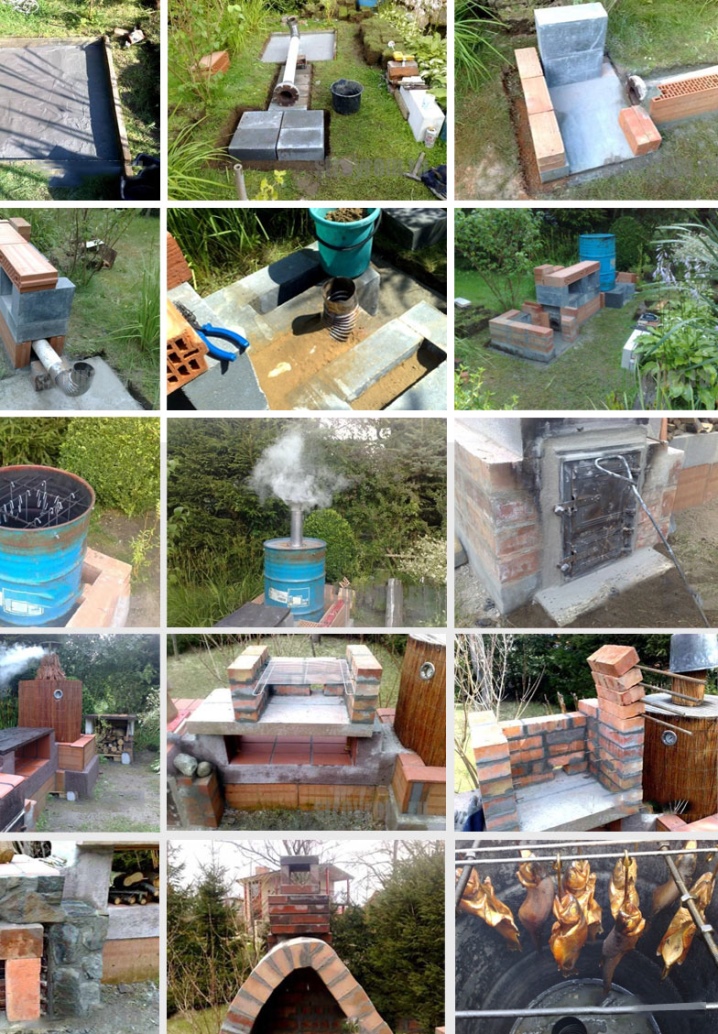
Construction of the smokehouse can be divided into several main stages:
- Preparatory events.
- Selection of tools and materials.
- Laying the foundation for the future design.
- Brickwork.
- The organization of a supply for smoke (if we are talking about a cold smokehouse).
- Introduction of the device to work.
Preparatory work
Without preparatory measures to make a really high-quality and efficient smokehouse is quite problematic.
Preparation consists primarily in choosing the type of device. Whatever one may say, hot smoking from cold is different not only by the result of cooking, but also by the design features of the device itself.
Once you have decided on the type of smoking, you must carefully consider the place to accommodate the structure. We have already told you about the rules of choice, so there should be no problems.
Do not forget about the importance of quality materials. The better the brick and related items, the longer and more reliable your miracle device will serve you.
Having prepared the drawings, as well as making step-by-step notes for future construction, you will facilitate your own task.So you can act strictly according to plan, do not deviate from our plans. As a result, fewer errors, better results.
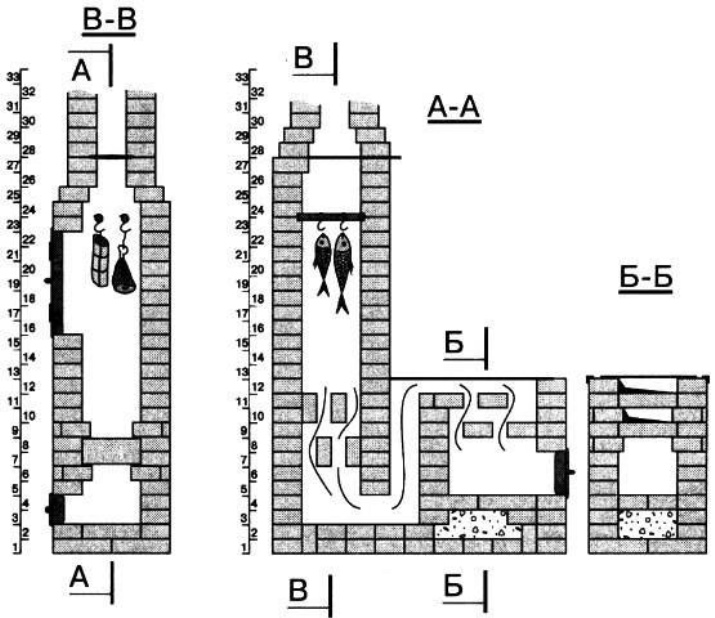
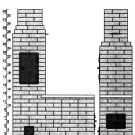
As an example, we offer one of the drawings of the smokehouse when combined with an oven and stove for cooking - the most popular option.
Drawing smokehouse with barbecue.
Required tools
Of course, without the appropriate tools and materials to start work does not make sense. And for the manufacture of smokehouse, you must have:
- Brick (ceramic or special refractory, but not silicate);
- Clay (it can be replaced with ready-made dry mixes);
- Shovel;
- Capacity for solution;
- Wood doors for the smokehouse;
- Grate or bars of metal on which products will be located;
- metal roof (if a small device is manufactured);
- Hammer;
- Building level;
- Trowel and trowel;
- A set of components for the foundation.
Foundation
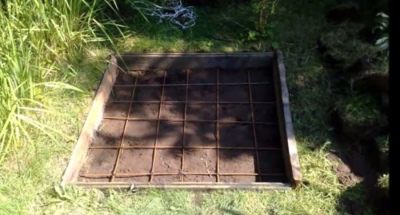
About the foundation you need to talk separately. For its organization, you can use a metal grid with concrete, gravel and sand, or a concrete slab.
If you decide to make a concrete pad, then the sequence of your actions will be as follows:
- First, dig a hole of necessary depth.
- After that, the bottom of the resulting pit poured sand with rubble. Try to tamp this layer tight, make it smooth.
- Then a grid of metal is laid in the pit and concrete is poured.
All that remains is to wait for the concrete to set, and the construction itself can begin.
If it is possible to use a reinforced concrete slab instead of pouring, be sure to use it. It is much easier and faster, plus there is no need for additional work.
Masonry
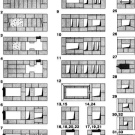
The pastels, spoons, and brick pots are indicated in the following figure.
After the foundation has been completed, the laying of bricks begins.
- To begin with, the foundation should be applied using a trowel. It should be slightly larger than the pastel area. After that, the brick itself is applied. He should not reach the joint.
- Now poked, which will allow to fill the vertical seams. The stone must be pressed down, which will allow to "crush" the solution that is under it. Move it to the junction.
- If, as a result of pressing, the solution comes out of the seam, the excess is removed with a trowel.In order to ensure the correct position of the brick, you can just hit it a little with a rubber hammer. Try to regularly monitor the angle of the masonry using the building level. This can be done when laying each row. Do not forget to measure the wall with a plumb or level.
- Vertical and horizontal seams should be about 12 millimeters thick. This is the ideal.
- An important point is the overlap of the vertical seams of the lower row with bricks when laying the corners. Due to this creates a ligation. Remember, laying is best to start from the corner, so that later there are no problems.
- The final stage of laying will be grouting. This will give the design a more attractive appearance.
Smoke inlet
If your smokehouse is cold smoked, then its supply will be a must-have for smoke.
To build such a chimney, it is necessary to make a special trench. Its width is about 0.5 meters, depth - 0.3 meters, and length - about 2 meters.
Bricks are laid on the edges of the trench wall. The solution for this area is chosen in the ratio of clay to sand 3 to 1. The resulting structure is covered on top with a metal element,or poured asbestos.
Commissioning
Experiencing smokehouse:
- The corresponding product is poured into the sawdust compartment. It is best to choose sawdust from cherry or apricot.
- Light the firebox.
- Place selected products inside the smokehouse. It is best to test the device on meat or fish.
- On the lid, the exhaust pipe closes and waits until the device warms up, the inner space is filled with smoke. So you can keep track of what's happening inside, you can install a thermometer.
- When the thermometer reaches 600 degrees, open the outlet. It is located on the roof.
- The next step is to wait 30 minutes. The device should work.
- Now open the door and get your products. The color should come out golden, the meat itself or the fish hot.
During the test, it is quite noticeable that smoke comes out of the device. This means that some of the gaps were not densely covered. Testing allows you to find errors, quickly eliminate them and begin full operation of the smokehouse.
Features of the construction of a small smokehouse
Making a small smoking device is not difficult even by yourself.Just follow the recommendations and proceed step by step.
- To begin with, we find a place to install a chimney on the ground. Intra-channel section should be about 30 centimeters in size or slightly smaller, its width - 0.35 m, and height - 0.25 m. The optimal material is clay brick.
- The combustion chamber is located at the extreme part of the channel being created. Note, the height of the camera should not be more than 1.5 m. Bricks must be stacked on the ribs.
- To lay the channel, you need a trench. Its depth is about 0.35 m, and its width is 0.55 m. Do not place the firebox higher than the chamber. If you put the device on a hill, then no additional events will be necessary. If not, then the chimney is better done with a slope of about eight degrees. Compress the bottom, and then make a brickwork.
- The new stage is the laying of the walls in the chimney channel. The wall is mounted on a foundation laid out of bricks. Elements are also laid on the ribs. Make sure that the ligation is the same everywhere. The resulting wall should include several rows of bricks, that is, its height is about 0.25 m.
- After that, you need to block the upper part of the channel using a brick. The overlap should be done as a house, since a flat construction will not work.
- At the end of the resulting duct of the created chimney, cameras are installed where the smoking will take place. Mount it in such a way that the channel goes deeper, no more than 0.3 m.
- The final stage is the dressing of the soil layer to the level of the chamber. Note, the height of this layer should be about 0.15 m.
Features of the construction of a large smokehouse
If you want to make a big smokehouse, then it is built like a small house.
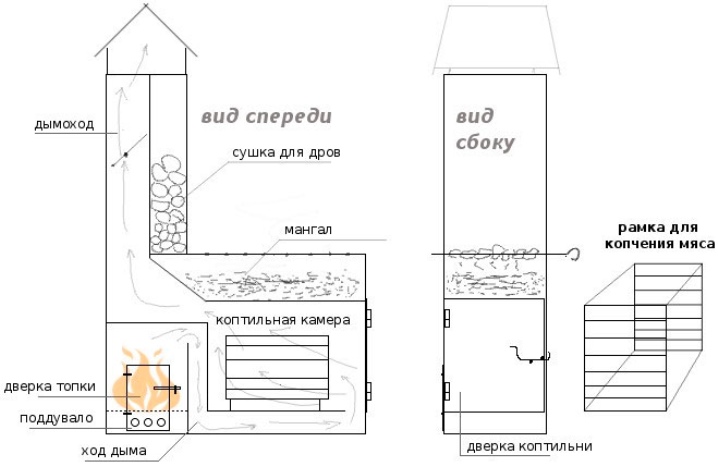
During the construction process, be sure to lay down the elements on which, in fact, the smoking of your chosen products will occur. On top of the chimney is mounted, supplemented by a valve. This valve will help regulate the temperature as well as the speed of the flowing stream of smoke.
In the design of the smokehouse can include additional capacity where you will store firewood. They should always be on hand in large smoking machines.
Also, do not forget about the pan, which will be drained all the fat generated during the cooking process. And the door needs to be covered with clay, like other structural elements made of wood. This will avoid sudden fires.
