Construction of a monolithic foundation: recommendations of experts
Movable, water-saturated soils, as well as relief with height differences, makes the builders look for new technologies for organizing the foundation. One of those is the monolithic system, which allows construction on mobile and prone to seasonal overwetting, swelling soils.
Special features
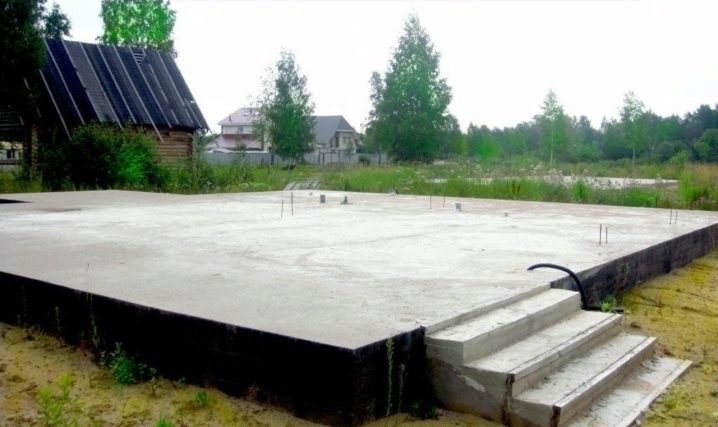
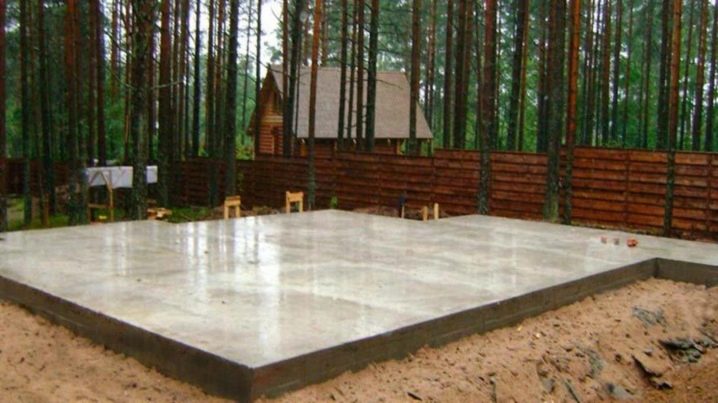
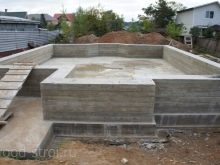
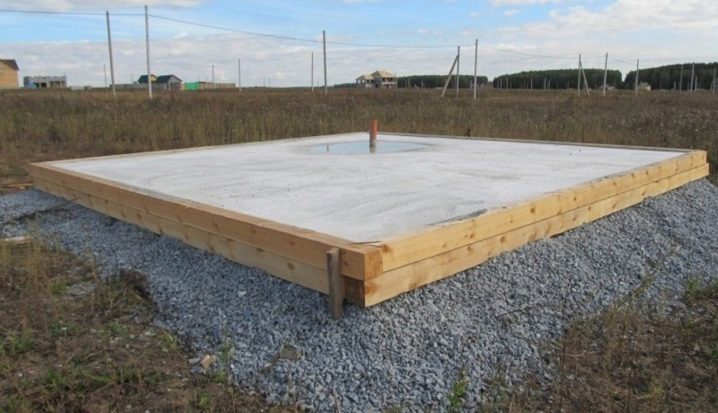
The monolithic foundation is a shallow-depth slab, which is an inseparable structure of reinforcing cage and concrete. Forming a whole, reinforcement and concrete provide reliability and high load bearing.
This base is suitable for unstable and water-saturated soils., because it turns out to be quite mobile, but at the same time provides uniform load distribution.In other words, even experiencing some fluctuations and hesitating along with the ground, such a slab saves the house from subsidence and geometry violation.
This is achieved thanks to the unity of the structure and its shallow depth. If you lower the slab too much into the ground, then its side walls will be excessively rigidly fixed. In this case, the soil swelling under the action of negative temperatures will exert negative pressure on the slab.
Advantages and disadvantages
The main advantage of the monolithic base is the possibility of building on mobile soils with a small bearing capacity. It saves if the construction of a private house on a pile or strip foundation is impossible or unprofitable on this type of soil. This can only be determined by analyzing the soil, including during their seasonal changes.
An erroneous opinion is that the slab foundation is suitable for all types of soil. This is not true, although the plate is capable of leveling a certain instability of the soil.
This foundation is not suitable for the construction of a massive cottage on heavily marshy soils. In this case, it is better to choose the pile option, having strengthened the supports on hard ground, bypassing the soft ones.
Floating slab foundation is indispensable with significant fluctuations in the soil. It moves in a small amplitude (imperceptible to the occupants of the house) with it. However, if significant changes in the movement of the soil are observed under and near the slab foundation, this means that the load on the soil is uneven, which is dangerous for the object. To prevent such phenomena, we repeat, only a thorough analysis of the composition and properties of the soil will help.
The advantage of the monolithic base is the possibility of erecting on it rather massive, multi-storey structures.
However, provided that this type of soil is suitable for the installation of the plate, and all calculations are made with high accuracy.
The slab foundation has no seams, so when the soil moves, it retains reliability, solidity.
Often among the advantages of a monolithic foundation system indicate a small amount of earthworks. This statement is true when it comes to the typical plate base. However, in some cases it is necessary to increase the thickness of the sand layer, therefore it is necessary to dig a deeper pit, which leads to an increase in the volume of earthworks. A similar situation is observed with the device basement.
The advantage of the basement monolith is the ease of installation of the floor, due to the ability to use the slab as a subfloor. If the installation is carried out according to the Swedish technology, which involves the insulation of the slab, then no additional insulation is required. On the one hand, this simplifies the process of arranging the floor, on the other hand, it requires a responsible and professional approach to the organization of each layer of the slab.
The last two factors cause a higher speed of work. Such a foundation, in fact, is being built rather quickly. A lot of time has to be paid only to the rebar tying.
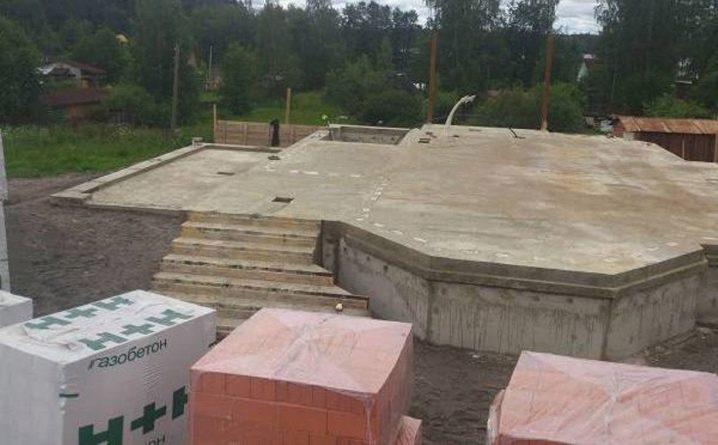
In general, slab foundation is suitable for all types of buildings, including unusual shapes. It is enough to dig a pit of the required size and achieve the necessary configuration using formwork to build, for example, a house with bay windows.
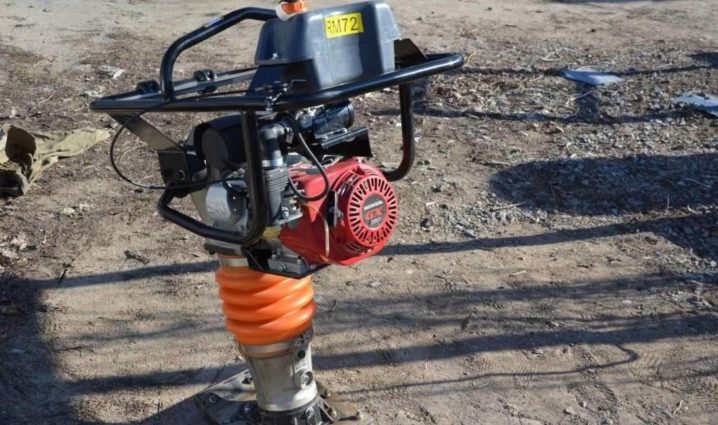
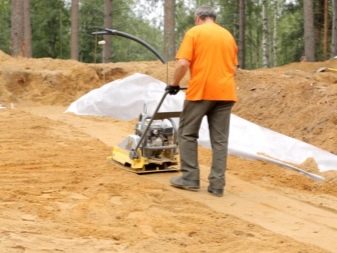
Among the shortcomings of this system are the need to attract special equipment and equipment, which leads to an increase in estimates. When building large buildings, it is problematic to make a high-quality soil tamper with your own hands, you should get a gasoline or electric rammer.
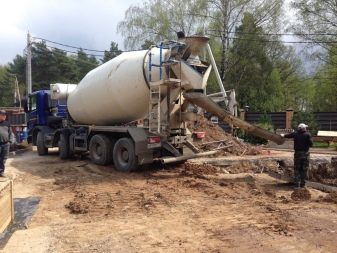
The reinforcement should be laid at a certain angle.therefore, to obtain the desired shape of the twigs, it is desirable to have a special machine. Finally, the slab should be poured in a single step without interruption, the concrete should be fed evenly over the entire area. Naturally, without a concrete mixer or pump this cannot be done.
One of the downsides of this system is the need to level the area under the tile. Of course, this does not mean that this type of foundation is not feasible - height differences must be leveled, which in some cases may require significant financial expenses. In some cases it is more profitable to resort to installing the base on piles.
A feature of the slab foundation is that all its parts must lie evenly on the ground. When voids appear, the reliability of such a construction is out of the question, which makes it impossible to organize basements under a monolith. However, this does not mean that he will have to be completely abandoned. This problem is solved by organizing a deeper pit and making a cellar directly on the slab.
It is impossible to call it a minus, rather, a feature - the need to carefully plan ways of laying and distributing communications at the planning stage.This is due to the fact that most communications are laid in the thickness of the slab. If an error occurs or the desire to change something, it will be problematic.
The disadvantage of this type of system is the high cost of installation. This is due to the need to fill a large area with concrete, as well as an increase in the number of reinforcement required compared to the number for the strip base.
Kinds
There are several varieties of the monolithic base.
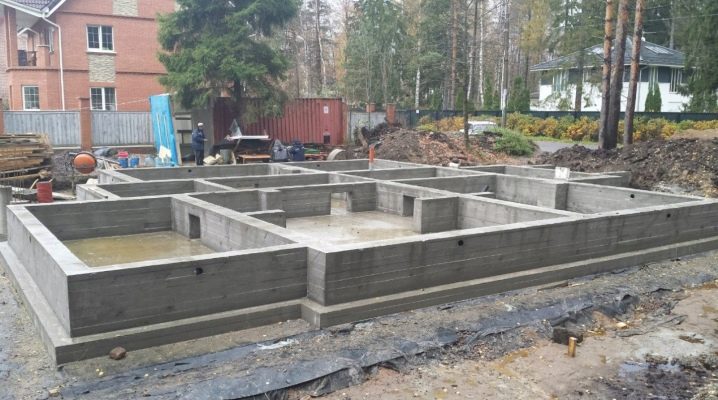
- Ribbon. It is a reinforced concrete slab, which is mounted around the perimeter of the building, as well as under the supporting wall structures of objects. This system is suitable for soils with medium bearing capacity.
- Slab. Reinforced concrete monolith, poured under the entire surface of the house. In the classical form is a single plate without seams. However, there is also a collapsible version assembled from particles. In contrast to the monolith, such a structure has a lower bearing capacity, therefore it is not recommended for residential buildings. Suitable for weak soils prone to seasonal fluctuations, as well as in earthquake-prone areas.
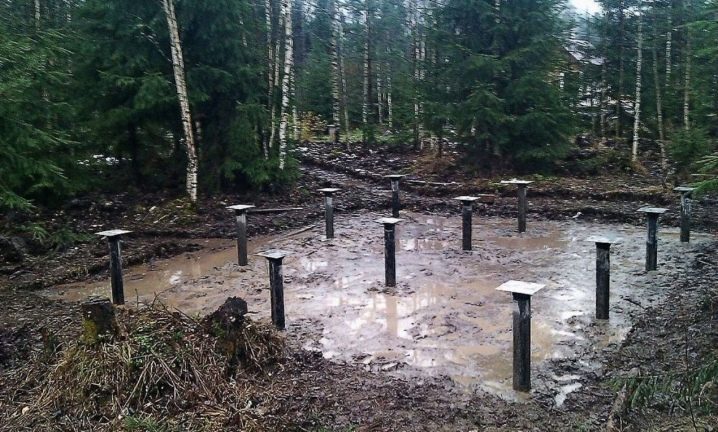
- Pile grillage. It is a concrete foundation, dug into the ground and connected to each other by a single slab.
Despite the fact that all of these types of bases have a base plate, the monolithic is usually understood as the slab foundation (the second option in the list).
Finally, monolithic foundations also include monolithic foundations for road signs, designated FM 1. They are round bases of reinforced concrete.
Depending on the type of deepening slab foundation is of two types.
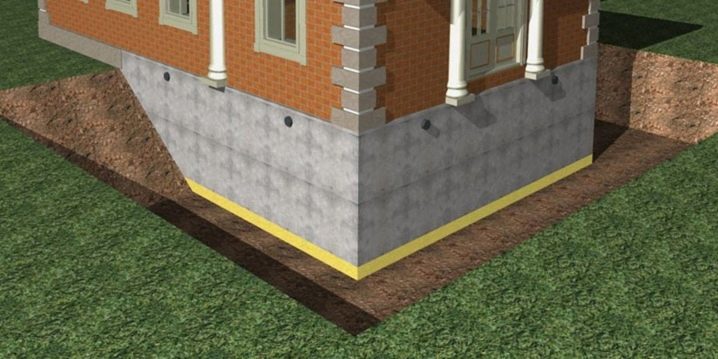
- Shallow depth. It is immersed in the ground by no more than 50 cm. This requires a thick sand "cushion" to level the swelling of the soil. The shallow base is mainly used on non-rocky soils for small buildings with walls made of wood or light building blocks.
- Recessed The depth of laying the slab can reach 150 cm. The exact depth of the bedding is determined by the freezing point of the soil - the foundation must be 10-15 cm deeper than the freezing point and at the same time rely on solid layers.
The latter condition is paramount, that is, if the freezing level is at a depth of, for example, 1.2 m, and the solid layers are at a depth of 1.4 m, then the plate is laid at a depth of 1.4 m.
Usually used in the construction of massive objects on the slab or buildings above two floors.
Device
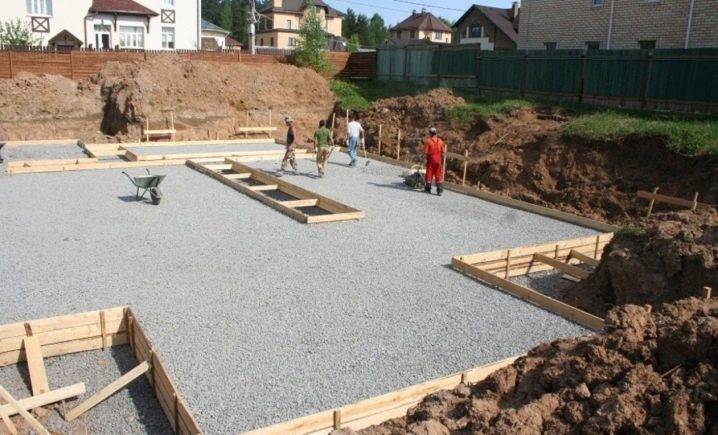
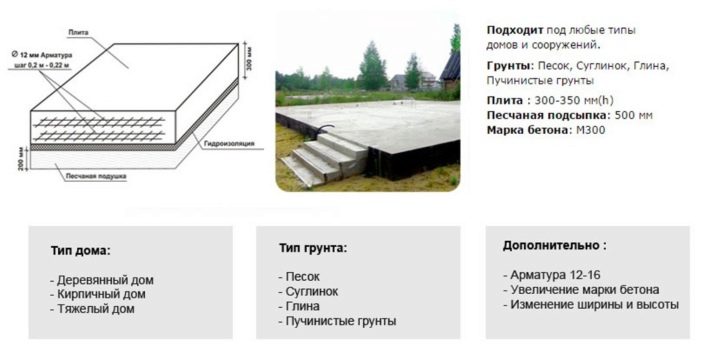
As already mentioned, the slab foundation does not require much depth, under it digs a small depth of the pit in size corresponding to the slab. Next, the bottom of the pit is filled with a layer of tamped soil, which is additionally crushed and leveled.
The next layer is a sand “cushion”, which helps to distribute the load correctly and evenly. The features of the material (small grains of sand) prevent the base from tilting and its sagging, as well as leveling the effects of ground heaving. Clean sand can also be replaced with a sand-gravel mix or several layers of gravel of different fractions.
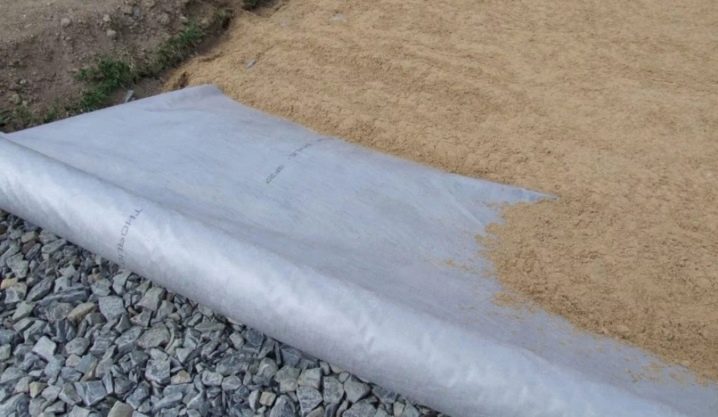
On top of the sand layer is laid geotextiles that perform reinforcing and waterproofing function.
If you refuse to use this material, then you should be ready for a quick silting of the sand layer, especially during construction on moisture saturated soils. Depending on the characteristics of the soil and the object, geotextiles can be stacked in several layers.
There is also the option of pre-waterproofing, when the installation of geotextiles is carried out immediately by the pit - it is laid directly on the tamped soil. Over it the sand "pillow" keeps within. A similar version of the device is relevant for unstable marshy soils. In some cases, geotextiles can fit between sand and gravel layers. Usually, crushed stone or coarse gravel is poured down, and geotextiles, on which sand is poured, are poured from above. For the stability of the lower gravel layer, a certain amount of sand can also be poured under it. This construction technology allows for better drainage of the site under the foundation.
The next layer is not always laid even professional builders because of the desire to reduce the estimate and speed up the installation time. However, this does not mean that this layer does not have its own functionality. This is a thin concrete layer, the solution of which is poured over the beacons. Pre-concreting allows you to achieve the ideal level, and hence the accuracy of the geometry of the whole structure. In addition, the concrete layer is easier to keep insulation and waterproofing the floor.
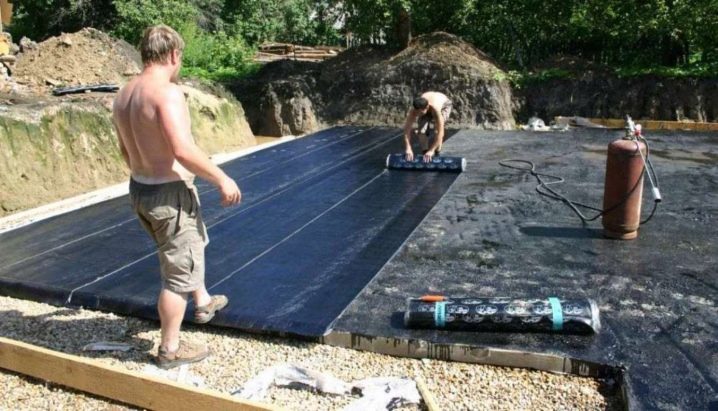
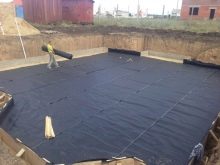
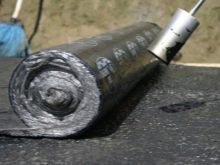
The next layer is finishing waterproofing, which is performed using rolled bituminous materials. They are glued or fused in several layers and overlapped. Bitumen mastic may be applied under the layer of web material.
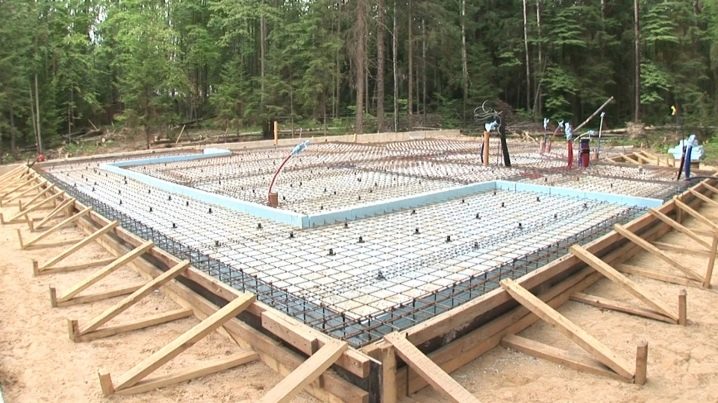
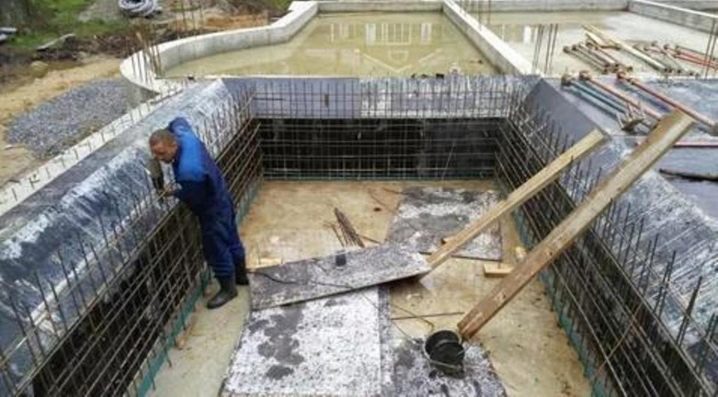
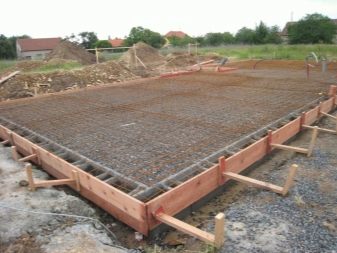
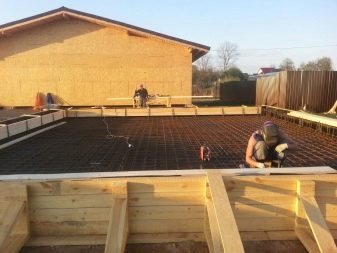
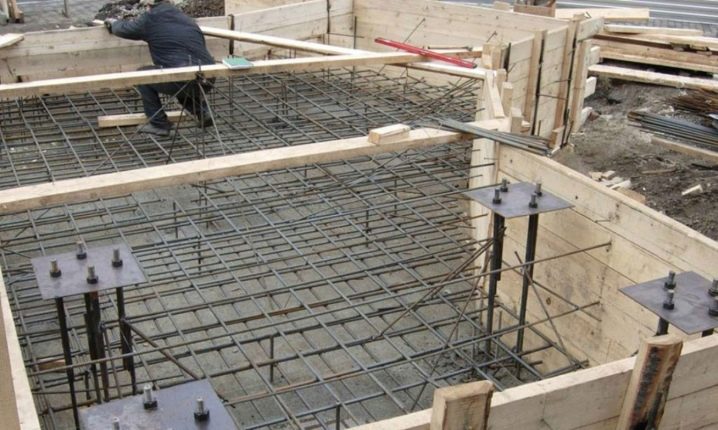
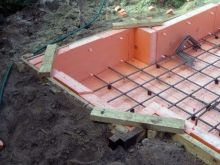
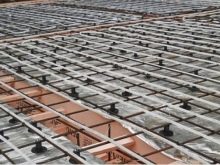
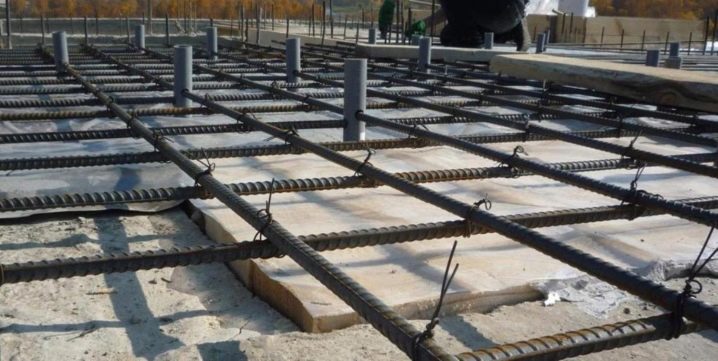
After performing waterproofing works, reinforced concrete monolith is mounted. Standard reinforcement is conducted in 2 levels with interlacing by means of vertical reinforcing elements.
When pouring, care should be taken to ensure that each side of the reinforcing lattice is completely covered with concrete, the width of which in these places is at least 5 cm. This will prevent the penetration of moisture by the capillary method and will protect the metal from destruction.
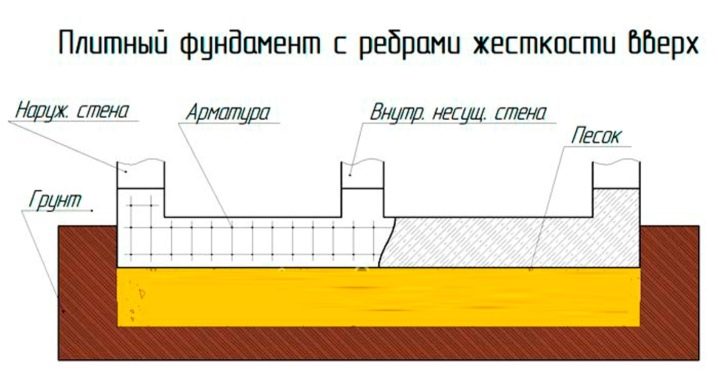
In some cases, the given typical scheme of a monolithic foundation may vary. So, with the coincidence of the concrete level with the line of the ground resorted to increasing the thickness of the plate or the use of stiffeners. Both methods allow you to protect the concrete from moisture, but the first will cost much more. In this regard, more often resort to the installation of ribs, which are poured under the load-bearing and internal walls.In addition to protection against moisture, this design allows you to organize a basement on a monolithic reinforced concrete base.
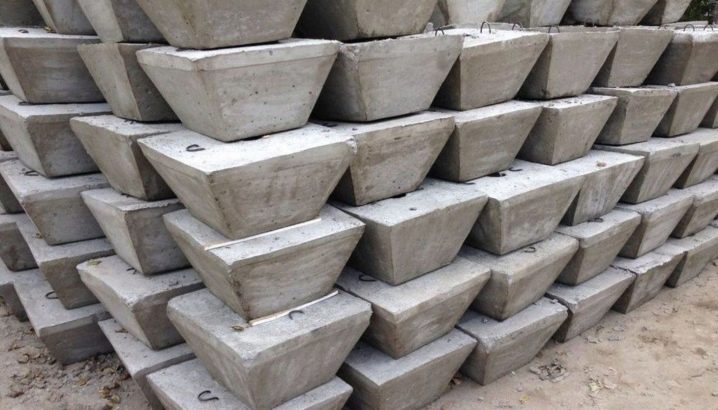
For outbuildings, you can use slab prefabricated foundation. It is not a monolithic slab, but is assembled from “squares”, which closely fit on the prepared base. This design is characterized by less labor-intensive installation, however, it is inferior to a monolithic counterpart in its reliability, and therefore is not recommended for residential facilities.
Payment
The construction of any foundation begins with preliminary calculations, which are part of the project documentation. On the basis of the data obtained, information about the sizes and features of each base element is taken, a plan for the “cake” of the plate is drawn up, the thickness of each layer is selected.
The most important indicator of structural strength is the thickness of the monolith. If it is insufficient, then the foundation will not have the necessary bearing capacity. With excessive thickness, there is an unreasonable increase in labor intensity and financial costs.
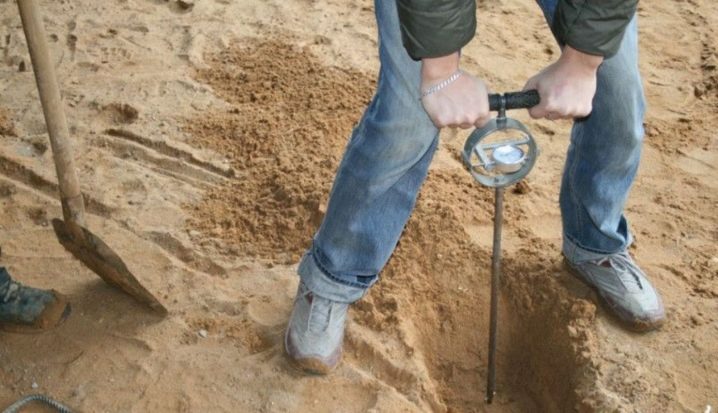
Correct calculations can be made only on the basis of geological surveys - soil analysis. For this, wells are usually made at different points of the site, from which soil is collected. This method allows to determine the types of soil present, as well as the proximity of groundwater.
Each type of soil is characterized by a variable resistance to load, which means how much pressure (in kg) can be a foundation for a specific unit of soil area (in cm). The unit is kPa. For example, the variable resistance of crushed stone and gravel of a large fraction to the load is 500-600 kPa, while for clay soils this figure is 100-300 kPa.
However, calculations should be made on the basis of the values of not the specific resistance of the soil, but the specific pressure on a particular type of soil. This is due to the fact that with a slight resistance the foundation will sink into the soil. If the pressure is insufficient, it is impossible to avoid swelling of the soil under the foundation and its deformation.
The values of the optimal pressure are constant, they can be found in SNiP or free access.The specific pressure is measured in kgf / cm kV and is individual for different types of soil. For example, plastic clay has a specific pressure of 0.25 kgf / cm kV, while the same indicator of fine sand is 0.33 kgf / cm kV.
Interestingly, if we compare the data of the table of resistivity and pressure of soils, it turns out that the second table (pressure) will contain fewer soil types. So, from it gravel and crushed stone "will be gone". This is explained by the fact that the slab foundation is not the only possible option for construction on this type of soil. Perhaps, it would be more rational to use a tape counterpart.
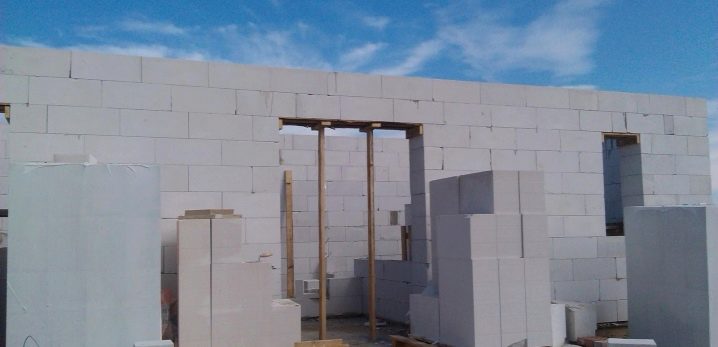
The above facts indicate the need to calculate the total load of the monolith, which acts on the ground. Knowing this indicator, it will be possible to make a decision on increasing or decreasing the thickness of the monolith, and also (if it is unreasonable to reduce the thickness of the slab) to use lighter materials for supporting wall structures. For example, instead of heavier bricks, use blocks, erecting walls of aerated concrete.
The optimum for most buildings is a monolith thickness of 30 cm.The bearing capacity of the structure in this case will be sufficient, and the project - cost-effective.
If during the calculations it becomes obvious that the required thickness of the base exceeds 35 cm, it makes sense to consider other technologies of the bases. You can also use additional stiffeners, which will reduce the consumption of material, while maintaining the thickness of the plate.
For brick walls, it is recommended to slightly increase the thickness of the base - it should be from 30 cm. For lighter materials, foam and gas blocks, this value can be reduced to 20-25 cm.
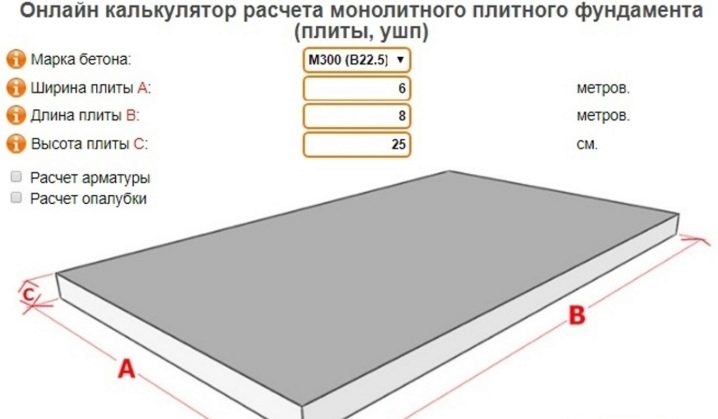
After the data on the required thickness of the monolith is obtained, proceed to the calculation of the amount of concrete solution. To do this, according to the drawing, it is necessary to calculate the height, thickness and width of the slab and make a small stock of solution of 10% to the resulting number. Cement brand should not be below M400.
Training
The preparatory stage can be divided into 2 parts - conducting geological surveys and creating a project, directly preparing the site for the foundation.
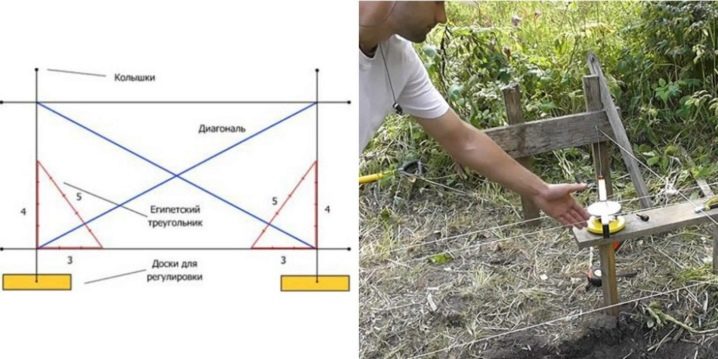
The area needs to be cleaned from litter, to prepare entrances for special equipment. After should proceed to the markup.It is performed by means of pegs and a rope. It is enough to outline the outer perimeter of the future foundation.
It is important to ensure that the perpendicular lines form right angles.
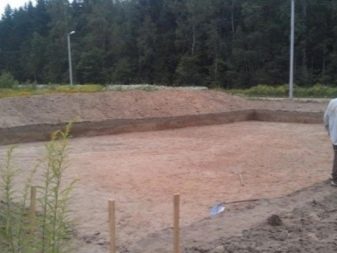
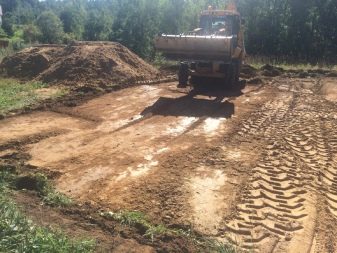
After marking (or more conveniently before it), the upper layer of soil is removed under the foundation, along with vegetation. The next step is digging a pit.
How to build?
Due to the small amount of earthworks and clear construction technology, the organization of a monolithic foundation can be made by hand. True, without the involvement of special equipment still can not do.
Step-by-step installation instructions are presented below.
- Site preparation, marking the location of the future foundation.
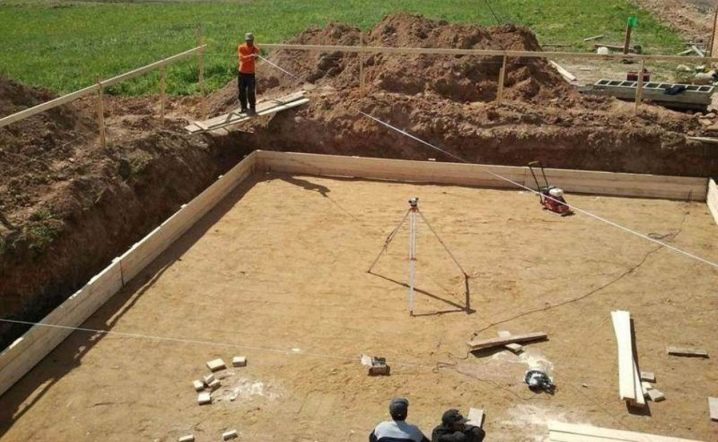
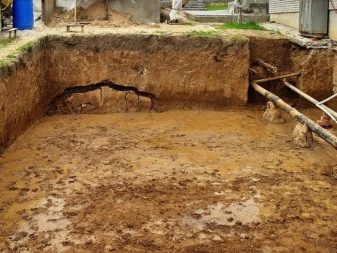
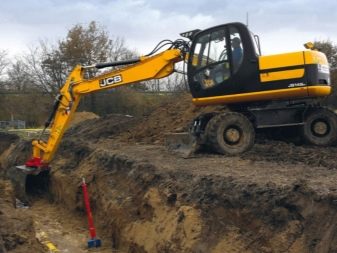
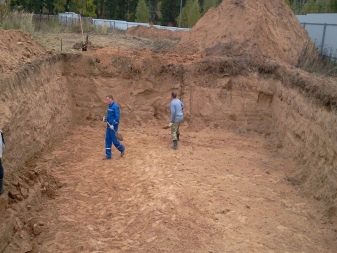
- Carrying out excavation work - digging out a foundation pit. It is more convenient to do this with an excavator. The depth of the pit should be sufficient to accommodate all the layers of the "pillow", as well as part of the monolith. We must not forget that its other part (10 cm is enough) should rise above the ground. The resulting walls and the bottom of the recess should be mechanically aligned.
The depth of the pit corresponds to the design and is determined by the characteristics of the soil and the building.For example, on highly mobile soils, resorted to the organization of a recessed slab, therefore, the pit is digging deeper. Similar actions are performed if you need a basement or basement room.
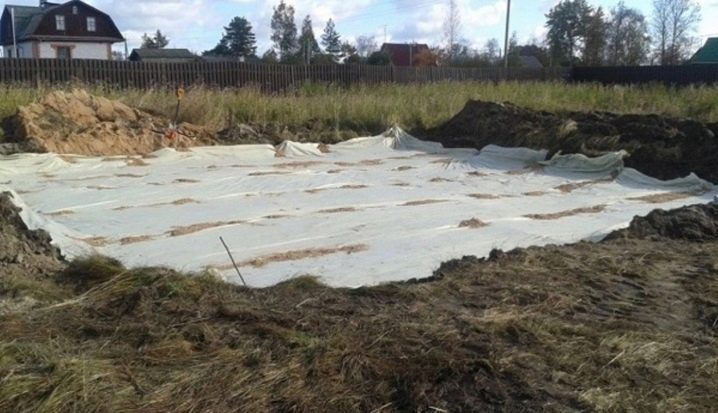
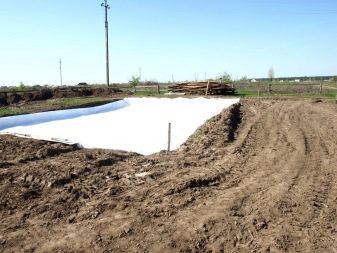
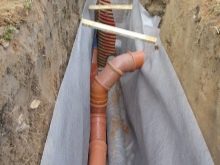
- The prepared ditch is covered with geotextiles. The material is laid overlapping pieces. Avoiding its spreading under the weight of the “cushion” allows sizing of the joints with a moisture-resistant tape. Geotextiles are laid on the bottom and walls of the pit.
- Falling asleep in the pit of sand or rubble.
If sand is used, it is immediately filled with an incomplete layer. In other words, the entire thickness of the sand is filled up in several stages, but at the same time one layer should immediately fill the entire surface of the pit. If we ignore this recommendation and immediately fill up the entire volume of sand, then its weight will be unevenly distributed.
- Simultaneously with the filling of the sandy layer, the organization of the drainage system is carried out, thanks to which the excess moisture will be removed from the monolith. A trench is dug around the perimeter of the pit, into which a plastic pipe is protruded, projecting a drainage channel.Its individual elements are assembled into a single system, which is located at an angle to remove moisture in the place designated for this. Perforations are made in the pipe, and the space around it is filled with rubble.
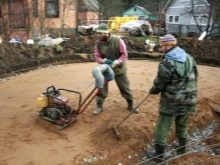
- Let us return to the sand “cushion”, the thickness of which should be at least 20 cm. After filling the layer is rammed, and the level of the layer should be checked all the time. This will help make a few pegs, scored at different points inside the pit.
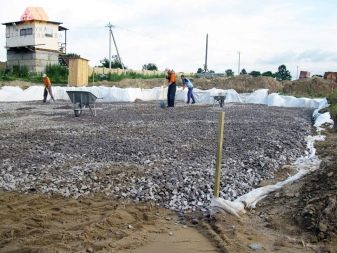
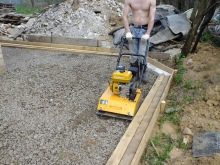
- The next layer (about 15 cm thick) is filled with crushed stone, which will drain moisture from under the slab. It should also be tamped down, observing the horizontal level of the layer.
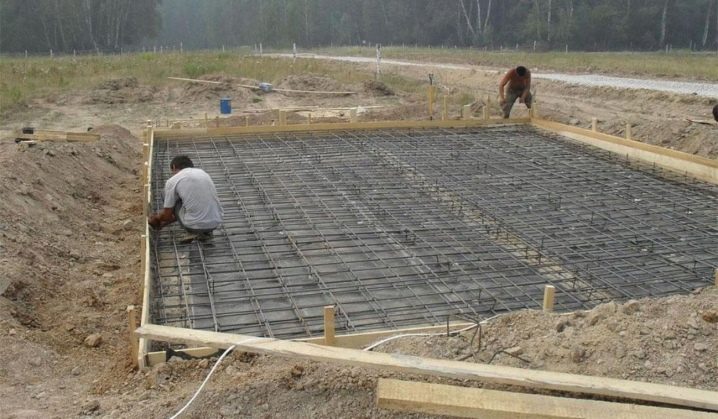
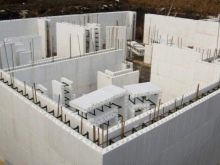
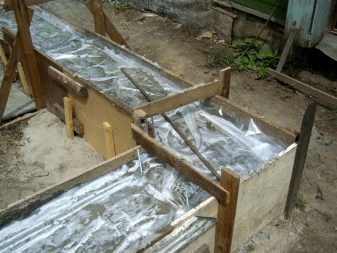
- After the backfill of rubble, the construction of side formwork is started, which should be quite durable, since it will have significant loads. When insulating the slab around the perimeter, the formwork is made non-removable from polystyrene foam plates of high rigidity. In other cases, removable formwork of boards or plywood.
- To reduce the risks of moisture penetration to the concrete layer, a polymer membrane is laid over the rubble. It also overlaps, it is important to lay the membrane on the right side to the rubble.The membrane is laid with an overlap and on the formwork.
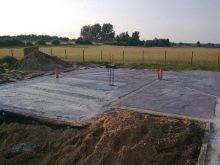
- The next step is to embed a concrete screed, which is typically 5-7 cm thick.
- After the concrete foundation will gain strength, you can proceed to finish waterproofing. To this end, the surface of the screed is covered with a bitumen primer, which allows to improve the adhesive properties of materials. Next, proceed to the fusing of the first roll material for waterproofing on a bitumen basis. After the first sheet is glued, the next sheet is glued in the same way without gaps. Usually waterproofing is placed in 2 layers, while it is important to lay the second one with an offset so that the joints of the first layer do not coincide with the seams between the materials of the second layer.
- After waterproofing proceed to the insulation of the foundation, which is usually used plate polystyrene foam material. As with waterproofing, insulation is placed in several layers with an offset. Polystyrene plates have a different thickness, however, where one thick layer is enough to achieve the desired thermal performance, it is better to use 2 thinner plates.
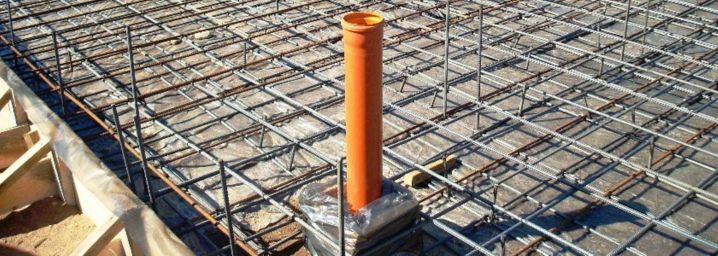
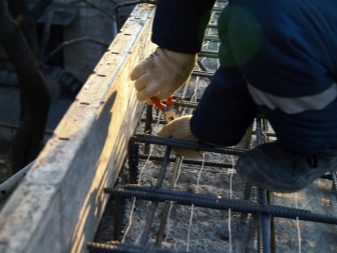
- The next step is reinforcement.It can not be laid directly on the insulation, you should put bricks under the reinforcement frame or use special legs. A gap of at least 5 cm should remain between the reinforcing layer and the insulation. The lathing should not be welded, it is connected with wire.
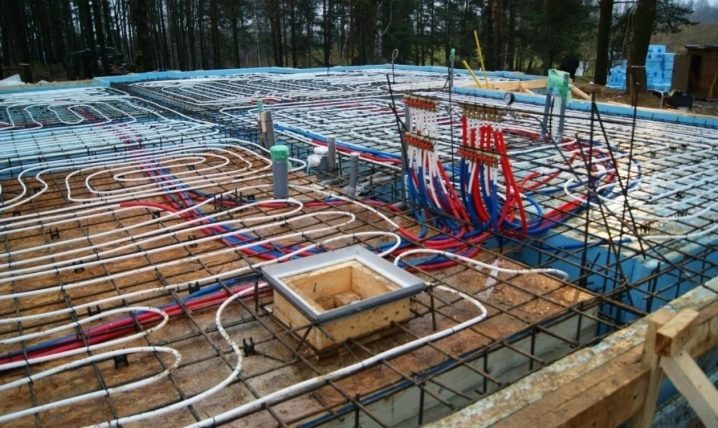
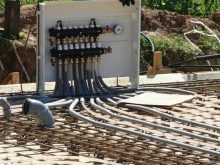
- Laying communications, because after filling the floor this will be impossible. If a warm floor is organized, the pipes are attached to the metal crate. At the same time, collectors are mounted that connect all pipes. You should make sure that all the conductors are under pressure, this will help to quickly identify the hole in case of damage during pouring.
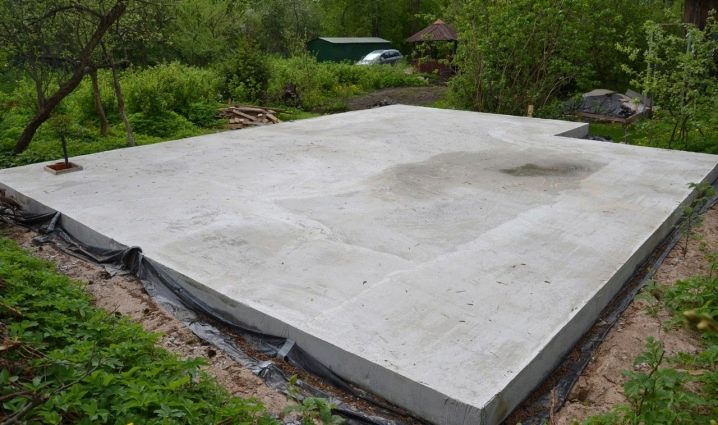
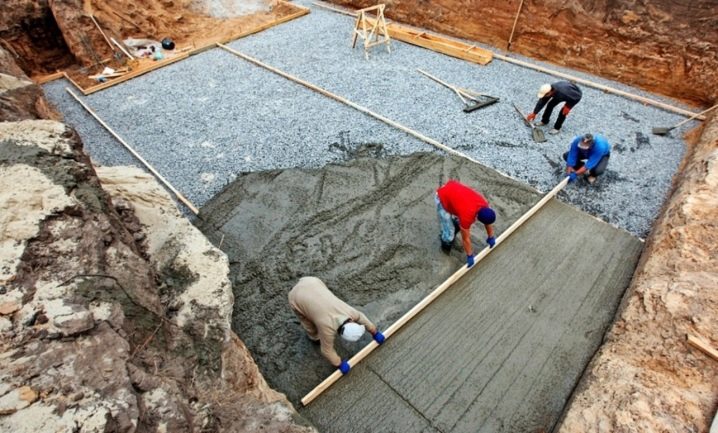
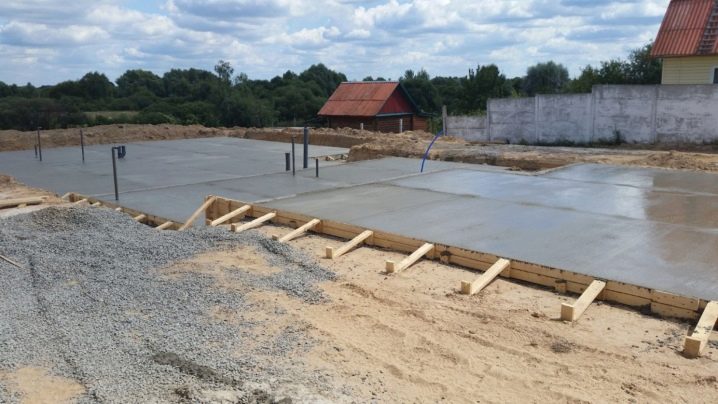
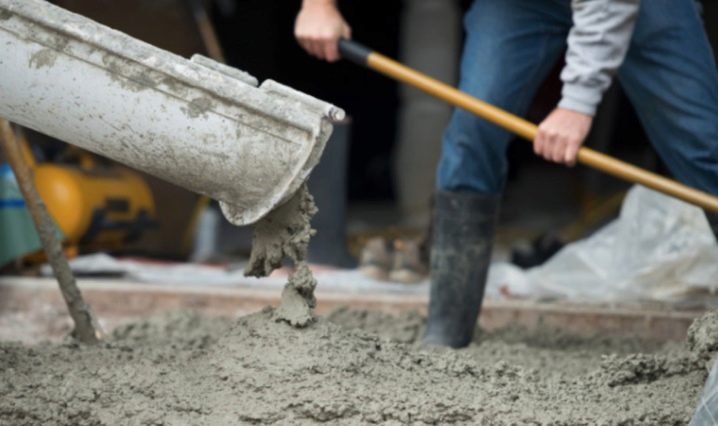
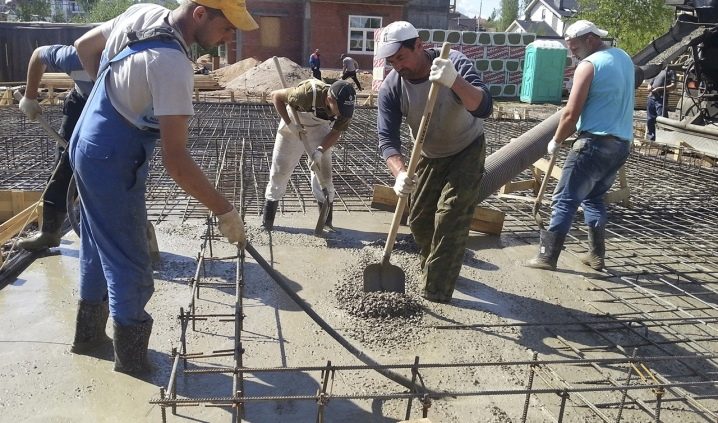
- The final stage is the pouring of the concrete mix, before which the quality of the formwork is carefully checked once again. It should not have gaps through which concrete can flow. The solution should be poured at once over the entire area. To align the layer using pumps or wooden mops. The use of vibratory pile drivers is mandatory, which will eliminate the appearance of air in the thickness of the solution. After that, the surface is equal to the rule and left to "rest" until strength is established.
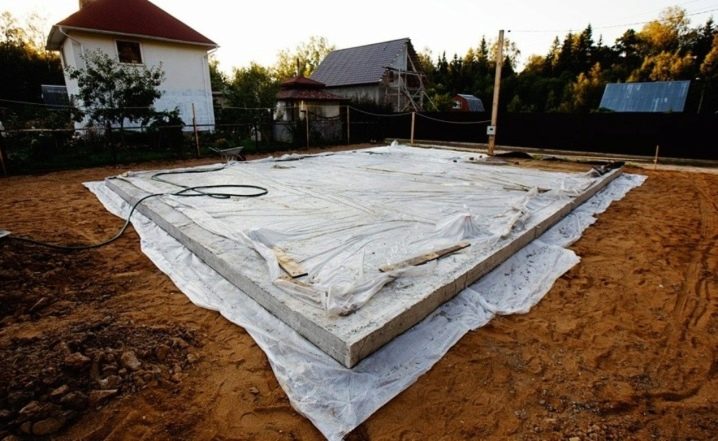
To eliminate the negative impact of the environment on solidifying concrete allows its protection with covering material. In winter, heating cable is laid over its entire surface. In addition, in the process of casting at negative temperatures, it is recommended to add special impurities to the concrete, accelerating the process of setting, and also to use steel shields with heating function for the formwork.
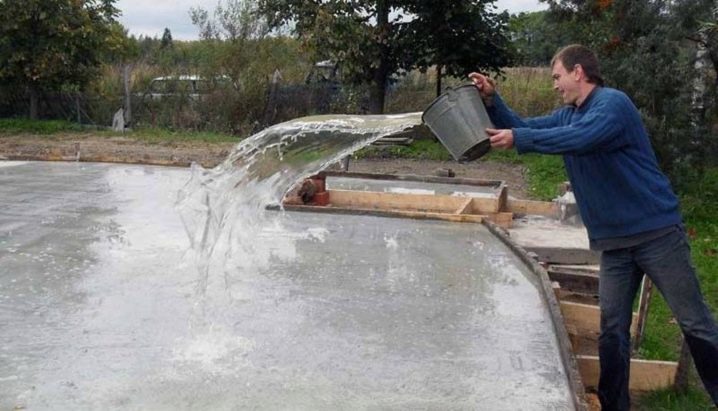
In case of strong heat, it is necessary to prevent the concrete surface from drying out, therefore, it is periodically moistened in the first 1.5-2 weeks after pouring.
You will learn more about the features of the construction of a monolithic foundation by watching the following video.
Tips
One of the factors affecting the strength of the monolith is the quality of reinforcement. The number of reinforcing levels is determined by the thickness of the slab. If a slab with a thickness of no more than 15 cm is used, one level of reinforcement is sufficient, and the steel rods are tied with wire and laid exactly in the center of the base.
When the slab thickness of 20 cm is used two-level reinforcement. The distance between the reinforcement elements on average is 30 cm.
In areas not subject to constant and high loads, it is possible to lay rods with a large step. From the edge of the slab to the edge of the reinforcement cage, 5 cm should be left on each side.
The strength and durability of the slab depends largely on the quality of concrete.
It must meet the following requirements:
- density indicators - in the range of 1850 - 2400 kg / m3;
- concrete class - not less than B-15;
- concrete grade - not less than M200;
- mobility - P3;
- frost resistance - F 200;
- water resistant - W4.
When self-preparation of the solution in the first place should pay attention to the brand strength of cement. It is recommended to choose your brand for each type of soil, as well as on the basis of the structural features of the building. So, on weak soils for heavy buildings (for example, with brick walls), cement M 400 is recommended. For foam concrete houses, cement with brand strength M350 is sufficient, for wood concrete it is M250, and for frame houses M200.
Finally, it is important how the concrete is fed and cast. It is not recommended to supply concrete from a height of more than 1 m, and also to move it over a distance of more than 2 m (it is necessary to periodically move the concrete mixer around the perimeter, and also to use a pump).Filling needs to be made for one session, it is not recommended to fill in on sites, it is optimum - in layers.
When leveling, as well as at the time of solidification of the concrete layer, it is unacceptable to walk on it, because it violates the structure of the reinforcement and leads to uneven solidification of the concrete layer.
The optimal conditions for the curing of concrete are: temperature - at least 5C, humidity level - at least 90-100%. To protect the concrete at this stage, you can use regular polyethylene or tarpaulin. It is important that the covering material overlaps, and the joints are taped. Otherwise, the sense of such protection will not be.
The optimum protection package is one in which the material covers not only the concrete layer, but also the formwork, and its edges are fixed on the ground with stones or bricks.
When concrete is irrigated, it is necessary to distribute moisture driply, and not to stream. To prevent the formation of grooves in a fresh layer of concrete will help laying on the surface of sawdust or burlap, which are closed with a film. In this case, water is poured on sawdust or burlap, evenly absorbed into the concrete.
