Foundation for the extension to the house: features of construction
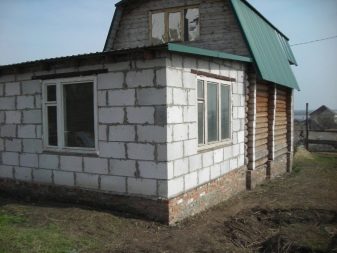
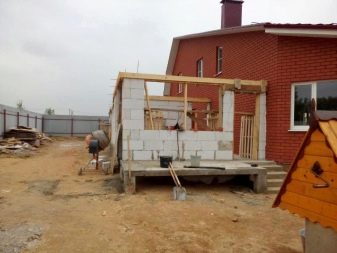
Owners of private houses often attach additional premises to the main structure. The need to expand the usable area arises during the operation of the house, increasing the family, the emergence of financial opportunities and the desire of the owners. Attachments are for various purposes, in any case, they must stand on a solid foundation, the foundation. According to construction standards, an extension is considered to be any room rendered beyond the boundaries of the main walls.
Special features
The difficulty in adding additional rooms is the presence of an already finished old building, which has already undergone shrinkage, has certain defects and design features.All these points should be taken into account when designing an extension. It is necessary not only to attach a room that is solid and harmoniously suitable to the rest of the ensemble, but also not to harm the already prepared house, not to contribute to its deformation or destruction. Errors and miscalculations in the design and construction of the foundation are unacceptable, leading to serious consequences and problems of the entire building.
It is very important to make a strong binding of the new and old foundation.
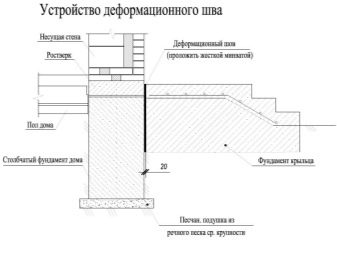
There are two ways to connect the bases.
- Expansion joint is simple in design, suitable for all types of foundations, less costly. In this case, both foundations are independent of each other during shrinkage or deformation loads. Between the main building and the attached pave a layer of waterproofing, heat insulation, a deformation seam is formed. Roof extensions with this method should be separate.
- Rigid reinforcement is more reliable and durable, it is used for old buildings, fully shrinkable, aged 15 years, if there is a quality base. The connection is made with metal fittings.If a new and ready-made structure is planned to be united under one common roof, then the bundle is necessarily made rigid. The only obstacle to the application of this method are heaving soils.
Kinds
When building extensions for various purposes, it is necessary to take into account the specific features of the structures, the properties of the soil, and the type of foundation of the old house. Apply different types of foundations, which differ in technology performance and technical characteristics. It is recommended to choose for the new premises the same type of foundation as for an already built house. Too different characteristics can lead to different drawdowns, deformations and even collapse of the entire building.
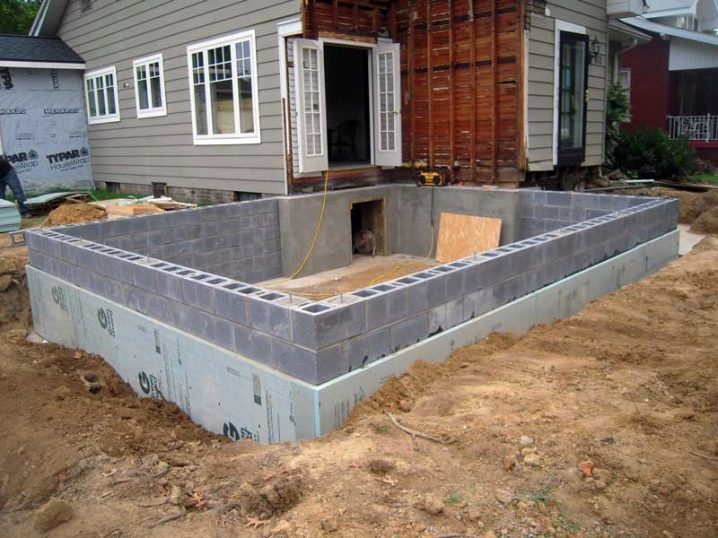
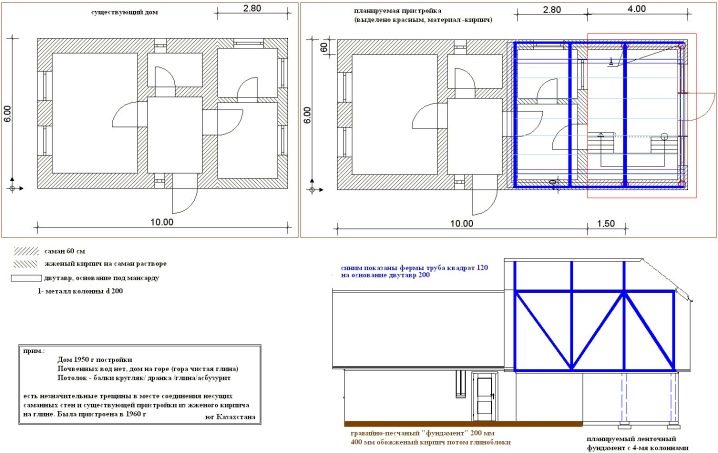
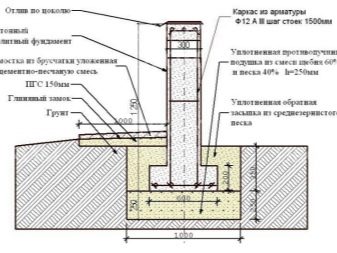
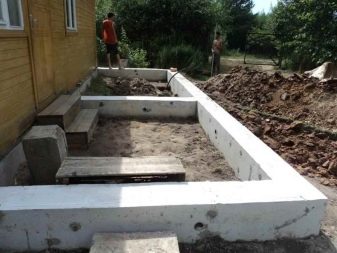
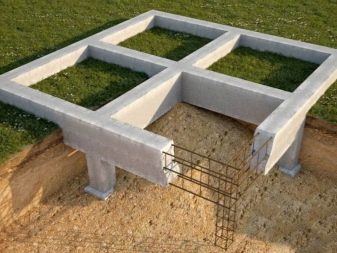
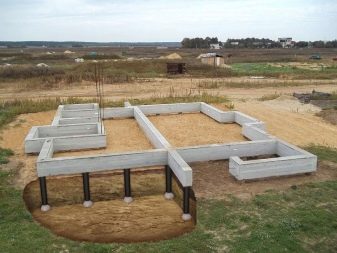
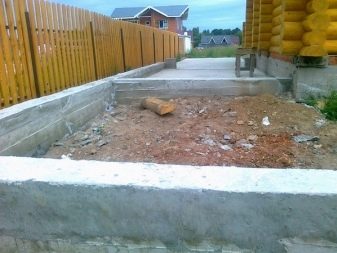
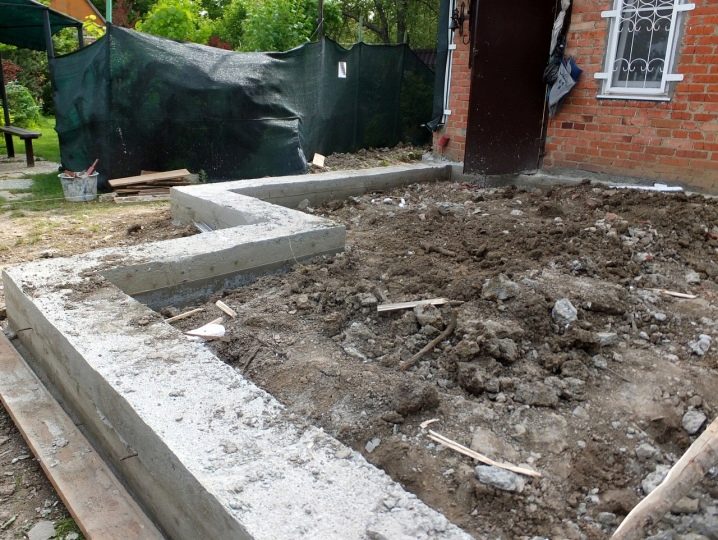
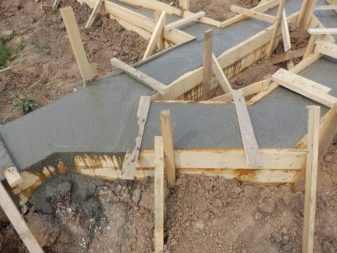
The strip foundation will withstand both a light verandah and a heavy construction. To evenly distribute the loads and to avoid deformations, the tape base must be a closed loop.
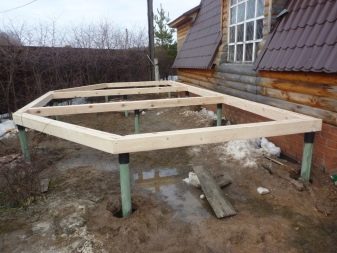
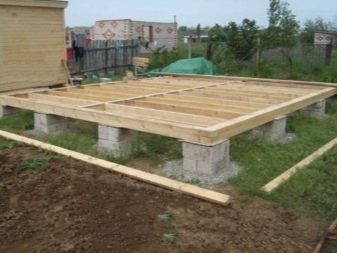
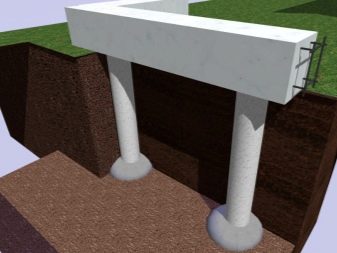
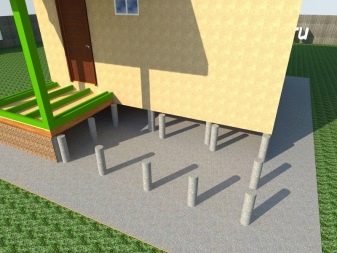
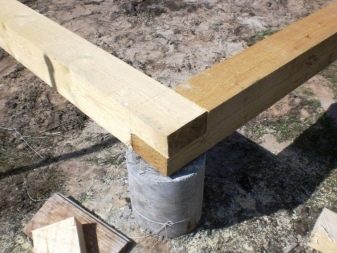
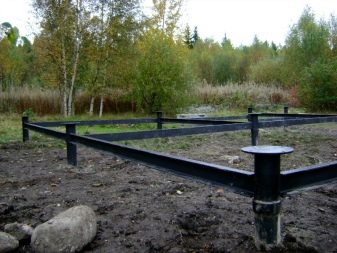
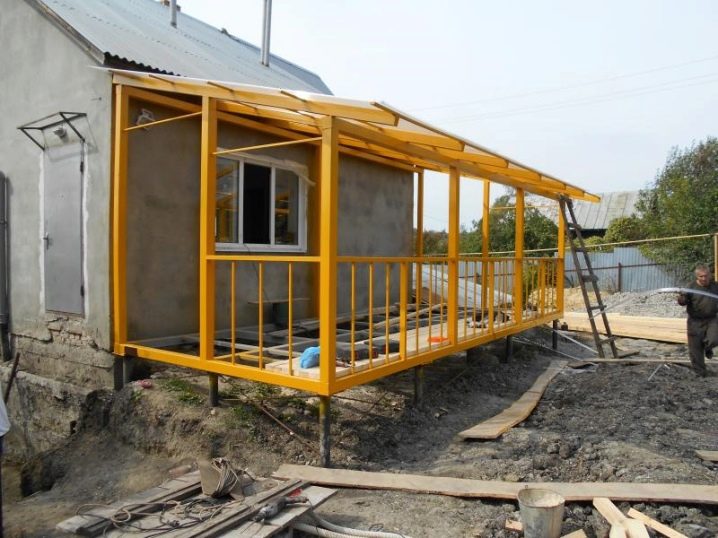
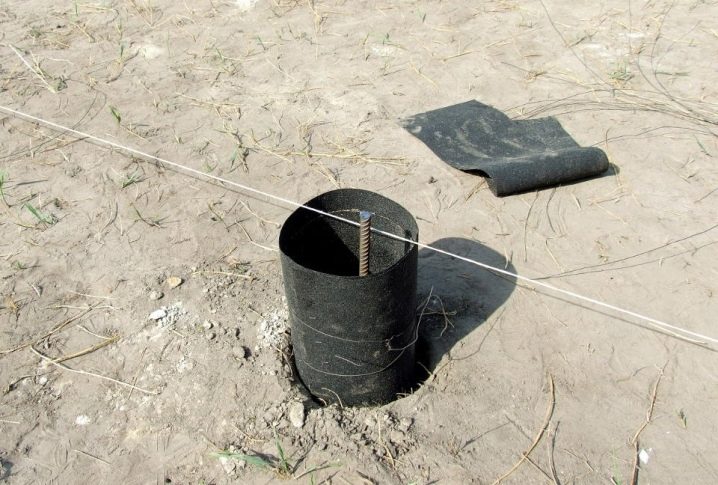
Column foundation is used in the construction of light structuresIt is affordable and easy to use. Vertical columns are located at a distance of 1.5–3 meters from each other. A brick or reinforced concrete is used as a material in the post method.Larch cant is less commonly used, as it is expensive and rots over time. Despite the grillage binding, the columnar base is unstable. When constructing a columnar base, one cannot dig a basement, which is the only disadvantage of this simple and reliable base.
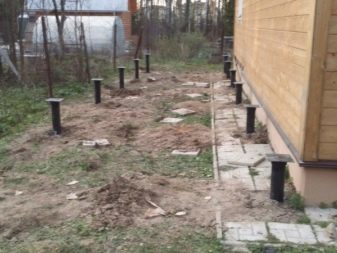
Screw piles, combined with reinforcement or ribbon additional contour, have a high bearing capacity and withstand heavy capital structures. They are made of reinforced concrete, steel, asbestos or wood. The piles rely on the deep bearing layers of the soil, so they are not subject to displacement or deformation due to heaving. This base will not drain.
Technology TISE has several advantages. It has similarities with the device pile foundation due to the high reinforced concrete grillage. But there are drawbacks.
This is a new technology that is still being studied in the long term, but already quite popular with builders due to its availability and versatility.
Piles are equipped with a special extension at the end, the so-called heel. It does not allow piles to rise during soil heaving and allows construction in the conditions of permafrost and increased seismic activity.
If the main house is on a floating slab, then it is necessary to attach a new room on the same independent slab, laying a deformation seam between them.
Rigid connection possible if plate thickness is more than 400 mmor the slab stands for a base of at least 300 mm; in this case, the reinforcement with partial destruction of concrete is exposed and is welded to the reinforcement of the new foundation. The monolithic slab is durable and will perfectly withstand the most difficult buildings even on difficult soils.
Selection for different buildings
In order to correctly choose the type of extension base, you must first examine the condition and dimensions of the base of the main building, the type of soil. This can be done independently. To do this, next to the old house, you need to dig a hole with dimensions of 100x150 cm. In the columnar foundation, the depth of the piles and their dimensions are measured, and in the tape foundation, the width of the bottom and the height are measured.
If the foundation of the main building is tape, then the adjacent one should be made tape, if the pile is, then the additional one should be the same.
This will ensure equal conditions during shrinkage and will give greater strength to the whole bond.
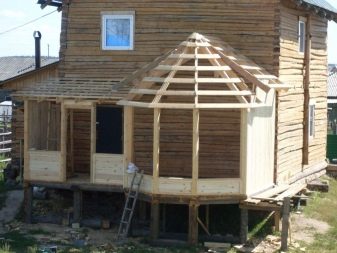
For lightweight frame extensions to a wooden house will be sufficient budget option with a columnar base. This basis is suitable for all light types of verandas, terraces, porches, hallways and vestibules. The depth of the new and the old base should be equal. On swampy soils with high groundwater levels, one should choose a pile or column foundation.
Brick houses often have a strip foundation, therefore it is also recommended to attach a strip one. Between the bases make several types of ligaments.
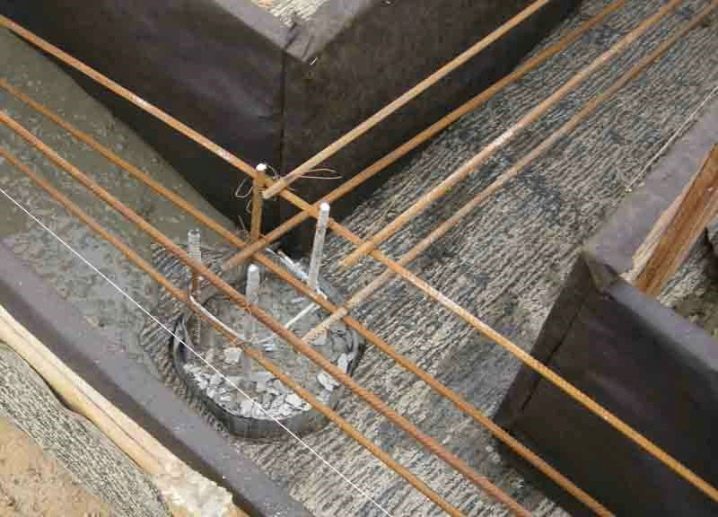
- Rigid connection of the bases with a closed loop. For such a bundle, it is necessary to drill holes in the already finished tape to a depth equal to 35 diameters of the connecting reinforcement. They are staggered in two layers, then 70-100 cm long rods are inserted into the holes. The reinforcement in the old foundation can be fixed by wedging, when sawing is made at the end and when wedging into the concrete, wedging occurs or a chemical anchor is used. Then strapping with rods of the new reinforcement cage is made.
- If a new foundation is planned with an open circuit, then a rigid bundle is made only at the joints with the existing base.
- Technological seam with a closed ribbon circuit is made of sheets of polystyrene foam with a thickness of 5 cm,which is laid between the two bases and at the same time is a vertical element of permanent formwork.
- An open loop with a technological seam is arranged according to the above scheme, only a heater is placed at the junction points of the circuits.
Attach rooms from foam blocks can be to existing buildings, made of any materials.
Foam concrete has low shrinkage and low weight, the walls of the annex can be built on its own without the involvement of experienced builders.
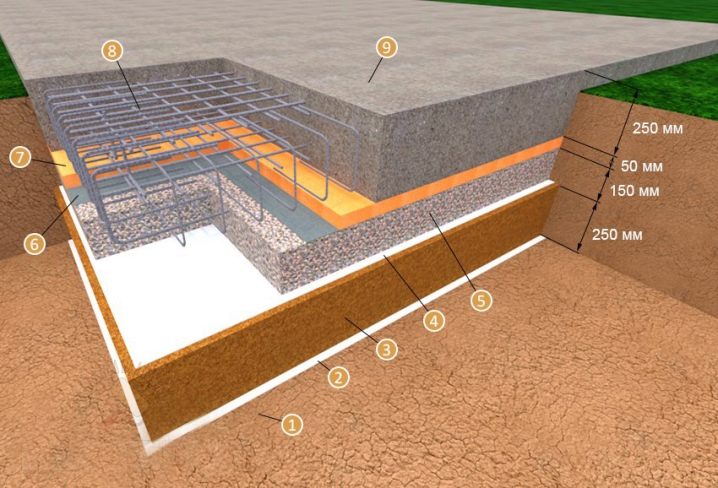
If the house has a basement and several floors, the walls of the building are wider than 40 cm, the soil is complex and large loads are planned, the best option would be a base in the form of a slab in which the loads are distributed over the entire area.
Necessary materials
By arranging the foundation for the extension must be carefully prepared.
Examine the initial parameters, create a project, calculate the estimate, prepare the necessary tools and materials:
- cement brand M300;
- sand for drainage;
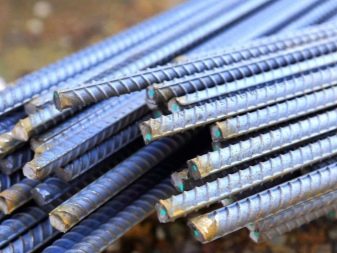
- rod for reinforcement with a diameter of 10 mm;
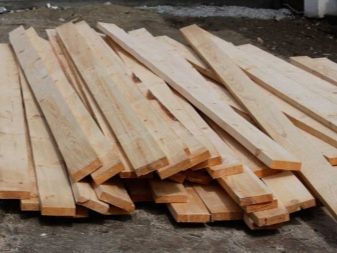
- boards for formwork;
- nails for fasteners;
- gravel to create a pillow;
- rope and pegs for marking;
- wire for strapping.
Independent production
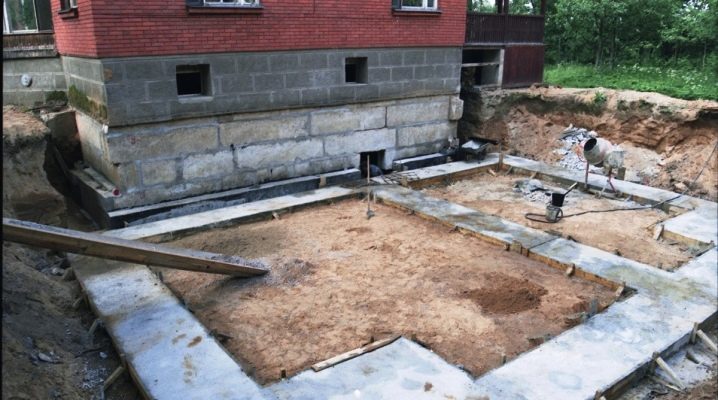
The most common is a strip foundation, which can be used for the construction of a veranda and an extension to an existing house of any design, from a light arbor to a heavy two-story one. It can be associated with the existing foundation.
To properly fill it with your own hands, you need to study the technology and complete all phases of work.
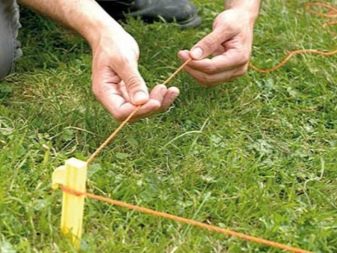
- To make a marking with the help of stakes and a rope, to drive pegs along the extension perimeter, to stretch the string.
- Remove the existing blind area, remove the insulation, if it was laid.
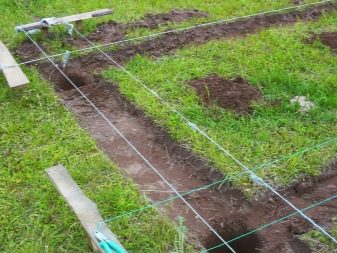
- Dig a trench using rope tags and target depth.
- As a drainage you need to make a sand and gravel pillow, carefully tamp it.
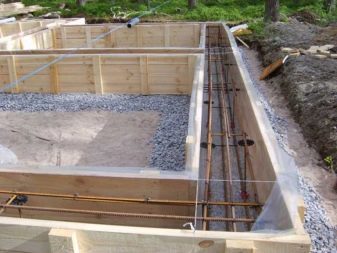
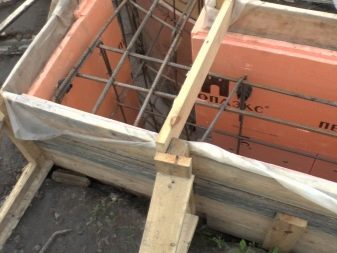
- Install formwork from boards, support it from the outside with special supports, and inside with struts to prevent displacement during pouring.
- Install reinforcement into the trench, connect it with wire in the form of a grid, which should be 20 cm above the ground.
- Drill out in the ready-made foundation of the old house blind holes with a length of 35 cm for connecting the bases.
- Lay the reinforcement in the holes, wedge the bars at the ends and tie them to the new frame. Thus, to produce a rigid coupling of the foundations.
- If it is decided to make a deformation seam, then wide sheets of heat insulator are laid between the bases.
- Pour the solution, the time of drying and curing is 3-4 weeks. During this time it is necessary to moisten the soil next to the formwork, then the drying of the concrete will take place evenly, without cracks or deformations.
- After the concrete dries, a layer of waterproofing is laid, then walls are erected.
If the soil on the site is weak, and the veranda or gazebo is rather heavy, then it makes sense to make a pile foundation. A massive fireplace, a swimming pool, a two-story building can give a big load.
The pile foundation is done as follows:
- screw piles are buried in the soil so that their upper part protrudes above the surface;
- from above fix special supporting platforms;
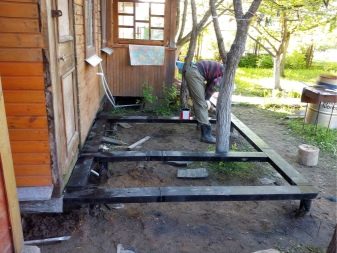
- using a beam or frame beams combine all screw supports into a single structure;
- It is very important to carefully control the height differences when installing screw piles.
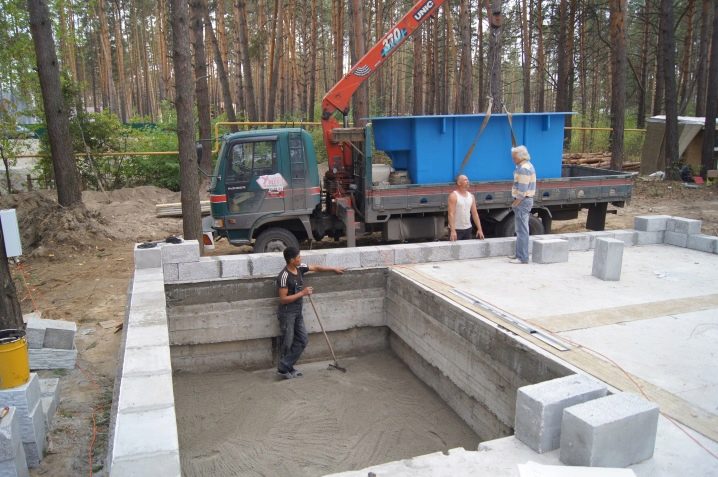
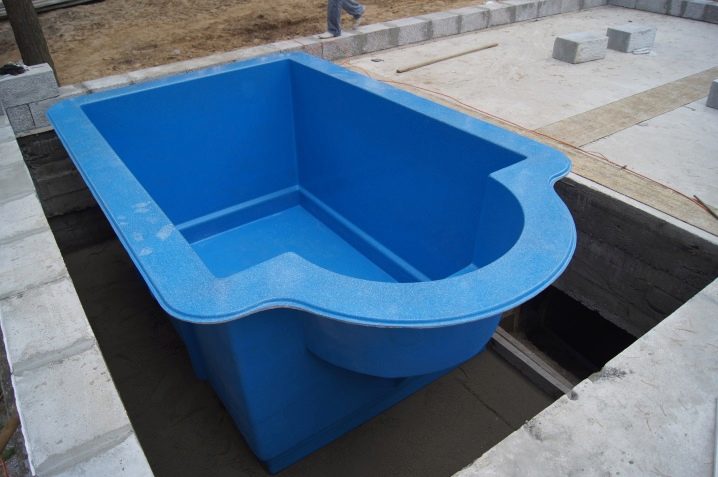
In the case of an extension of the pavilion with a swimming pool, you must:
- mark the dimensions of the veranda and the pool itself;
- Dig a pit under the bowl, adding 1 meter each to the length and width for arranging the side cushions and the possibility for builders to pass;
- the walls of the pit are dug with a slight slope for strength;
- a drainage cushion is poured at the bottom, it is waterproofed and the heat insulation of the bowl is laid;
- set the bowl, for example, fiberglass, then let down the communication and set the elements to which there is no access in the future;
- then the embedded elements of the pavilion supports and the reinforcement of the monolithic base plate are mounted. Inside the reinforcement lay the wiring and pipes for drains;
- filling is made with concrete M300;
- in the place of junction with the old house a deformation seam is laid.
Useful tips from the pros
To avoid mistakes, build a solid and reliable extension, You can use the recommendations of experienced builders and get a great and durable result.
- Analysis of the soil will allow you to properly assess the load and predict the swelling of the soil and shrinkage of the erected structure. The choice of the type of base is affected by the level of groundwater, the depth of freezing.
- In pillar foundation, despite the strapping, there is instability to the loads, so the correct solution is the technological seam, and not a rigid bundle.
- According to construction standards, the minimum distance between piles with a screw base is 1 m, and when using bored, it is from three diameters.The distance from the finished strip or slab foundation to the nearest pile should be at least 30 cm.
- If a common roof is planned in both parts, then a rigid bundle of bases is surely needed. If a deformation joint is made between the foundations, the roof should be independent.
- The trench width should be 30 cm more than the width of the walls, to account for the width of formwork boards, and the depth on sandy soils is at least 30 cm, on clay soils - 1 m.
- The column base must be waterproofed by wrapping the pillars with ruberoid under the base and from the sides. Use of ready blocks FBS is possible.
To learn how to make a foundation for an extension with your own hands, see the video below.
