How to remove and disassemble the interior door lock?
The door lock, at first glance, is not a very noticeable accessory of our apartments, houses, offices, garages and other premises. At the same time, locks are the most important part of ensuring our security. In this article we will talk about how to properly remove and disassemble the interior door lock.
Classification of mechanisms
Door locks for interior doors can be classified according to several criteria. The type of locking are lever and cylinder products, and the type of installation - mortise, overhead and mounted.
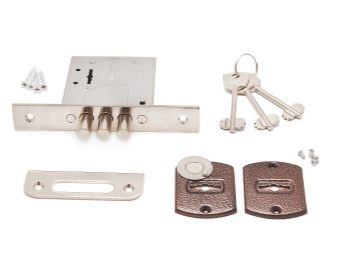
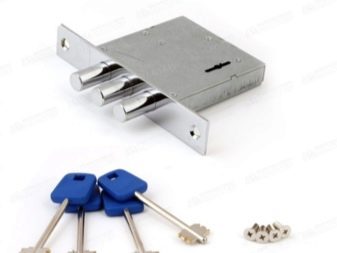
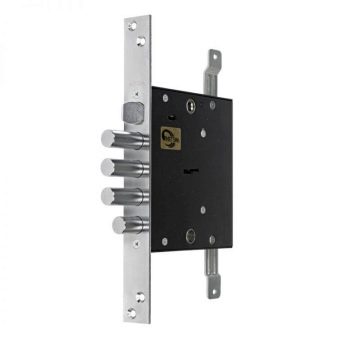
- Level lock It is a fairly massive device, unlocking and locking of which is done by levers. They, in turn, are pushing the bolt.This type of lock is rarely installed on interior doors, as it has a greater weight and size than others. But sometimes there is a need to install the product in question, for example, on the door to the pantry or to ensure reliable preservation of any objects in another room.
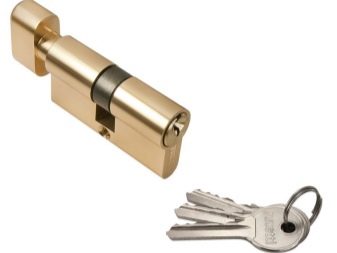
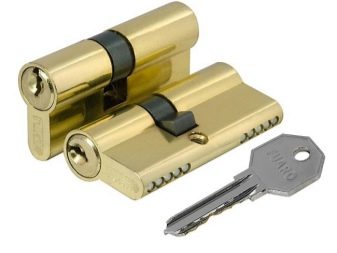
- Cylinder lock with the main mechanism of action on the bolt or tongue has a rotating cylinder. This type of lock is the most suitable for use on interior doors, as it has a fairly simple design, small size and, accordingly, low weight.
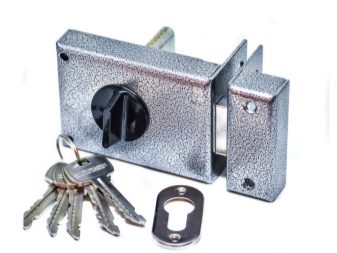
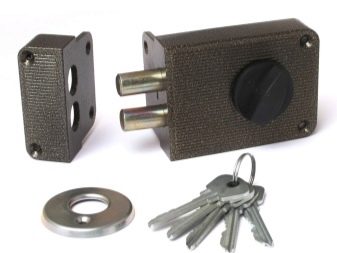
- Hinged options most often used on the doors of utility rooms, garages, basements, cellars, as this type of product implies ease of installation with sufficient reliability. At the same time, the aesthetic function is completely absent, therefore such products are very rarely installed on interior doors.
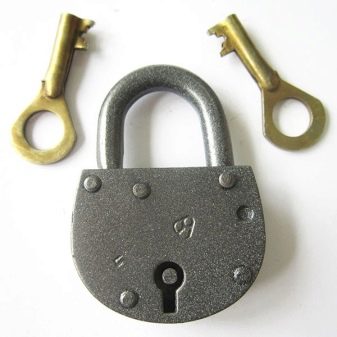
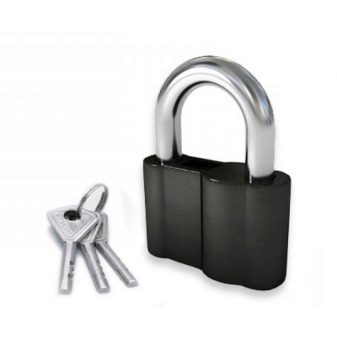
- Padlocks also have the property of ease of installation and are most often used on the front door, but sometimes there are on the interior.
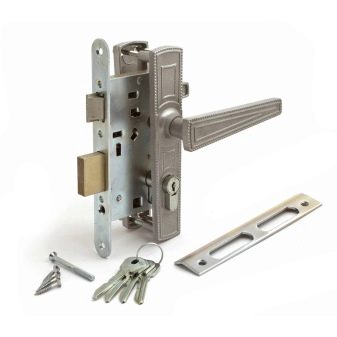
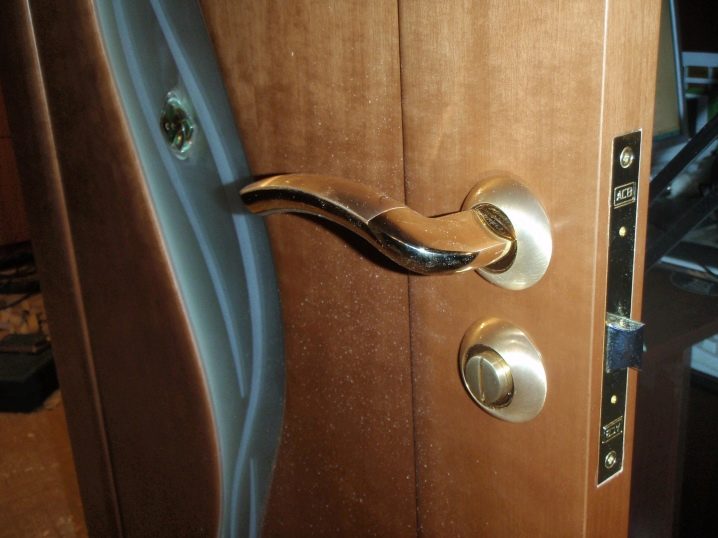
- Mortise lock - the most common type of product for interior doors, as it has very important properties, such as aesthetics, for example.Its mechanism is hidden inside the door, it is possible to install handles of various types, sizes, colors, etc.
Disassembly and disassembly
The mechanism of removing the lock from the interior door, consider the example of the most common type - mortise. At the preparatory stage it is important to prepare the appropriate tool that will be needed in the process of work:
- flat and cross-shaped screwdrivers (figured);
- hammer;
- nail;
- sample or other metal object with a sharp tip.
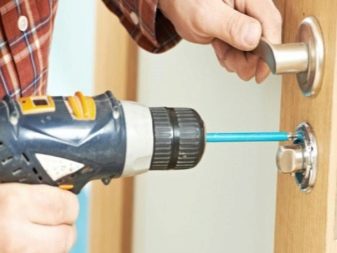
Instead of screwdrivers, it is possible to use a drill-screwdriver. A prerequisite is access to the door from both sides, that is, from different rooms. The crossbar must be inside the product. Otherwise, remove the dead lock will not work.
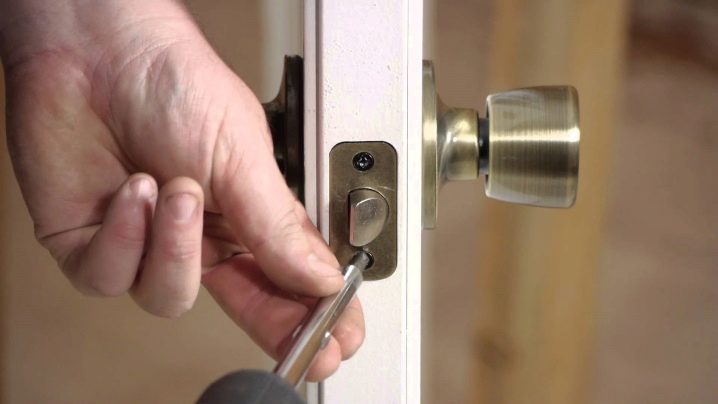
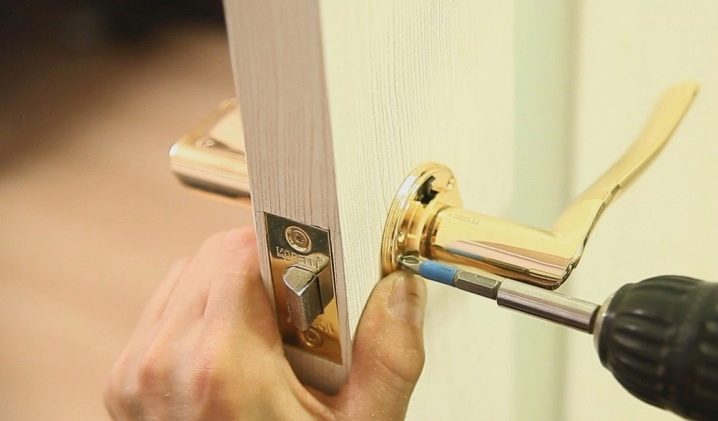
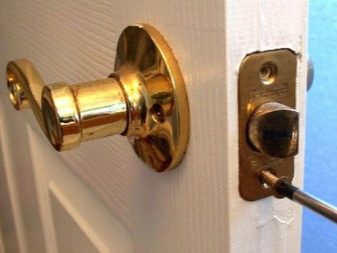
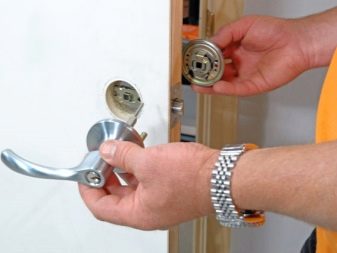
Before directly removing the mortise lock, you must remove the existing handles. In the level lock, the handles are fastened to the mechanism with pins. To remove them, you need to take a nail or break a hammer and hammer out the pin on the handle on one side of the door and remove it, then remove the other handle from the lock. In the cylinder mechanism, unscrew the door handle covers with the appropriate screwdrivers, which, as a rule, are fixed with screws or screws, then remove the handles.
Also be sure to remove all the plates and plates that are fastened with screws to the door or screws to the lock. The most commonly used screwdriver or power tools with nozzles. The next step is to unscrew the screws and self-tapping screws fixing the lock itself to the door.
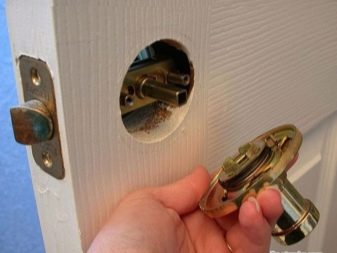
Then we take a screwdriver with a flat end and, pulling from the end of the door, we begin pulling the mechanism out of it. At the same time, no great effort should be made, since it is possible to damage the door, which would entail additional work on its restoration or replacement.
To disassemble the mortise lock, it is important to prepare the place where it will be carried out. The most reasonable thing is to use the writing desk or the kitchen table. It should also prepare a cotton fabric, which will produce disassembly, screwdrivers with a flat and cross-shaped end.
- Fold the fabric on a flat, flat surface on which we place the mechanism with the fastening screws up. Turn off the screwdriver screws, usually their number is from 4 to 6.
- Carefully, using a flat-ended screwdriver, remove the top plate. After removing it, the entire lock mechanism is visible.Taking into account safety precautions, we take out the spring in the lock, while ensuring that it does not fly out of the seat, as it is energized (as a rule, in a compressed state and when removed from the seat, it abruptly cracks).
- The next step is disconnecting the levers from the bolt and pull them out. Disassembly is over. The assembly is carried out in reverse order.
Expert advice
Practically all specialists when removing and disassembling locks of interior doors note a few points that need special attention.
- You can manually remove the spring or pry it with a screwdriver, covering the mechanism with a rag or hand.
- It is important to wipe all parts of the mechanism with a dry clean cloth to remove old grease and assess the degree of wear, as well as the possibility of further use or the need for replacement.
- Before assembly it is very important to lubricate all parts of the lock mechanism, including the springs with a special lubricant. This procedure contributes to a more durable trouble-free operation of the product.
- Lubrication must be chosen from a line of graphite variants.Graphite-based substances are less susceptible to temperature changes, dust accumulation, etc.
In this article, we reviewed the features of the removal and disassembly of locks of interior doors. However, before carrying out self-disassembly of such products, it is very important to read the relevant information in various sources and get advice from a professional craftsman.
From the video you will learn how to independently remove the door handle of the interior door and put a new one.
