Screw hinges for doors: how to choose, install and adjust?
Screwed or screwed hinges for doors have several differences from other types of hinges: ease of installation, low price, durability. But it is the quick and easy installation of loops that makes them increasingly popular. Mounting does not require accurate marking, centering of holes for self-tapping screws or notching of the mounting slots, therefore even a non-professional can handle the installation.
Where use
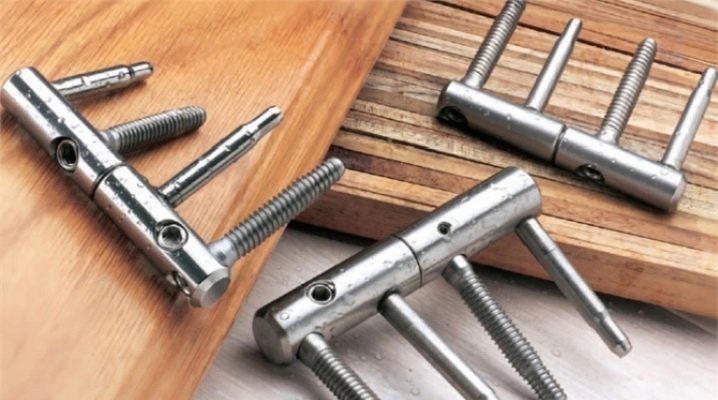
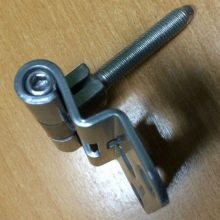
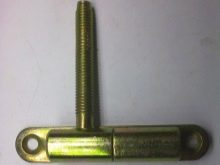
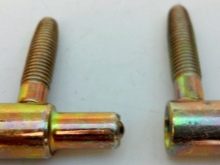
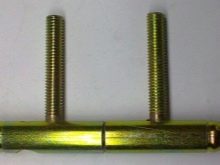
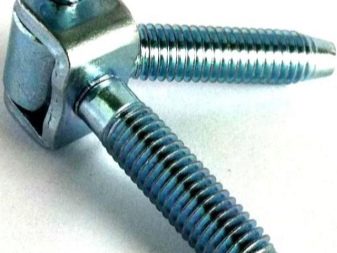
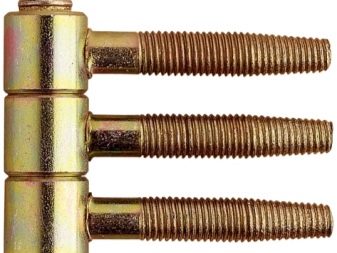
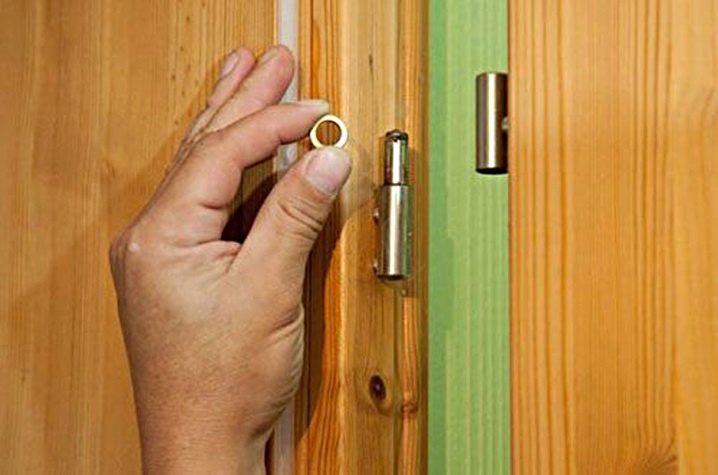
Screw hinges are also called pin, they are installed on the door with a false part (and a quarter). Instead of the usual slats, they have small rods that are screwed into the block and the canvas.
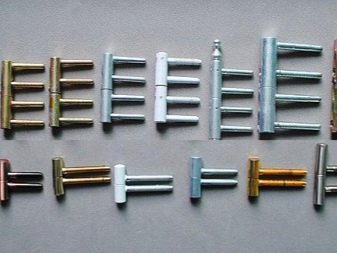
The dimensions and weight of the door determine the choice of model screw-in hinges. For lightweight folding doors and swing doors, you need to choose canopies with 2-3 rods.For large and heavy doors use hinges with four rods - such models are made of special steel and are able to withstand heavy loads.
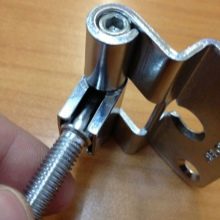
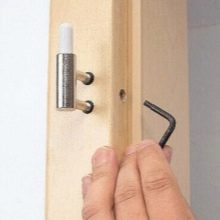
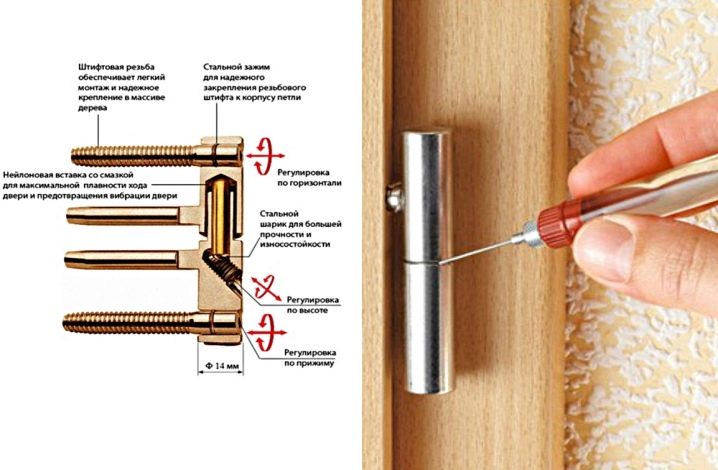
The advantage of this hardware is easy adjustment with a hexagon. You can adjust the height or horizontal, as well as in the clamping area.
Positive traits:
- different colors;
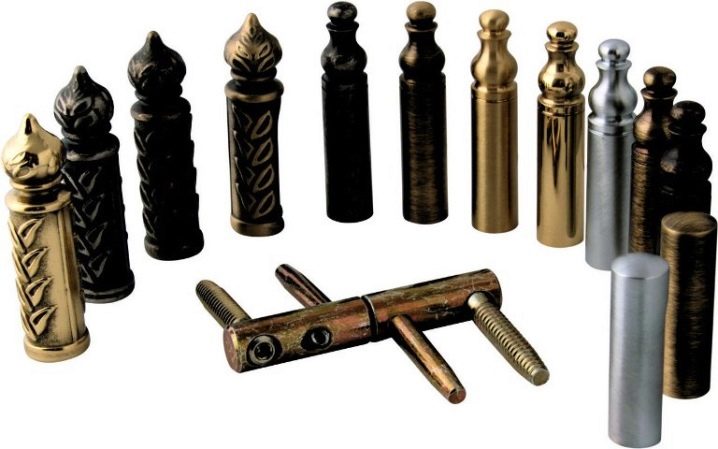
- grade decorative caps;
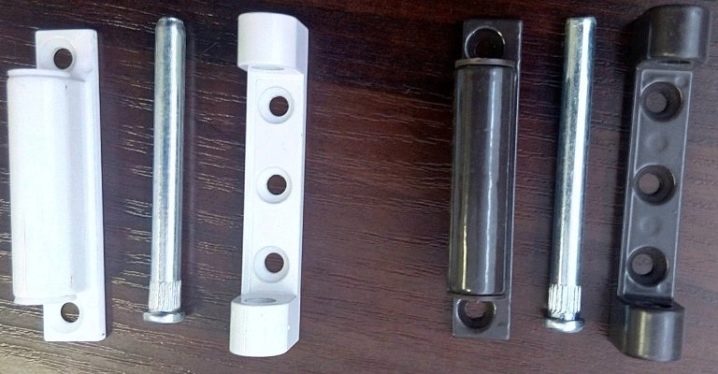
- made of non-ferrous metal, mainly aluminum (plastic hinges are used for light doors or windows);
- high wear resistance;
- beautiful look and compactness.
Among the disadvantages are the appearance of noise during operation, but models with a special plastic insert allow to solve this problem.
Screw-in mechanisms are universal - there is no need to choose for the left or right side. The canvas on such hinges can not be removed, which can be attributed to both disadvantages and advantages.
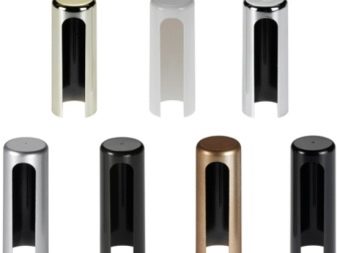
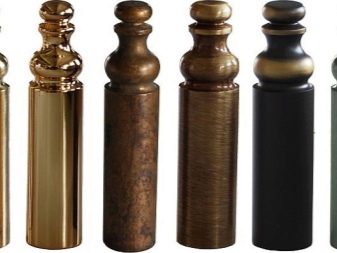
Caps cover the rods and perform the role of a decorative element. They are available in a variety of colors, they can be chosen for any interior.
Device
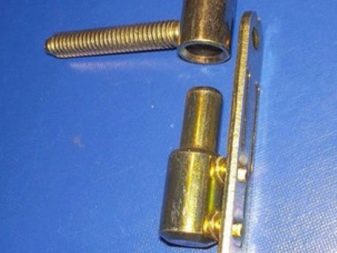
Screw loops have several elements:
- connecting pin;
- frame part for fixing in the opening;
- hinged part for fastening on the doors.
Screw mechanisms with a nylon insert or a ball are on sale, which ensure noiselessness during closing and opening, as well as reduce friction force and contribute to prolonging the service life of fittings.
Kinds
Pin hinges differ in their size: small ones are used to install windows, and large ones are used for doors.
Door mechanisms may have several pin rods. For windows and plastic doors choose with two rods, for light wooden doors - three, for massive and heavy cloths - with four.
Screw-in mechanisms can be:
- adjustable;
- unregulated.
They differ in that the doors with adjustable hinges after installation can be aligned vertically, horizontally, as well as to establish the necessary clearance between the blades and the door unit. As a result of adjustments, you can achieve the most easy and silent movement of the doors during operation.
Included may be caps or lining. Caps allow not only to hide the hinges, but also to give the doors a beautiful view that blends harmoniously with the overall design of the room.Covers are used to add elegance to the whole structure. Decorative elements also serve the purpose of increasing the life of the hinges, protecting them from possible mechanical damage and the adverse effects of dust, humidity and other factors.
Where to install
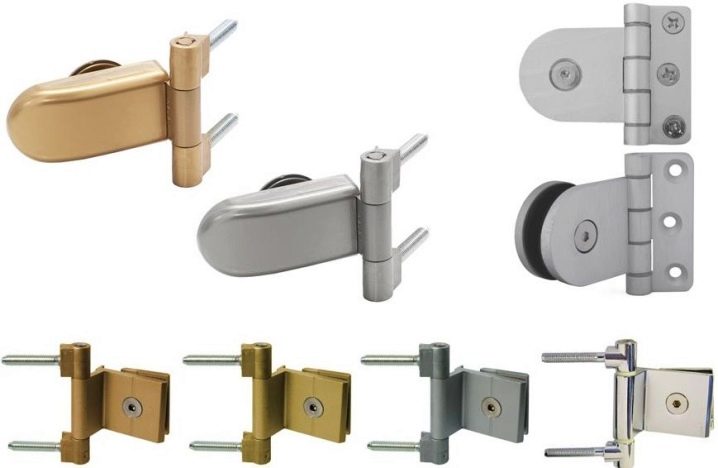
Pin hinges are suitable for all kinds of wooden doors and windows with a false quarter. Such fittings can be installed on the glass doors of the doubles and office premises. Fixing on the glass is carried out using clamping loops or fasteners in the hole of the glass.
Hinges for glass doors differ from the usual two welded screws and parts for mounting on the glass. Turning elements can be from two to four, depending on the massiveness of the doors.
Installation
The following tools and devices may be needed for installation:
- ring stop;
- racks for fixing;
- template for tapping loops;
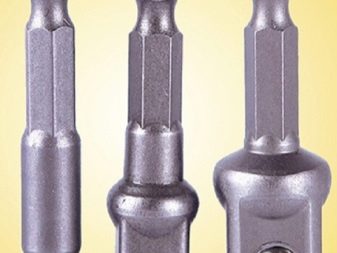
- hex bit;
- drill;
- drill;
- knob;
- clamps;
- holder.
Experts recommend sticking to the following technology.
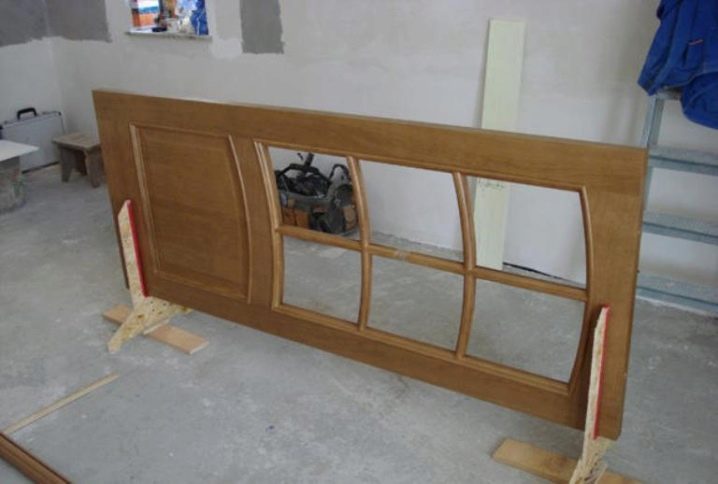
- Fix the door on the floor to set the hinges as correctly as possible.In furniture stores there are special racks for fixing, but they can be made with your own hands.
- Mark the canvas and the block (the place where the loop will be mounted).
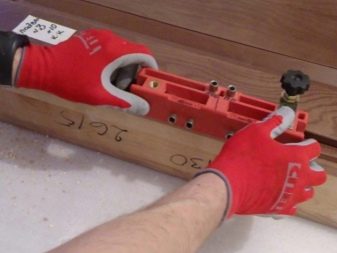
- Using a clamp to fasten the template on the canvas (it facilitates the work). The template is often included in the package, if it is not in the set, you can buy it separately or draw it yourself.
- Drill the holes with the drill with the required diameter and insert the rods. The depth must be equal to the length of the parts, and the number must match the number of rods.
Door preparation:
- fix the details on the marked places with screws;
- install the hinged part of the hinge on the frame;
- fasten decorative elements.
When two loops are installed, the distance from the top and bottom should be from 15 to 20 cm. If a larger number is required, the distance from the top and bottom can be reduced to 8–12 cm.
Adjustment
After installation, you must perform a fit. It can be in three directions. If you tighten or loosen the special adjustment screws inside the parts, then the doors are leveled as accurately as possible and do not make any sound when opening and closing.You can adjust with a screwdriver or a key that is included, it all depends on the type of pin hinge.
Adjustment technology:
- top screw for horizontal alignment;
- the lower screw adjusts the clamp and sets the exact gap between the doors and the door unit;
- vertical doors are regulated by the middle screw (the exact position is achieved by rotating in different directions).
It is worth noting that, following the recommendations, you can independently install screw hinges, but, as in any other business, experience and special knowledge may be required. It is important to choose the right hinges and carefully read the instructions before starting work.
Detailed master class on installing screw door hinges - in the video below.
