The steam room in the apartment: how to do it yourself?
Saunas and baths are a popular form of recreation in many countries of the world, but, unfortunately, the rhythm of modern life does not allow to enjoy them often. The situation can be corrected by apartment mini-saunas. It does not sound very real, but it is a common thing in neighboring Finland, where every third apartment is equipped with its own bath.
Types of sweating rooms for an apartment
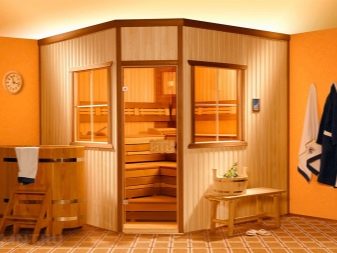
As an apartment, the best option would be a dry Finnish sauna. The reason is simple - for arranging a classic Russian bath in an apartment, it is necessary to additionally equip water and steam diversion, and solid fuel heating equipment is prohibited in most homes. Of course, ardent bathers argue that a home sauna is a pale copy of a Russian sauna with wood.However, this does not prevent the mini-steam rooms from gaining popularity, especially since more and more new species constantly appear.
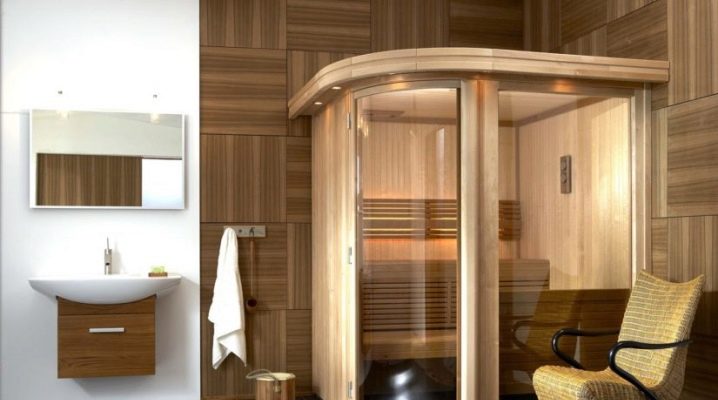
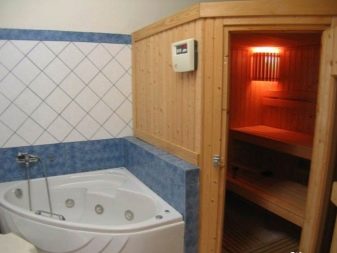
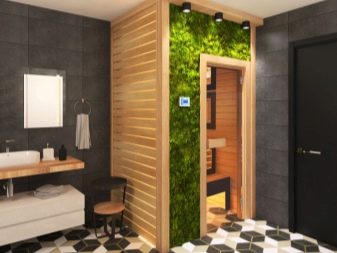
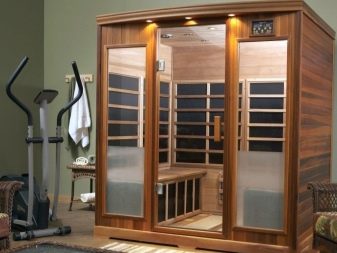
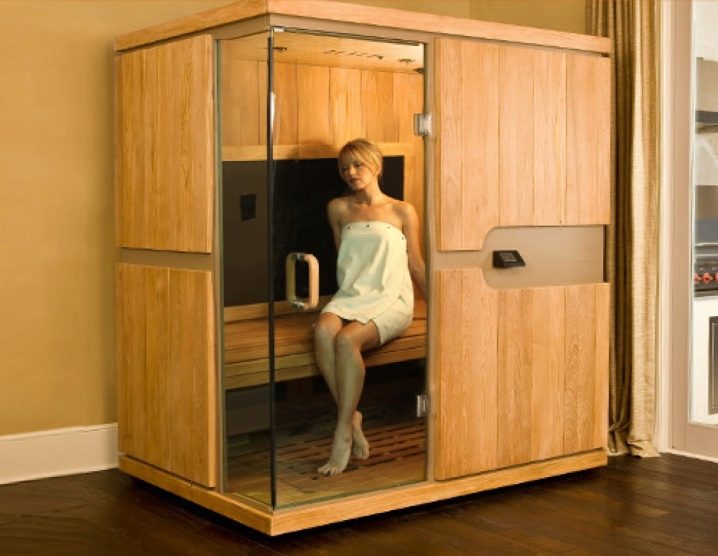
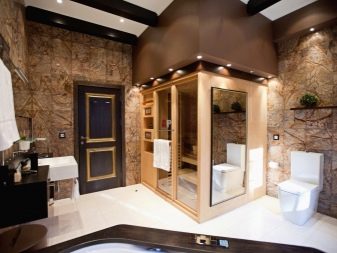
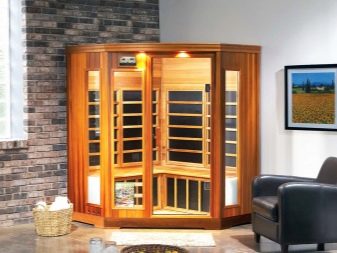
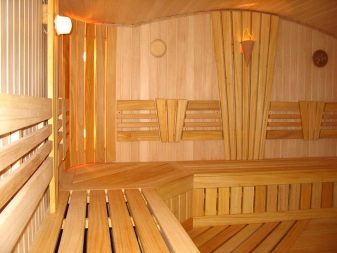
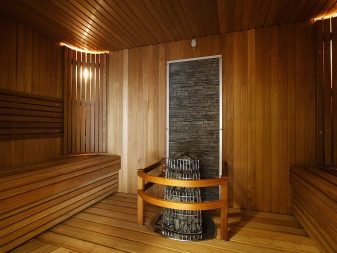
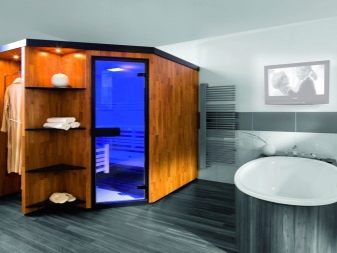
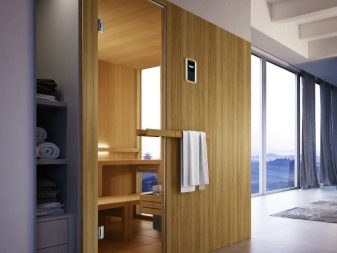
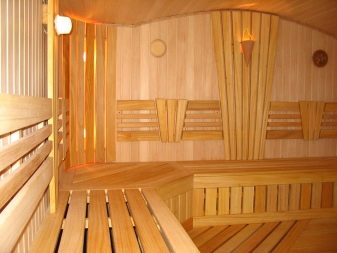
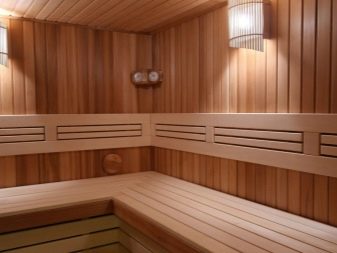
Apartment steam rooms have the form of small cabins such as showers, sometimes combined with them, in which an appropriate microclimate is created.
It is possible to adjust a different microclimate in the same cabin. on the health of each family member. As a rule, no more than 2-3 people can steam in a steam room at the same time (depending on size). Such structures are heated with electric ovens or infrared emitters.
Saunas differ in size, power, type of heating device. In addition, they are ready and home-made, stationary and portable. Portable steam rooms are great for small rooms.
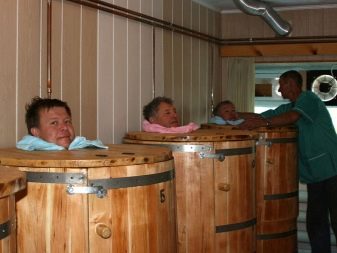
The most famous are two types of portable steam rooms.
- Fitobochki - These are miniature saunas for one person made in the form of a barrel. They have a heating element inside. In contrast to stationary structures, in a phytobox only the body is exposed, while the head remains outside. In addition, these barrels are equipped with special tanks for herbal infusions, which greatly increase the usefulness of the procedure.
- Cloth sauna is a wooden frame, covered with a special cloth. This type is very convenient in terms of storage: after use, the sauna is easy to roll up and hide. It is necessary to use it only with a powerful heater, since heat losses are much higher than those of other types.
Ready-made stationary booths are the way for those who want quick installation and a minimum of related work. They are found in the form of separate cabins or cabins connected to the shower by a partition or two in one. The disadvantages of such equipment are standard sizes, which are quite difficult to choose for a specific room, especially if every meter counts. To force the consumer to change his mind and the price of the product. Nevertheless, a limited budget is not a reason to abandon a dream, but an opportunity to test your design abilities.
Selection and preparation of premises
The first step in building a home sauna is to carefully select the room.
A suitable place in the apartment must meet several requirements, possessing the following qualities:
- good heat and waterproofing;
- ventilation;
- access to main communications: electricity, plumbing, sewage.
The construction of the steam room in the living room is prohibited for security reasons, so the best place would be the bathroom.
In it, just all the specified requirements are met. Also for these purposes you can use the kitchen. Often, the dimensions of a standard kitchen and bathroom do not allow to allocate a few extra square meters, so, most likely, redevelopment of the apartment, ventilation equipment from scratch, and communications should be required.
This entails the need to coordinate the project with a number of state institutions:
- fire service;
- epidemiological service;
- service of re-planning and coordination;
- Housing Inspectorate.
Additionally, you may need to upgrade the apartment's power supply, since standard wiring will most likely not withstand the load of a powerful heater. In this case, the permit is issued by the electric supplier and the contract for work is concluded with him.
Choosing a stove with less power will save you from replacing the wiring, but it will increase the heating time of the sauna to the desired temperature. Alternatively, you can enhance the insulation of the cabin and reduce its volume.
When work on electricity is completed, the baton proceeds to ventilation. If we are talking about a bathroom, the ventilation system is provided here initially. All you need to do is check and clean it. It is necessary to make holes in the sauna cabin itself. If desired, they can be equipped with heat-resistant fans and dampers. In case of using other rooms, additional ventilation channels will be required. A flexible duct is quite suitable for this, while extra bends should be avoided and the shortest direct route should be chosen.
There is a fundamentally wrong opinion that this stage can be skipped, supposedly the sauna works without ventilation. In fact, it will not last this way for a long time: under the constant influence of moisture in an unventilated room, rotting of wooden structures begins, a favorable environment for the development of bacteria is formed, and the quality of bath procedures in such conditions can no longer be said.
In addition, there is a risk to gobble without fresh air.
Among the common mistakes in the installation of ventilation are found such that completely negate the advantages of a private bath.
- Planning and installation at the end of construction. Converting the finished one is more difficult than initially envisioning an air exchange system.
- Complete tightness of the sauna. Any room, regardless of the destination, needs a natural inflow of fresh air.
- Equipment only one exhaust hole. If there is no air flow, then there is no talk of air exchange.
- The lack of dampers on the inlet / outlet valves, which help regulate the microclimate in the steam room.
- The location of the holes on the same level and opposite each other. As a result, the air will be distilled from one valve to another, creating drafts and not providing mixing of air masses.
As for the size of the future mini-steam room, then take into account the rate according to which on average 2 m2 is needed per person, if the presence of the bedding is compulsory.
The choice of material and equipment
Materials for the sauna or bath should be environmentally friendly and non-toxic. This is an urgent need, since when heated, many materials emit harmful substances to health. Therefore, the number one in the list of required materials will be natural wood for the frame and plating.It is desirable to use one type of wood, then the design will have the same operational properties.
Best suited for apartment mini-bath aspen, linden and oak-abashi. The latter seems to have grown up at all especially for such purposes: it does not conduct and does not absorb heat, practically does not absorb water, is resistant to mechanical stress, does not emit resinous substances. Also, steam rooms are often trimmed with Scandinavian pine and spruce, alder, aspen. In general, for rooms with high humidity, it is better to use more solid wood, and those that are softer, will fit for exterior plating.
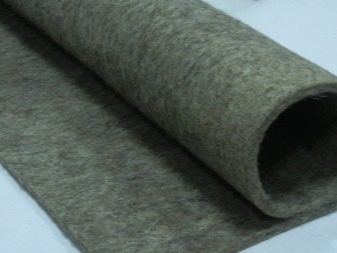
It is necessary to provide for the prevention of leakage of precious heat through the walls of the structure. You should not rely only on the low thermal conductivity of the tree, it is better to additionally stock up with eco-friendly and non-combustible insulation, for example, felt insulator or basalt slabs. Felt has the ability to easily absorb and give away water without changing its properties, and insulation from basalt plates repels moisture at all. You can look at other available material on the market. The main condition is environmental friendliness and immunity to moisture.
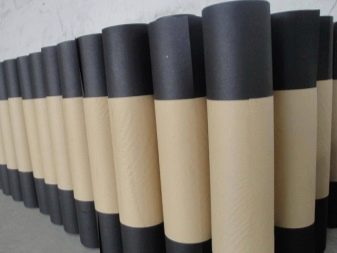
Where heat insulation, there is waterproofing. You can pick up a material that performs both functions at once, or buy asphalt or foil paper.
Probably, the inner wood paneling will need to be treated by impregnation, which protects against the damaging effects of moisture and steam.
To finish the floor is recommended to buy ceramic tiles. The coating can be wooden, and any other, the main thing is to avoid synthetic materials (for example, linoleum), which emit harmful substances when heated.
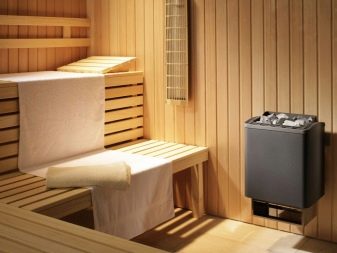
From electric ovens, only those that are designed specifically for wet rooms will do. This device is the central figure of a home sauna, you should not save on it. Power is selected depending on the size of the steam room. In the matter of heating devices, customers trust Scandinavian and German samples that combine the necessary power, reliability and lightness.
The main stages of installation
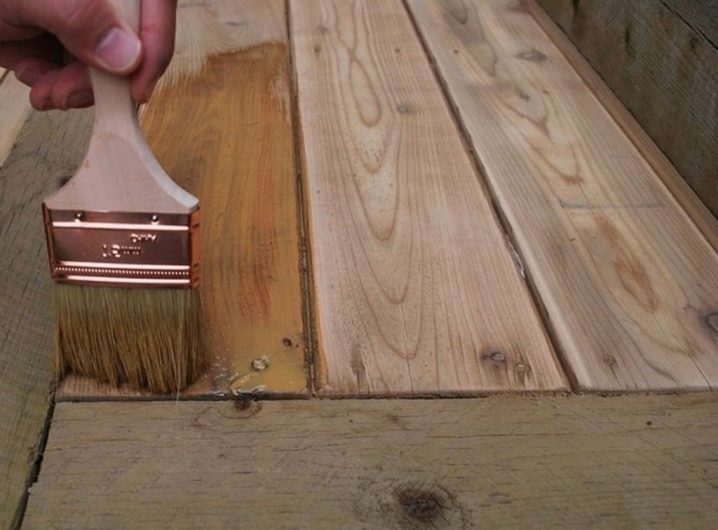
- Before starting work, all wooden parts are treated with protective impregnations and left to dry.
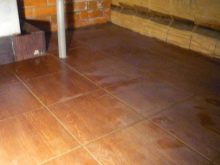
- Device flooring This step is optional if the sauna is being built in the bathroom, since the existing tile is fine.Otherwise, the floor is made from scratch, that is, they install sewerage, hydro and thermal insulation, warm floor (if desired), a concrete screed. Ceramic tiles are laid immediately after the screed has dried, before the construction of the frame and walls.
- Then they prepare the walls to which the sauna will abut: remove the old coating, treat the surface with antifungal and antiseptic preparations, 2-3 layers of glassine, protecting the main walls of the apartment from steam and moisture, are fastened with laths. For waterproofing sometimes use special polymer mastic.
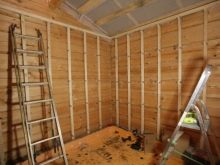
- Next erect the vertical and ceiling frame. For this, a bar is used 4 * 6 cm or 5 * 5 cm. The height of the structure is at least 2 m. If the exhaust valve is planned on the cabin roof, then a 5 cm gap is left between the ceiling of the apartment and the steam room. Frames are made of timber around the future ventilation holes. The doorway is decorated with vertical posts.
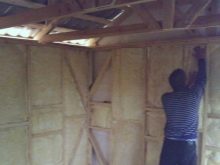
- Warming A popular material is basalt wool, which is carefully laid between the bars of the frame.
- A heat-insulating material, usually aluminum foil, is fastened on top of the insulation.The sheets of foil are placed mirror side inward, overlapping 10-15 cm, and glued with metallized tape.
- Installation of horizontal battens before cladding lining. To do this, use thin bars 3 * 4 cm, which are mounted in 40 cm steps.
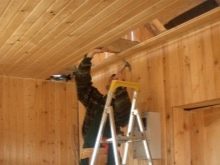
- Sheathing of the walls and ceiling clapboard. Begin work from the ceiling, from the entrance to the opposite wall. At the same stage, the inlet and outlet ventilation valves with dampers are installed.
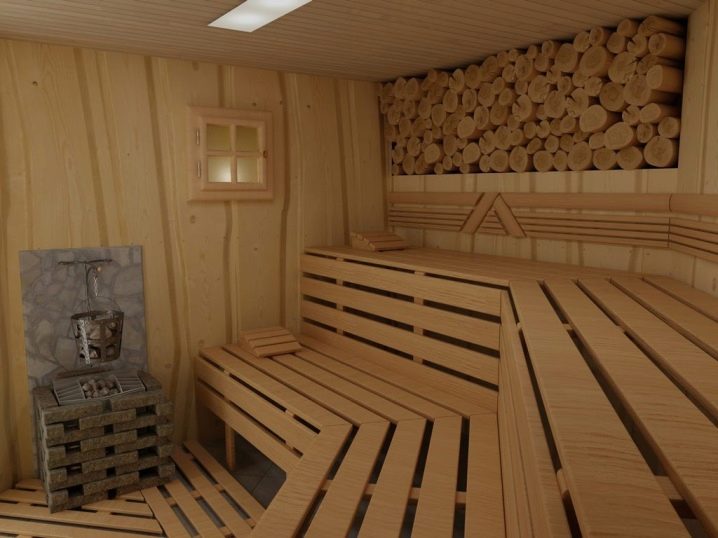
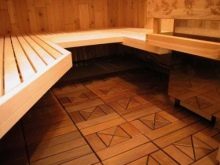
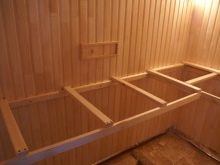
- Installation of shops. The support is made of timber, for greater reliability of construction, a vertical stand is added. Lay the same material that was used for the walls.
- The door is most often made of frosted tempered glass. This helps to avoid the effect of confined space. The door should open outward easily and effortlessly, so no serious locks are put, the maximum is a magnetic latch.
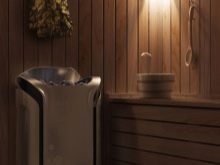
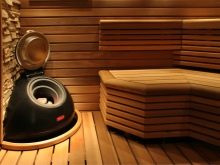
- Installation of equipment. The stove is installed in a convenient place in a special fence of the remnants of the tree. This is done to protect against burns in a small space. Lamps choose heat-resistant, they are mounted on top of the wall paneling.
- Outside, the sauna is decorated with clapboard.
Before first use, the steam room is dried.To this end, the room is heated for several days, gradually increasing the temperature and heating time.
On the first day, the heating is turned on for an hour with the doors open., on the second day, they are kept for 3-4 hours at 60 degrees, in the subsequent days at 90-100 degrees. After checking the operation of the equipment and ventilation, the sauna is ready for use.
A Finnish sauna is not the only possible option for a room sauna. If desired, in the apartment building can be equipped with his own hands and Turkish hammam. This type of bath is characterized by absolute humidity and low temperature (not more than 50 degrees).
Tips for installing a steam room in the apartment, see the following video.
