Ceiling dryer for balcony
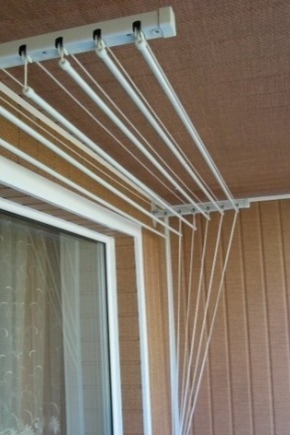
Just a few years ago, every family solved the problem of drying clothes in their own way: someone hung it in the bathroom, someone pulled a rope on the balcony, someone took it out to the yard or dried it right in the apartment.
Today, this is one of the most important household problems successfully solved with the help of a ceiling dryer. Now this uncomplicated, but incredibly convenient device can be found on each balcony. This design is very lightweight, convenient and easy to operate.
Features and benefits
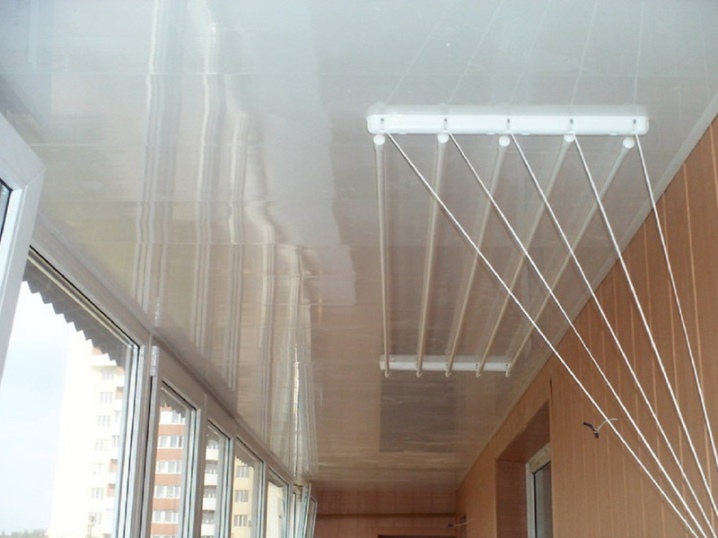
The appearance of a clothes dryer solves several questions at once. The design is compact, it can be easily mounted.It allows you to gently hang a large amount of the washed laundry and lift it almost to the ceiling so that it does not block the balcony space.
In addition, warm air is lighter than cold, therefore, linen, placed under the ceiling, dries very quickly.
Balcony dryer saves the room from the constant humidity, which is invariably formed when drying wet clothes. High humidity causes mold and mildew.
Other advantages include:
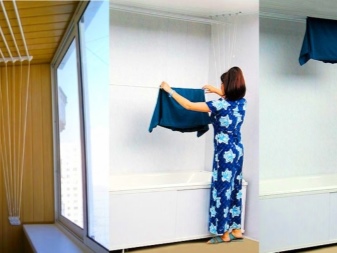
- Ease of use - the next advantage of the dryer. Hang the laundry, raise it to the ceiling and even a child can just as easily pull it down.
- Affordable cost allows you to place such a structure for drying on your own balcony, even to a person with a small income.
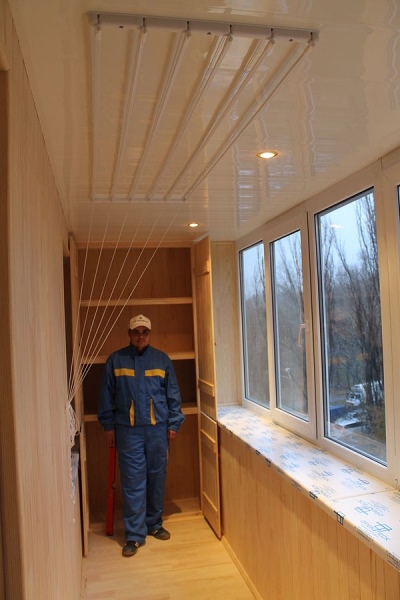
- And one more undoubted plus - the dryer is practically invisible under the ceiling, that is, does not violate the overall aesthetic picture of the balcony or loggia.
Kinds
Modern manufacturers of home accessories offer a wide range of simple and improved models of ceiling dryers.
They all have one thing in common - they are attached to the ceiling, but the design features, the permissible load, design, color, size and cost can differ significantly:
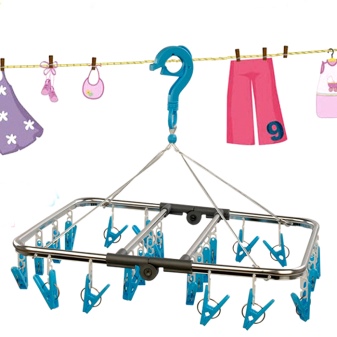
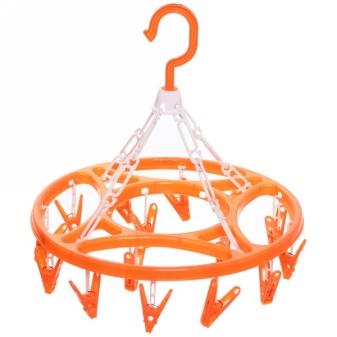
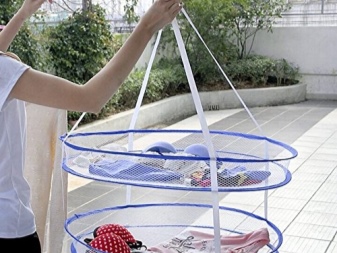
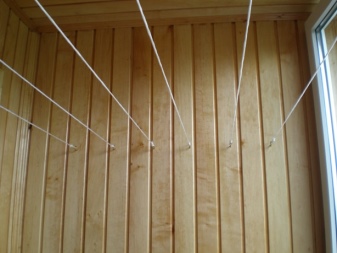
- The simplest model is a plastic or metal construction. round or rectangular shape with a certain amount of pegs. On all sides of the dryer are attached chains that converge in the central part. There they are connected to the hook, which is attached directly under the ceiling. Such models are ideal for small things (socks, underwear, children's things).
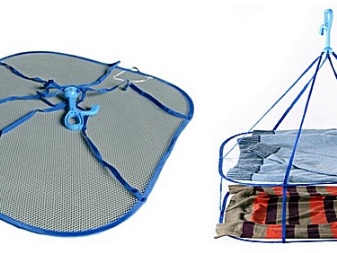
- The following simplified version is designed for things that do not require drying on the rails or using clothespins. For example, products made of wool, cashmere and other delicate fabrics. The dryer is a frame with a polymer mesh on which things are laid out. Drying is carried out by layers of warm air penetrating through the mesh. This process is slow, but such a frame does not take up much space either in suspension or in a free state. The design may have several tiers
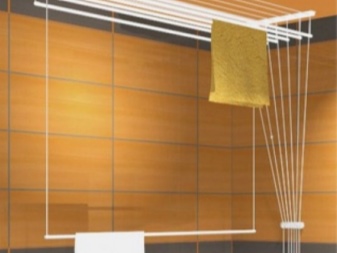
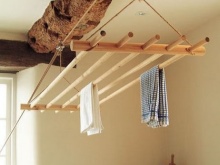
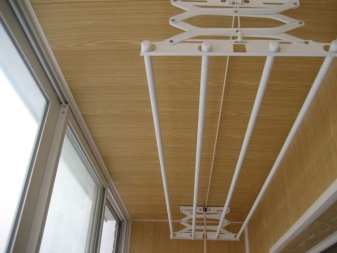
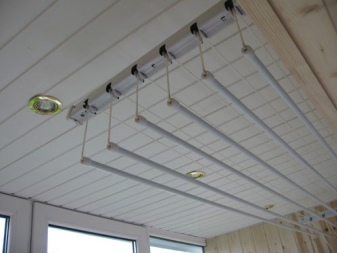
- More advanced models are beams with a lift-down mechanism. The design consists of two rigid traverse and several crossbars, stretched between them. It can be lowered and lifted by means of a cord thrown through the ceiling beam.This can be done manually or using a manual gearbox. The disadvantages of this design can be attributed to its instability (linen should be hung as evenly as possible so that the dryer does not tilt in one direction).
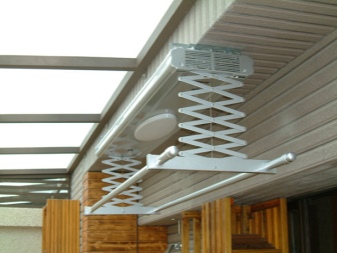
- There is a more complicated variety. dryers with the lift mechanism. It has the shape of a parallelogram, is quite stable and reliable.
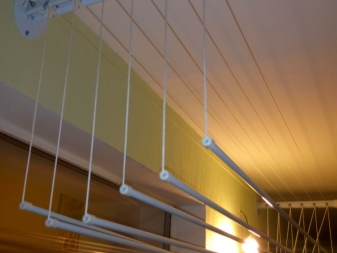
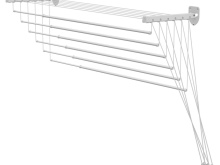
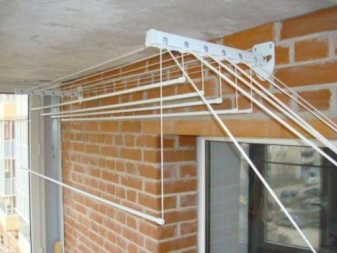
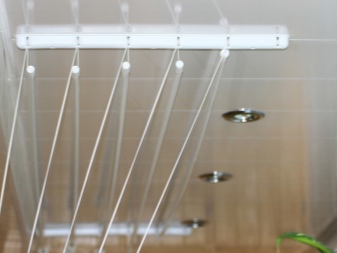
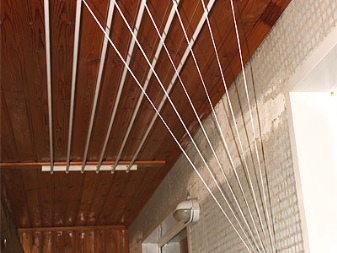
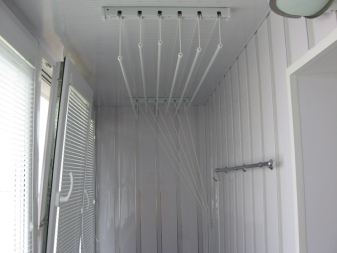
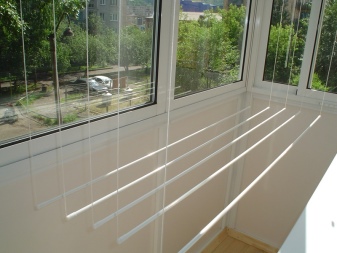
- One of the most favorite type of hostess dryer - vine takes into account the shortcomings of the previously considered devices. The structure consists of 5 steel crossbars with a length of 2 meters, each of which has its own lifting-lowering mechanism. This allows you to use only the necessary part of the dryer. Other advantages of the product include its lightness and the ability to adjust the height. If necessary, dry a large amount of linen, it can be hung at different levels (cascade). So it dries much faster. At the same time on the dryer can be placed up to 15 kg of linen.
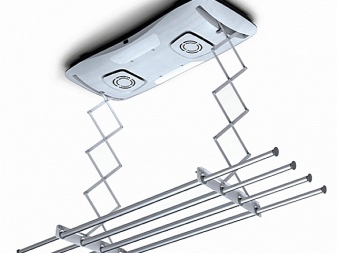
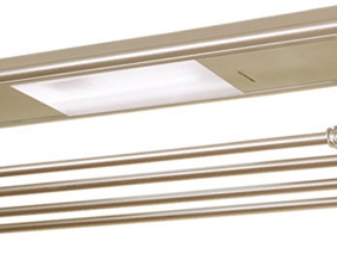
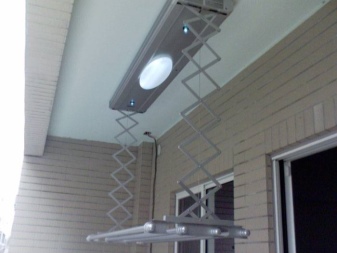
- Electric dryer - modern, equipped with the latest technology mechanism that can withstand a wide temperature range and allows you to simultaneously place on the crossbar more than 30 kgclothes and other things (rugs, small blankets). Moreover, most models are equipped with built-in lights. The rods have a telescopic shape, that is, they allow you to adjust the length. The design is controlled by a remote control or via a block mounted on the wall.
- More advanced dryers are equipped with built-in hair dryers and ion lamps. This allows you to dry clothes in minutes, and, if necessary, sterilize it. This moment is especially relevant for children's clothing.
Types of construction
By type of design dryers are:
- folding;
- sliding;
- wall and ceiling;
- electric.
Let's take a closer look at each type:
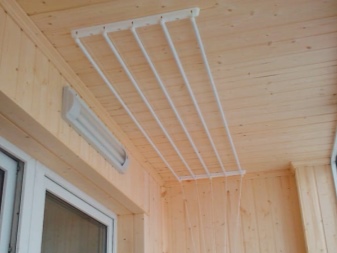
- Folding Dryers are today the most popular and in demand. Outwardly, they are a few straps, fixed brackets. Can be folded in length or width. Usually the number of slats is in the range from 4 to 6 pieces. This is the most popular option to meet the needs of the average family.
The advantages of such models include low cost, ease of use and installation, compact size.Such models are mainly made of plastic, so they maintain a small weight (about 7 kg).
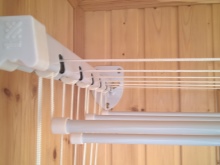
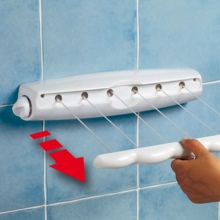
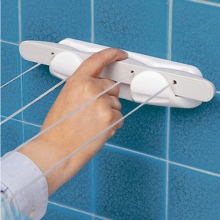
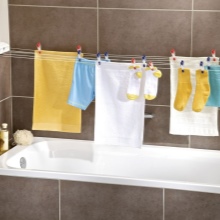
- Sliding Dryers They consist of two blocks and strings stretched between them, which are stretched and hidden in the main block as a tape measure. The main unit is attached to the wall, and the strings are pulled out and fastened opposite. The design is quite reliable and can withstand a lot of weight. In non-working condition, the design is very compact and not striking.
- Wall and ceiling construction maintains considerable weight (to 20 kg) and has high durability. For its production is used enameled steel.
- Electric dryers significantly reduce the drying time, due to the coolant installed inside the structure. Ceiling models can be removable and non-removable. The first option is more mobile, the dryer can be removed if necessary. Dryers of the second type are fixed on the wall for a constant time.
Length
The length of the ropes or crossbars for drying linen can vary over a fairly wide range. It all depends on the selected model, as well as the dimensions of the balcony or loggia.
Among the most popular sizes: 5, 6, 7, 8, 8.2, 9, 10.5, 10.8, 12, 13.2, 14.4 meters. This is the total useful length, which depends on the number of crossbars, and on the length of one crossbar. Usually it is 1.5 -1.8 -2 meters with small tolerances in one direction or another.
The length of the crossbar is calculated based on the material of manufacture, type of construction and type of dryer.
How to choose?
Choosing the right dryer option can be a lot more difficult than it actually seems. When choosing, it is necessary to take into account not only the design features of the model, but also the possibilities of the balcony itself and the expected load on the dryer:
- The length of the crossbar. The best option - 2 meters. Smaller ropes are suitable for drying a small amount of clothes or light clothing. Longer variants may be deformed under heavy load.
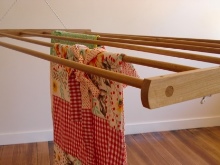
- Material. Plastic dryers are very light, compact, but also the least durable. They are suitable for drying a small amount of things and are not durable enough. Aluminum tubes are also very light and designed for a small load. In addition, aluminum can eventually leave dirty marks on wet clothes.Rope dryers have a very simple design, they can be done independently. But the ropes fray over time and this design is not very reliable. More durable and robust version - stainless steel tubes with plastic coating. Another unusual option - wooden crossbar. They look, of course, very original, but the tree eventually darkens, shatters, deforms.
- Producing country. The most economical for the price options offered by Chinese manufacturers. However, if it comes to durability, strength and higher quality of manufacture, it is best to pay attention to the products of German or Turkish companies.
- Overall dimensions and functionality of the balcony. The small length of the balcony will not allow to place a stationary bulky hanger. Especially, if the balcony space is used as a recreation area. In this case, folding or sliding models are more suitable.
- Ceiling vine - The best option for families where drying clothes is a regular procedure. Especially if the dryer will be used for airing blankets, blankets and other things.
- When choosing a suitable model, it is necessary to estimate its size when folded. Raised to the highest possible position, the pipes should not impede the free opening of windows.
DIY installation
At the stage of choosing an accessory, it is necessary to carefully study the installation instructions. It should be written in a detailed, understandable language, because it is very difficult to install some models yourself.
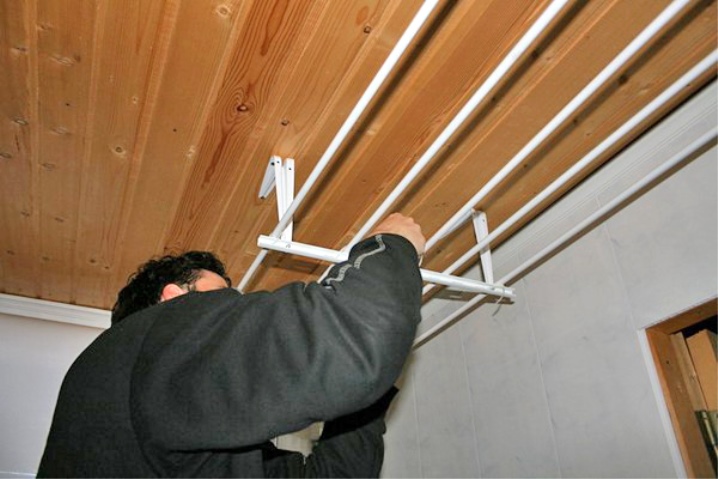
The first stage of the work is preparatory. The ceiling is carefully wiped from dirt and markup is performed. For this, the bracket is applied to the ceiling across the load-bearing wall and a mark is made. The next mark is made through a distance equal to the length of the string, parallel to the first mount. The brackets are located at a distance of about 10 cm from the wall.
Holes are drilled in marked marks. Brackets are attached to them and fixed with anchor bolts.
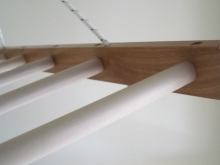
The next stage is the build. The tubes are pushed into the holes in the side rails of the dryer and drowned. With the help of bolts, the assembled structure is fixed on the ceiling brackets. The cord passes through the center hole of the side panel, rises up,passes through the hole of the bracket, stretches along the ceiling, through the hole of the second bracket and is tied with a knot on the second side rail. A clamp is attached to the free end of the cord. The dryer is ready to go!
The simplest model of the dryer can be made independently. This will take a little time and the following materials and tools:
- 5 wooden slats with a section of 2.5 - 3 cm;
- 2 wooden bars 50 * 50 mm and 65 cm long;
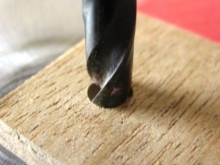
- feather drill;
- a pair of screws with a ring;
- strong rope;
- perforator;
- dowels;
- 2 small bars;
- grinder with grinder.
Work process:
- Departing from the edge of the bar 5 cm, every 10 cm are drilled 5 holes for the size of the rails.
- Bars are cleaned, polished, varnished, dried. Small bars are also varnished.
- Places where fixing elements will be fixed are marked on the ceiling and holes are drilled with a perforator. Bars are fastened with dowels, then self-tapping screws with a ring are twisted.
- All slats are inserted into the holes of the bars on both sides. If they enter the blanks too loosely, then a little glue should be dropped into the joints.
- The rope is tied with a bar and side rails in turn at each end of the dryer. The pieces of rope are interconnected in such a way as to make 2 triangles.
- The triangles are connected by a rope, which is fixed by a knot and pulled through the ceiling rings.
- The end of the rope is mounted on the wall with a special bracket. Now the dryer can be easily raised or lowered to hang clothes.
Reviews
A laundry dryer is a necessary accessory today, without which it is difficult to imagine daily life. Not surprisingly, reviews of various types and models of ceiling dryers are becoming more common.
Basically, they are positive. Regardless of the manufacturer, design, design and material, all the dryers are combined with several similar advantages: they allow you to quickly and accurately place the laundry to dry.
As for materials, it is often advised to purchase dryers with metal tubes and plastic sheath. This material is the most reliable and durable. He leaves no dirty marks and creases on shirts and dresses.
Another plus is the “invisibility” for surrounding and compact dimensions of structures. Lingerie and clothing hang almost under the ceiling, not blocking the view and not interfering with being on the balcony.
Special mention was given to electric models,The most practical and versatile options. Both classic lianas and models with the possibility of fixing the tubes at different levels are easy to use. The price range in which the dryer is presented is very wide and allows you to purchase such a convenient accessory for families with very different financial situations.
For information on how to install a ceiling dryer for laundry on the balcony, see the following video.
